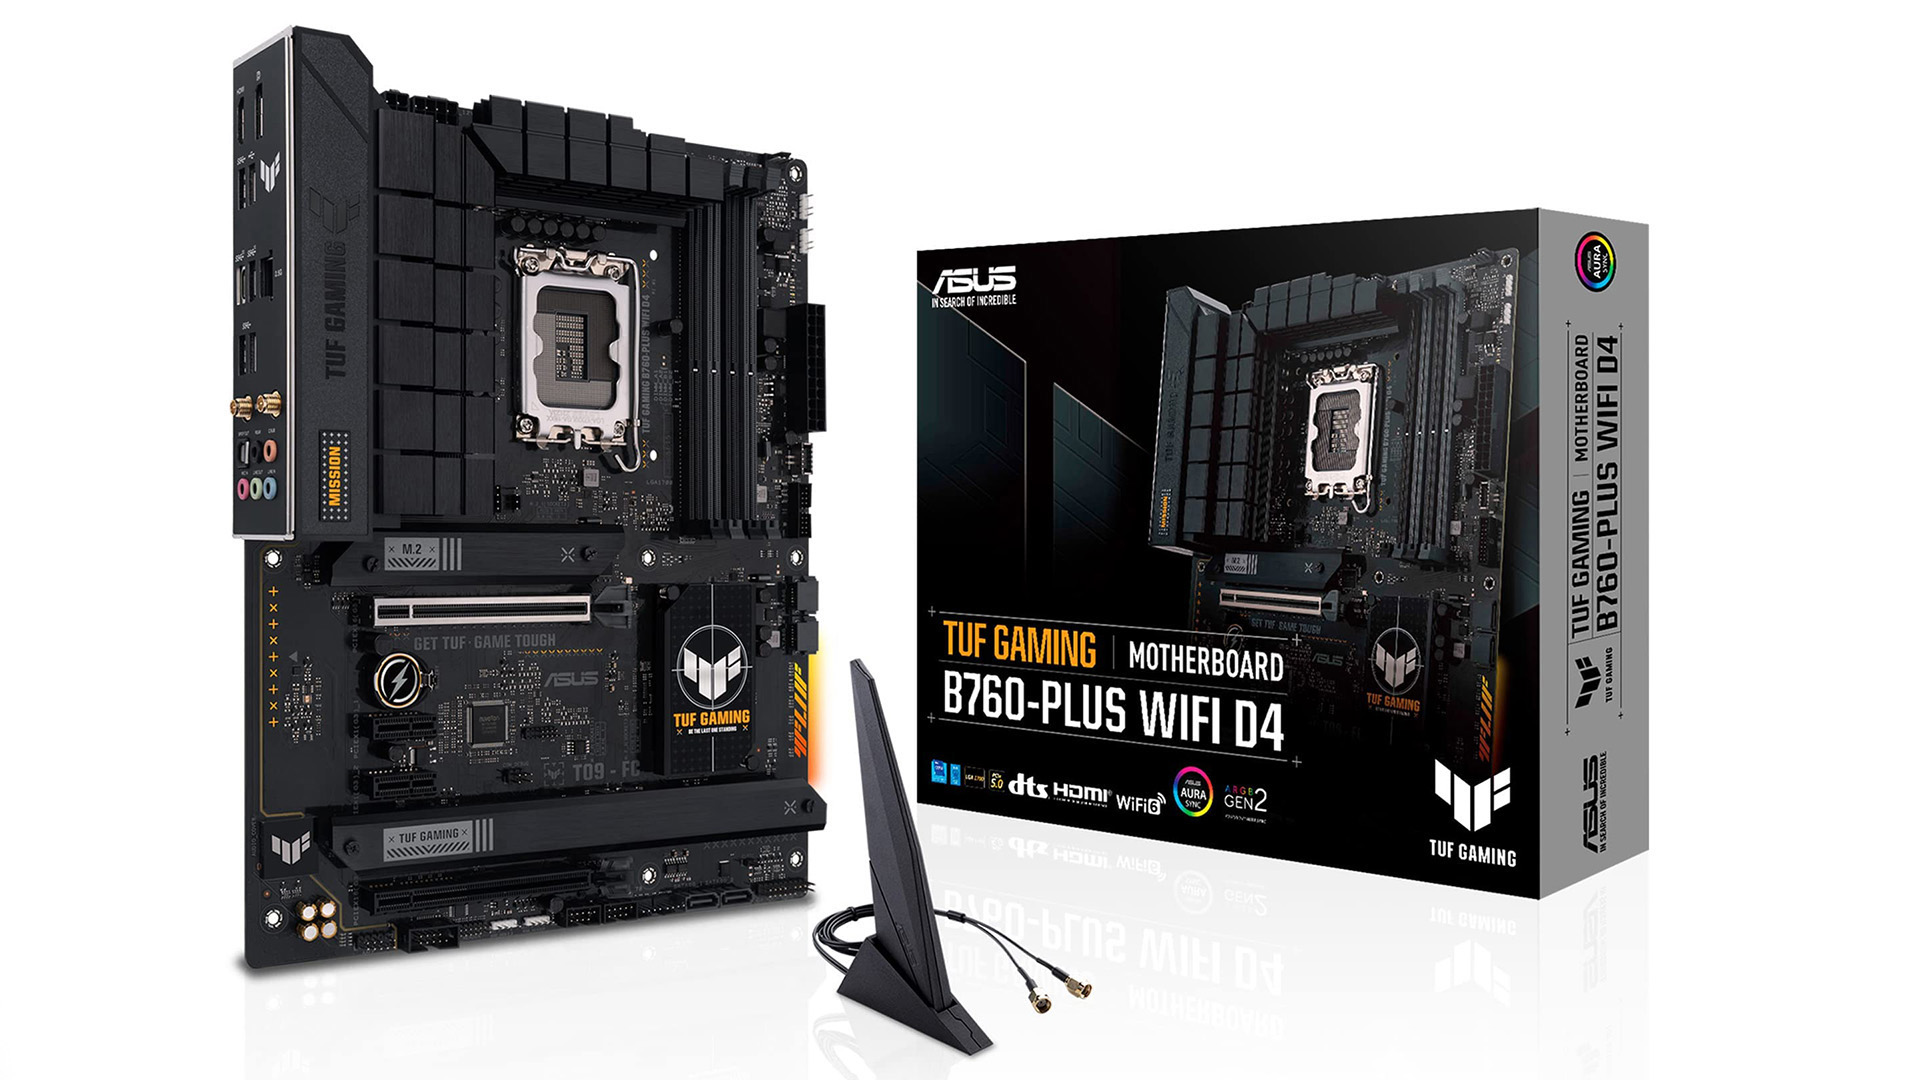
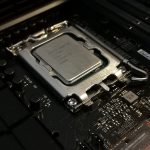
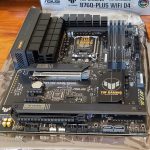
Asus’s TUF Gaming B760-Plus WIFI D4 offers a fully functional 12th and 13th generation Intel LGA 1700 ATX motherboard for the more budget conscious gaming PC system build.
The desire to over-spec a new PC build is strong, especially if you are an early adopter of a new generation of CPUs. Intel’s 13th generation processors launched alongside compatible motherboards exclusively sporting top-of-the-range Intel Z790 chipsets. It’s reasonable to assume those early adopters, first of the block with the new CPUs, would want to place them in the best, and most expensive, motherboards available. It’s highly likely, though, that most Z790 motherboards are not being used to their fullest extent. So why pay for something that you are not going to use?
Unless you are going to be overclocking your CPU, filling it up with M.2 NVMe SSDs, and plugging in an extraordinary amount of USB peripherals, you don’t need a Z790 motherboard. And this is where the Asus TUF Gaming B760-Plus WIFI D4 comes in. Not only is the board a bit cheaper than Z790-based motherboards, but it also supports cheaper DDR4 RAM.
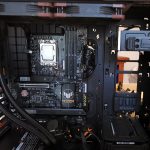
I’ve been running an Asus TUF Gaming Z790-Plus WIFI D4 motherboard with an Intel i5-13600K CPU in the test rig for a while. Side-by-side the Asus TUF Gaming B760-Plus WIFI D4 looks almost identical to its slightly more expensive sibling.
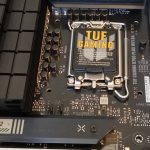
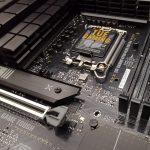
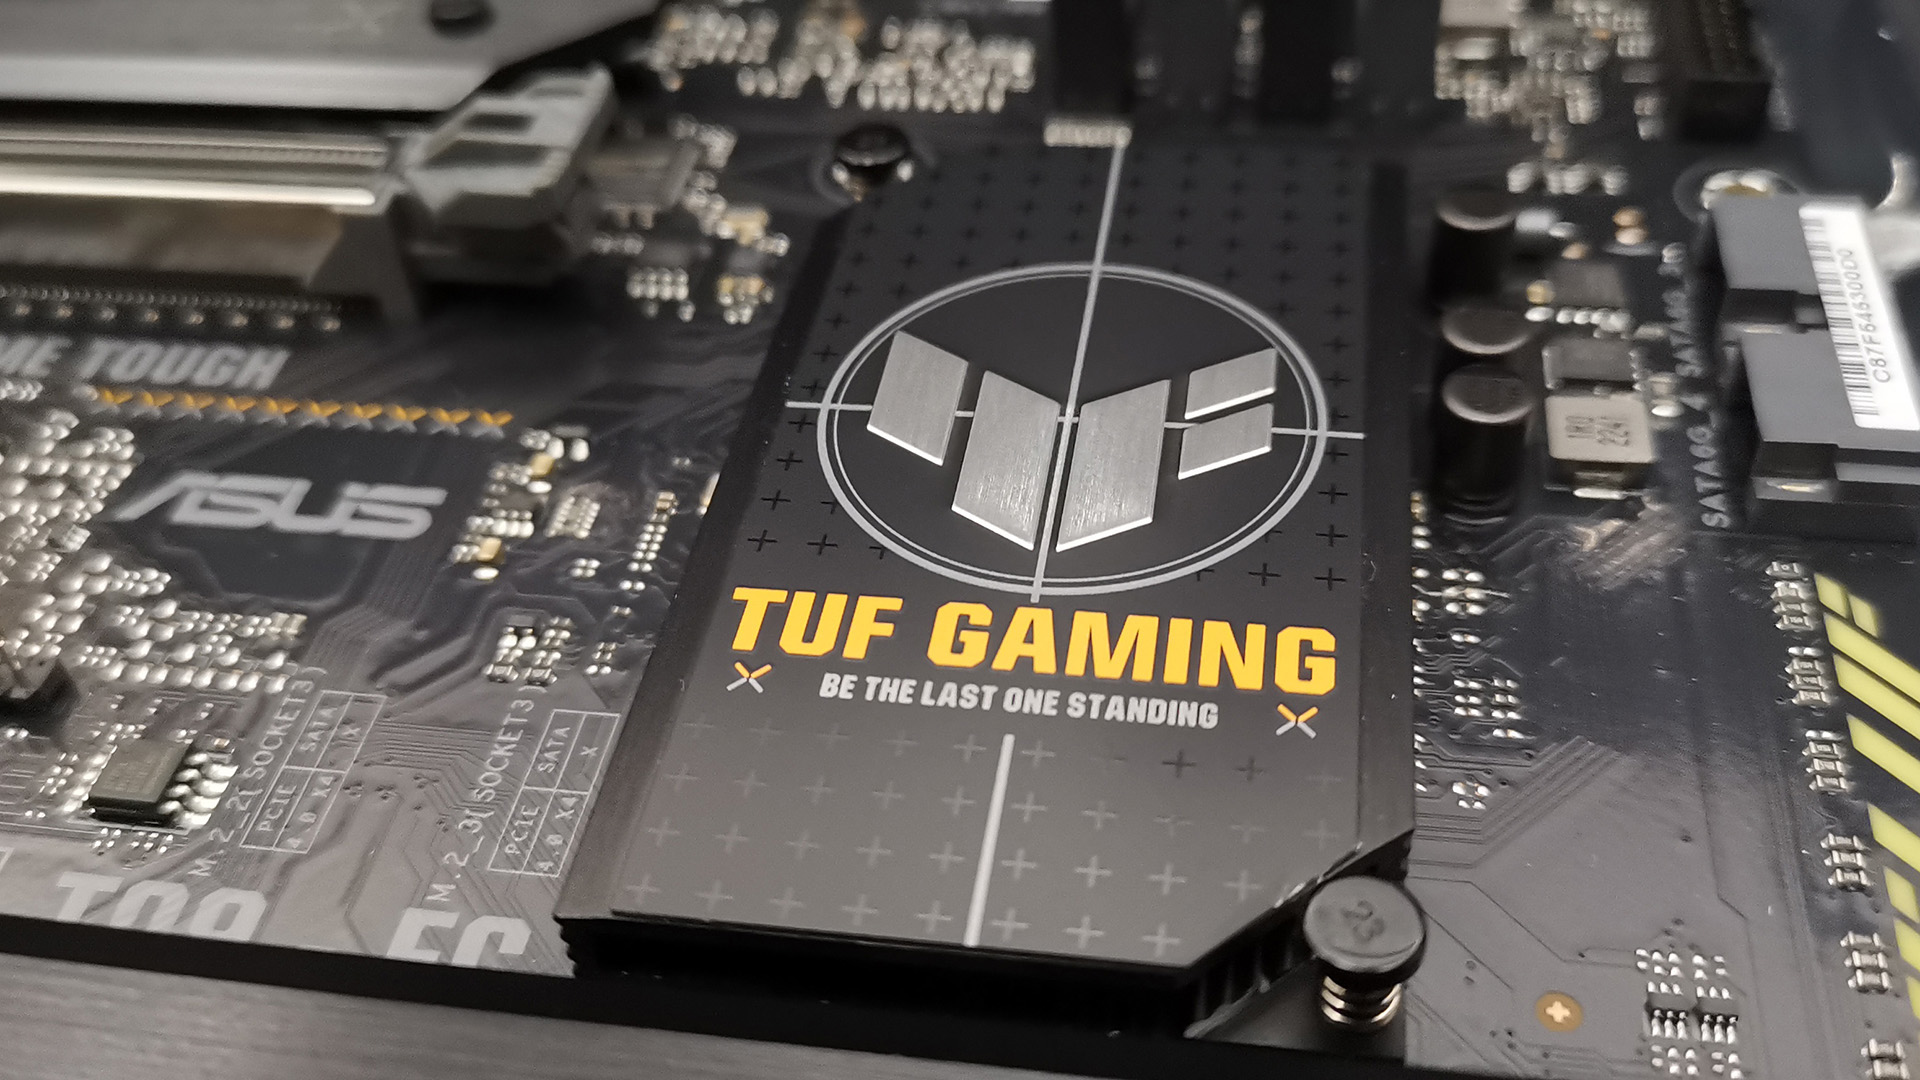
Asus’ TUF Gaming range sports a more industrial styling than its enthusiast-level ROG or entry-level PRIME brands. Asus boasts of military-grade components in the TUF board, a certificate listing the design specs is included in the box. But, more importantly, it looks like a very nice motherboard. Compared to a Republic of Gamers motherboard, it may lack the RGB LEDs and the brushed metal finishes, but it’s still going to look good in your case.
The TUF Gaming B760-Plus WIFI D4 is a feature-packed motherboard. There are four DDR4 DIMM sockets for up to 128GB of RAM. If you want to use the CPU’s integrated graphics there are DisplayPort 1.4 and HHMI 2.1 sockets. The board’s PCIe 5.0 x16, PCIe 3.0 x16, and two PCIe 3.0 x1 slots should offer enough expansion slots for most users. Storage-wise, it has three M.2 slots two supporting up to 2280 and one up to 22110 sizes. If you are still going old-school with your drives there are four SATA 6Gb/s ports on the board.
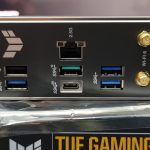
There’s also a generous number of USB ports on the back of the board plus even more via the front header connectors. The rear I/O has one USB Type-C 3.2 Gen 2×2 port, a USB Type-A 3.2 Gen 2 port, 3x USB Type-A 3.2 Gen 1 ports, and a USB Type-A 2.0 port. The headers on the board allow an additional USB Type-C 3.2 Gen 2, two USB Gen 1 ports, and four USB 2.0 ports. There’s also a Thunderbolt USB4 header socket.
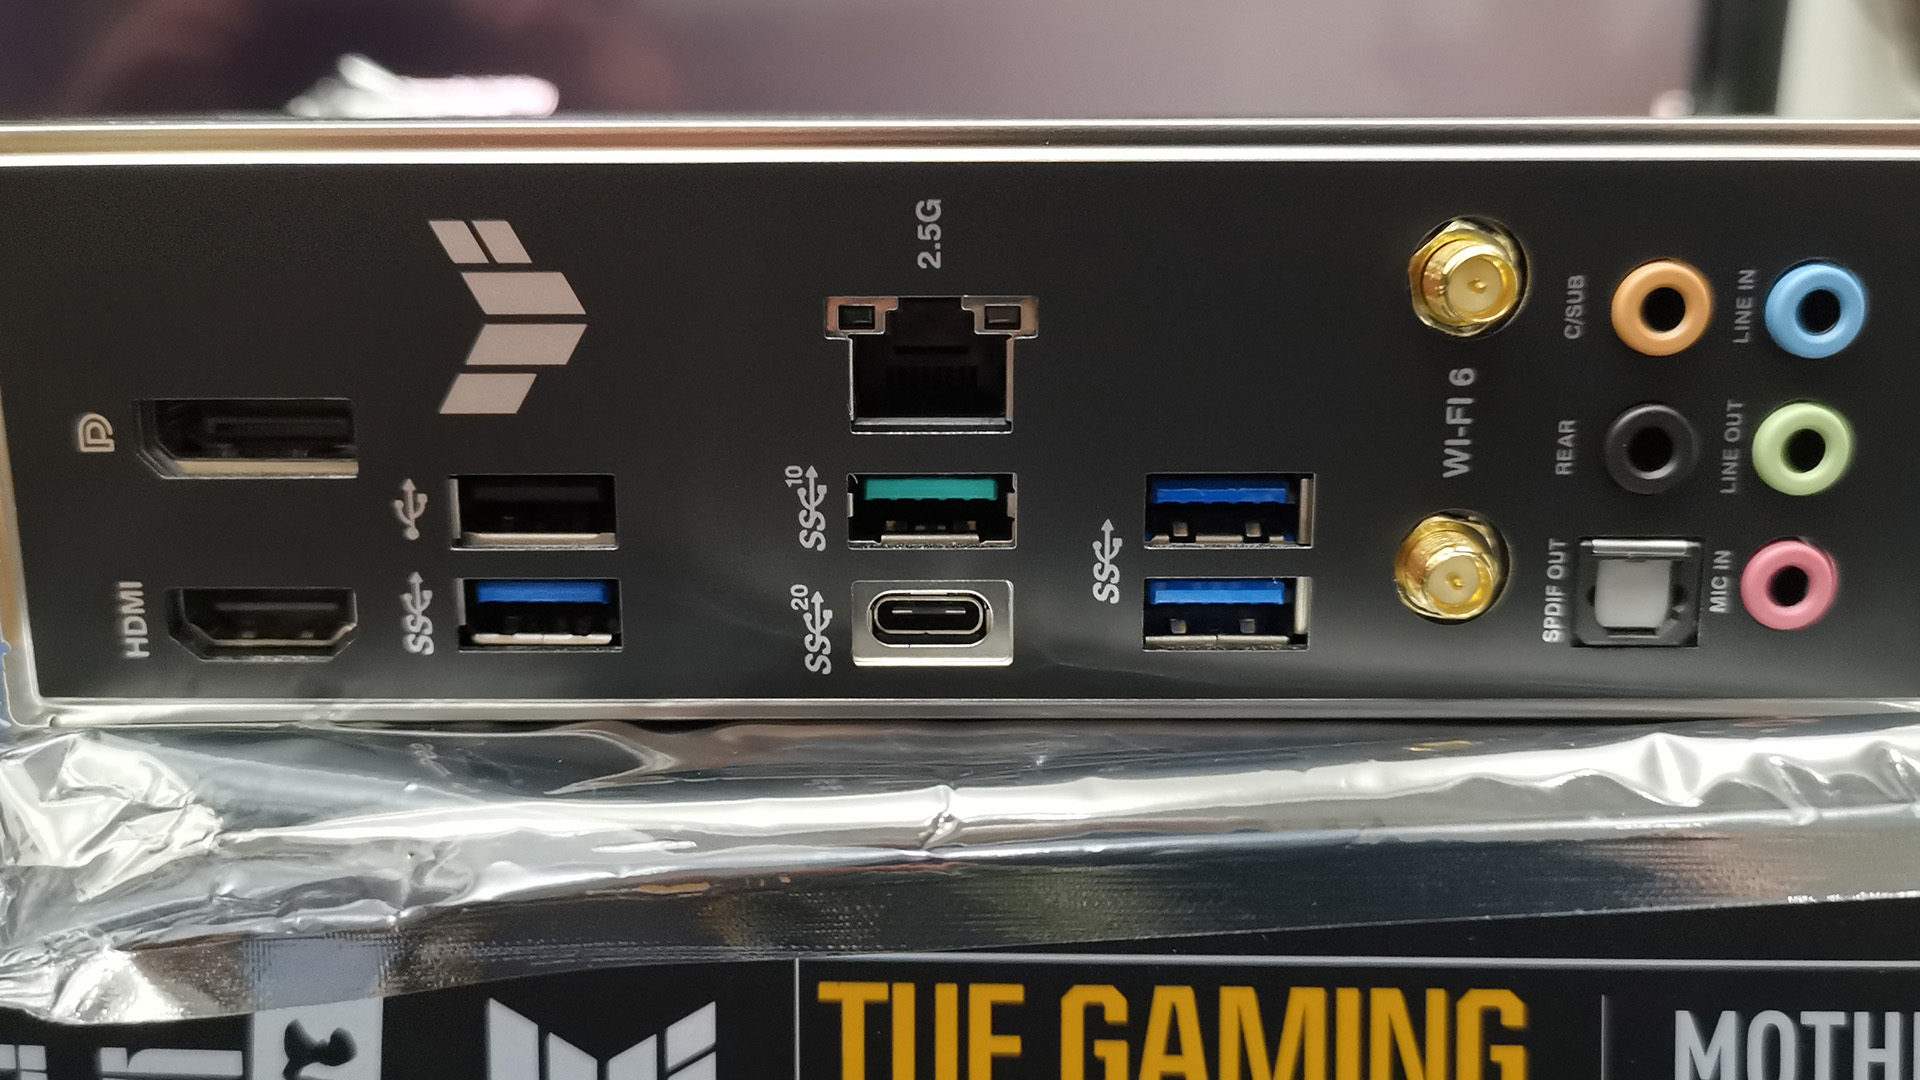
Connectivity is via an integrated WiFi 6 adapter, Bluetooth v5.2, and Realtek 2.5Gb Ethernet. There’s onboard Realtek 7.1 audio via five audio jacks and an optical S/PDIF output.
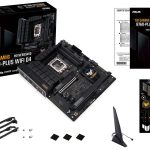
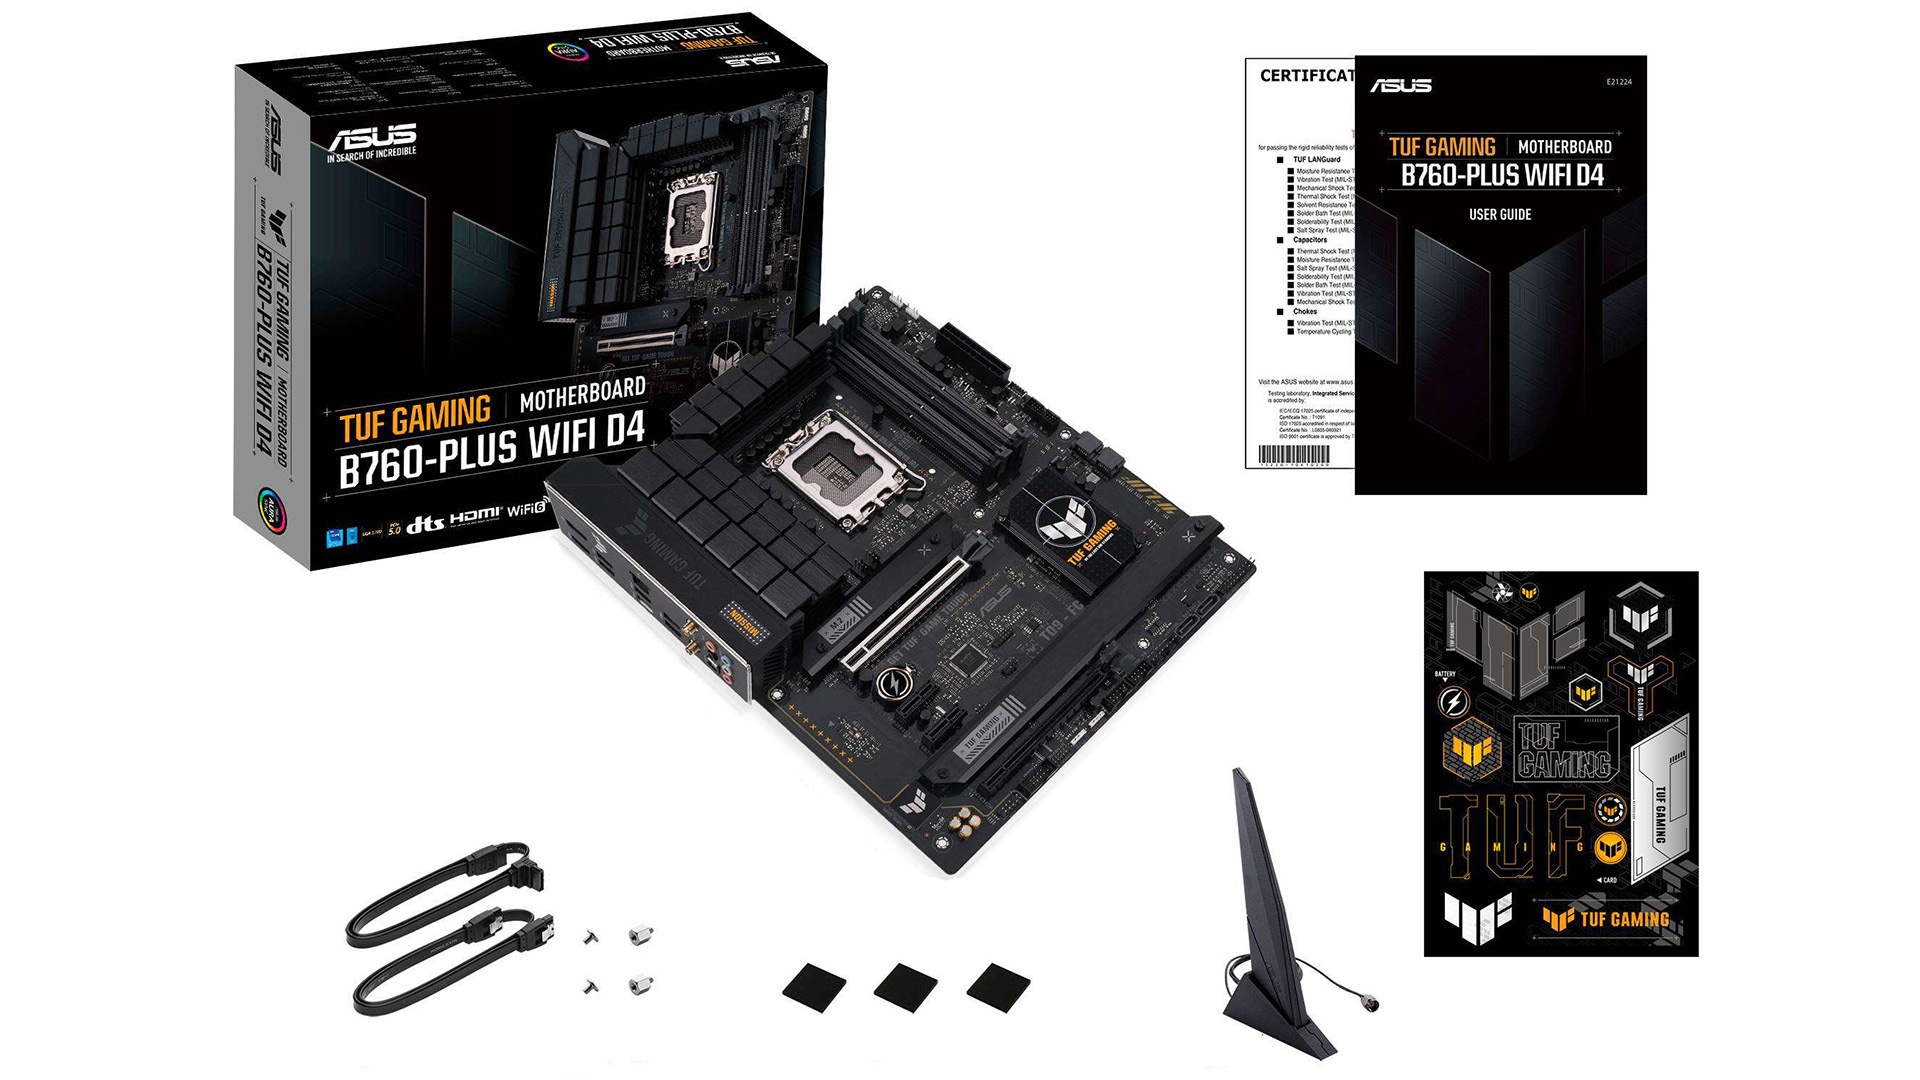
In the box, as well as the motherboard, you’ll find the WiFi antenna two 6Gb/s SATA cables, an M.2 screw package (for securing two M.2 drives), four pads for single-sided M.2 installations, the TUF certificate card, a TUF Gaming sticker, a driver disc. There’s also the usual comprehensive, well-written user guide, that’s a hallmark of Asus boards and all you need to set it up and get going.
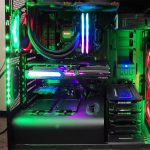
Installing the B760-Plus WIFI D4 motherboard was easy. The integrated I/O panel on the rear of the board meant that I could just place it straight in the case without pushing it into place to get the ATX standoffs to line up with the fixing holes. Some of this is a credit to the test rig’s well-machined Themaltake case- a reminder that it is always a good idea to go with a decent case for your PC build.
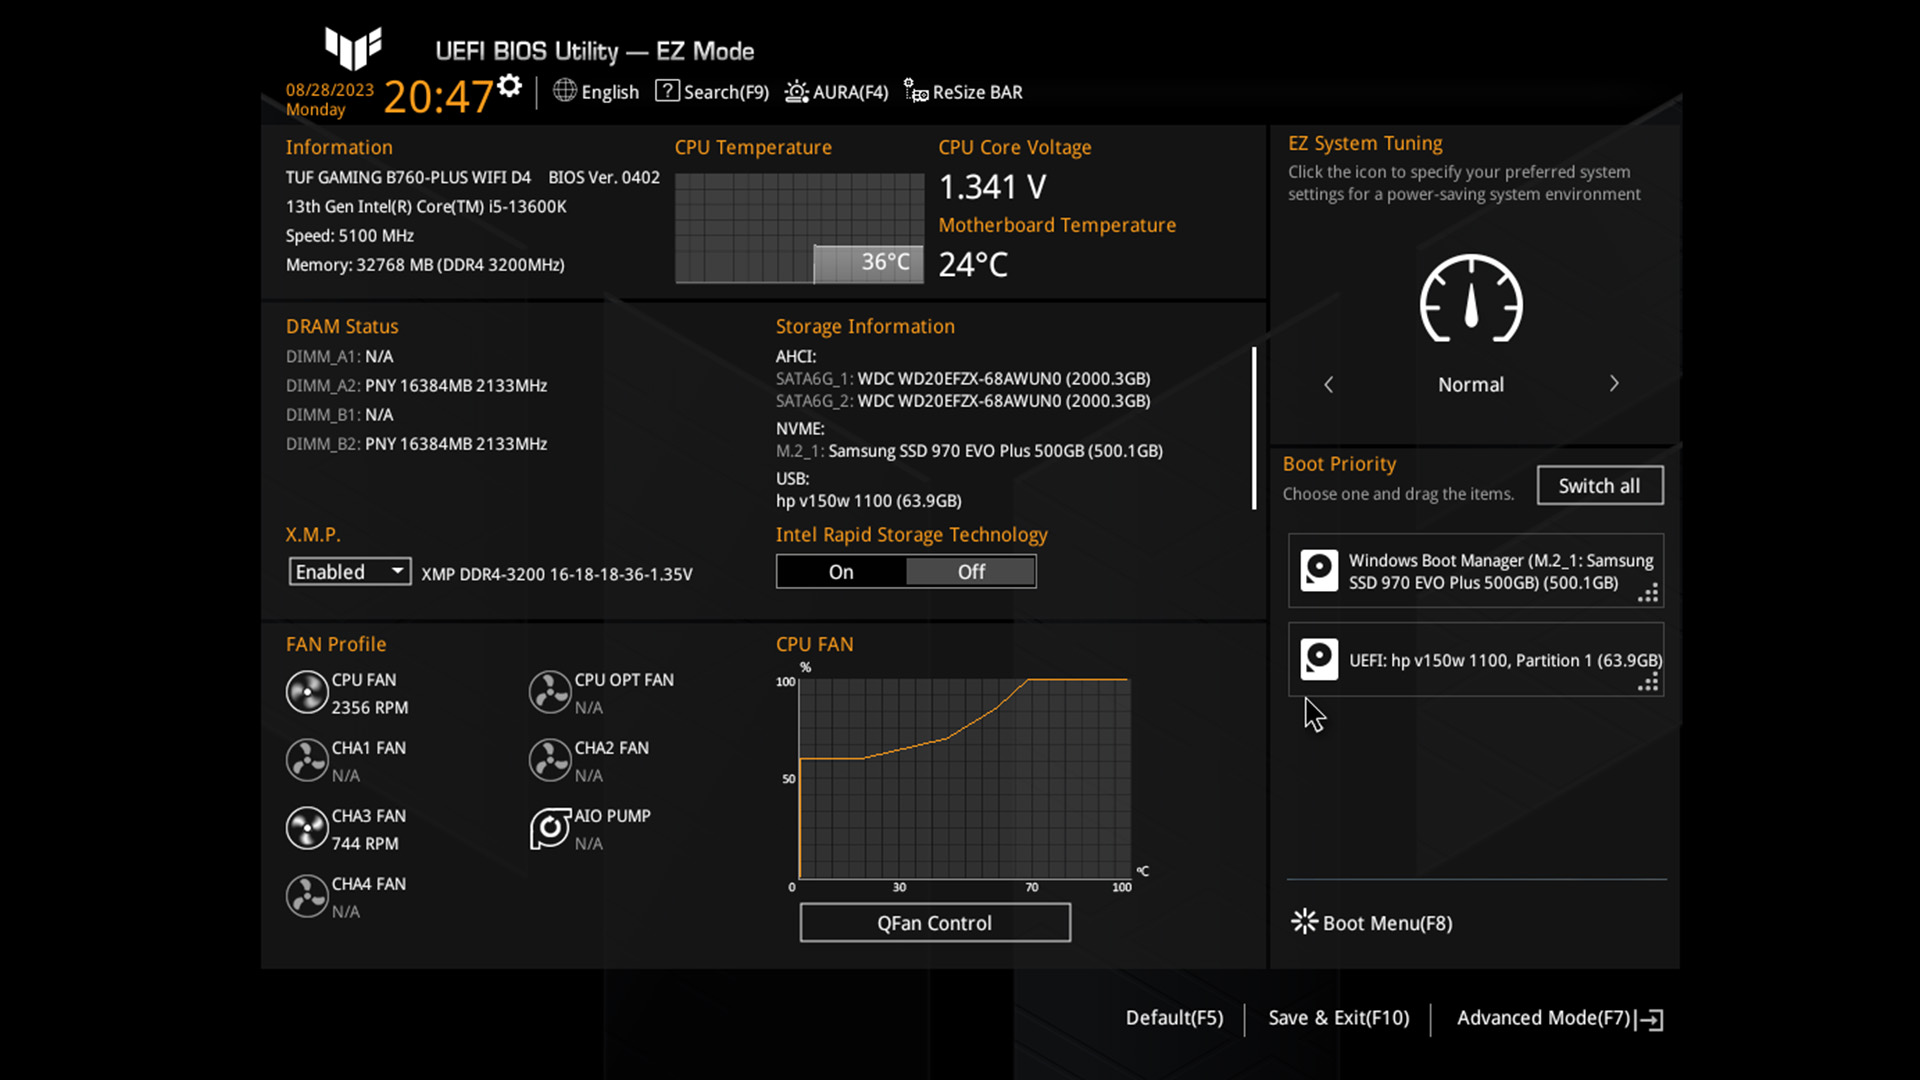
Fitting components into the board is a relatively painless process as well. Asus uses memory slots that only have one clip requiring the DDR4 RAM modules to be carefully inserted before being clipped in place. The manual shows the correct configuration of RAM modules to ensure the best performance.
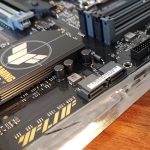
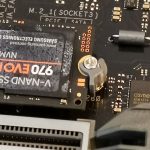
The motherboard’s three M.2 sockets have Asus’ screwless Q-latch system. You just slot in the module and twist the latch to secure them in place, with no risk of losing a tiny screw somewhere in your build. Each M.2 socket is cooled with a heatsink that integrates into the board’s design.
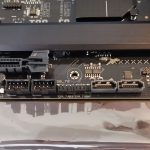
The board can easily accommodate most PC cooling systems. There’s a 4-pin CPU fan header, a 4-pin CPU OPT fan header, a 4-pin AIP pump header, and four 4-pin chassis fan headers.
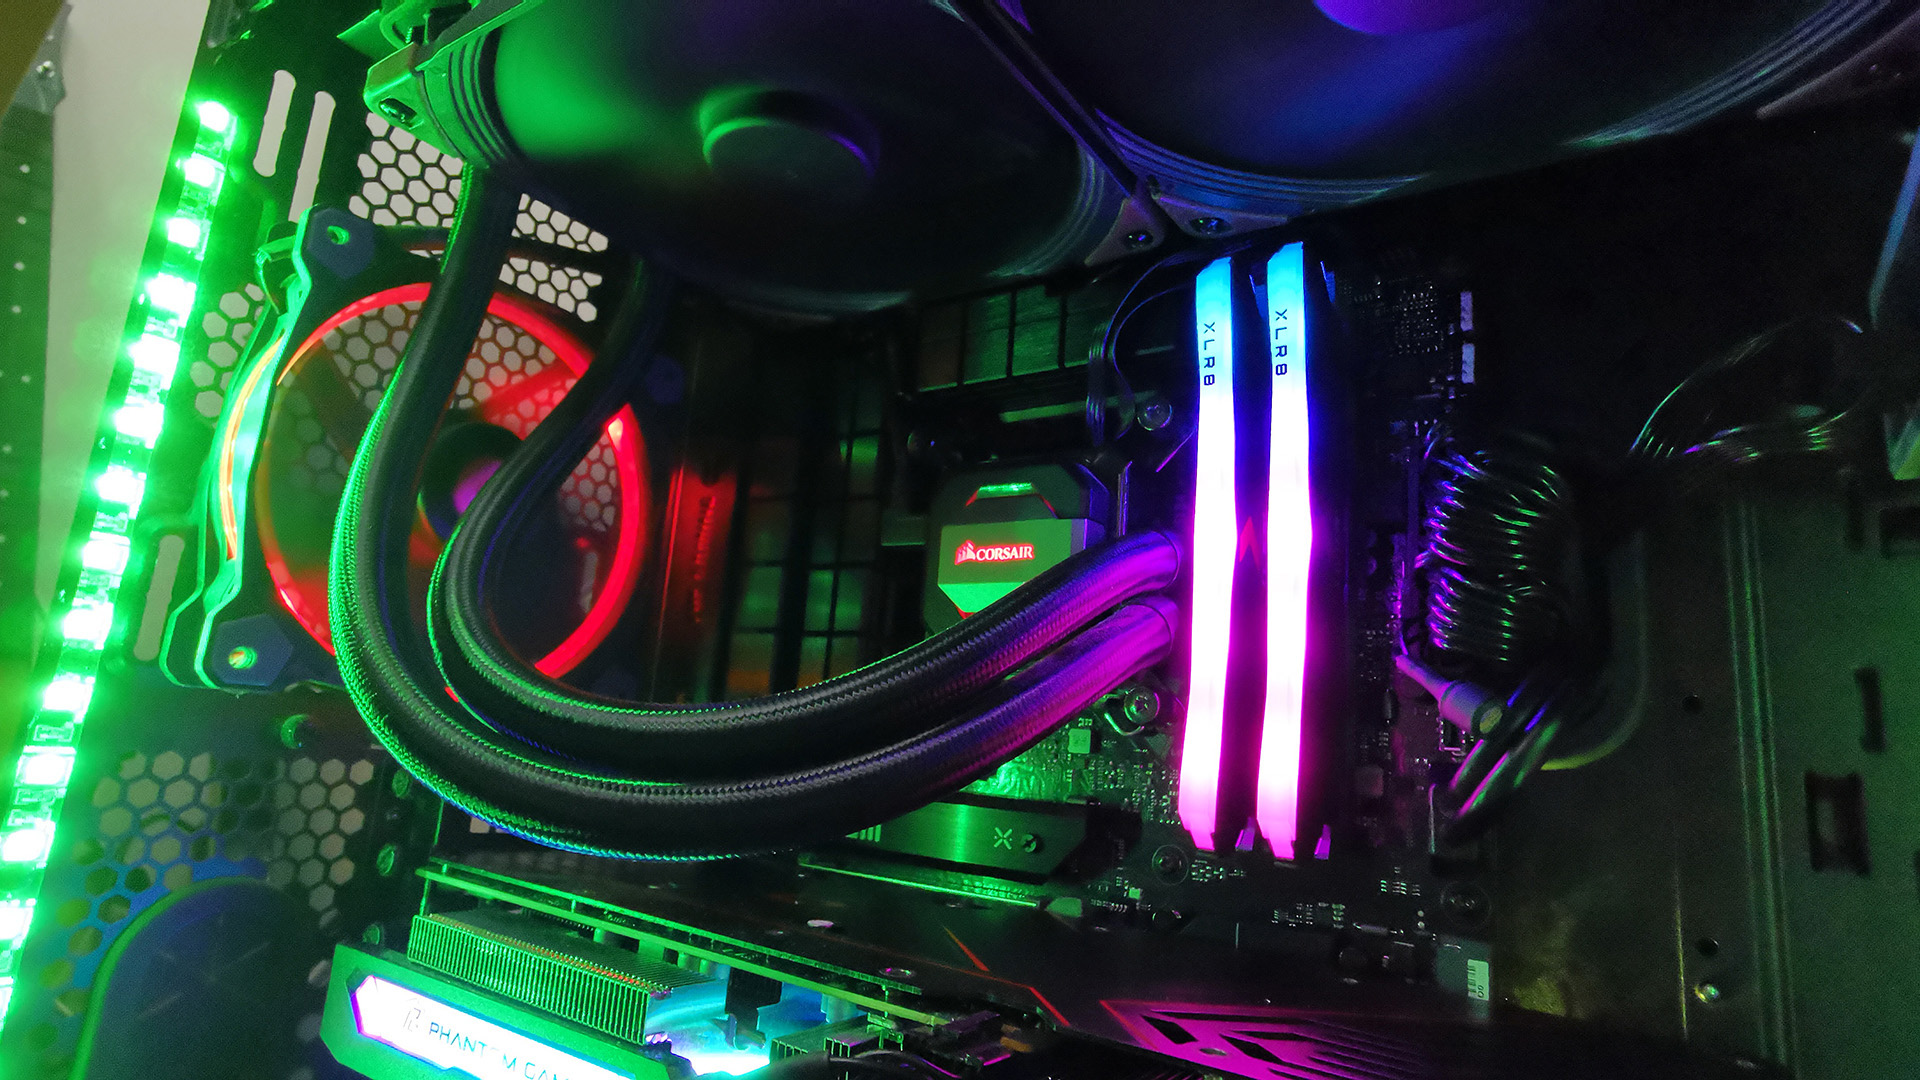
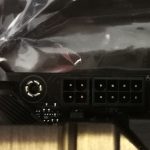
The boards’ 8-pin and 4-pin 12v power connectors did have me fishing about in my power supply unit’s cable bag. Make sure that you have the correct ATX power cables for your PSU. The ATX power sockets at the top of the board are tucked away behind a heatsink, which was a bit fiddly.
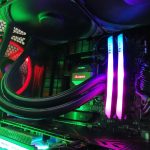
Apart from the handy Q-LED indicators, that can be used to troubleshoot issues, as previously mentioned, the motherboard is bereft of any native RGB lighting. The board is, however, Aura Sync compatible with both an Aura RGB header and addressable Gen 2 headers.
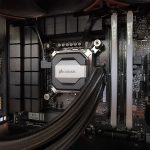
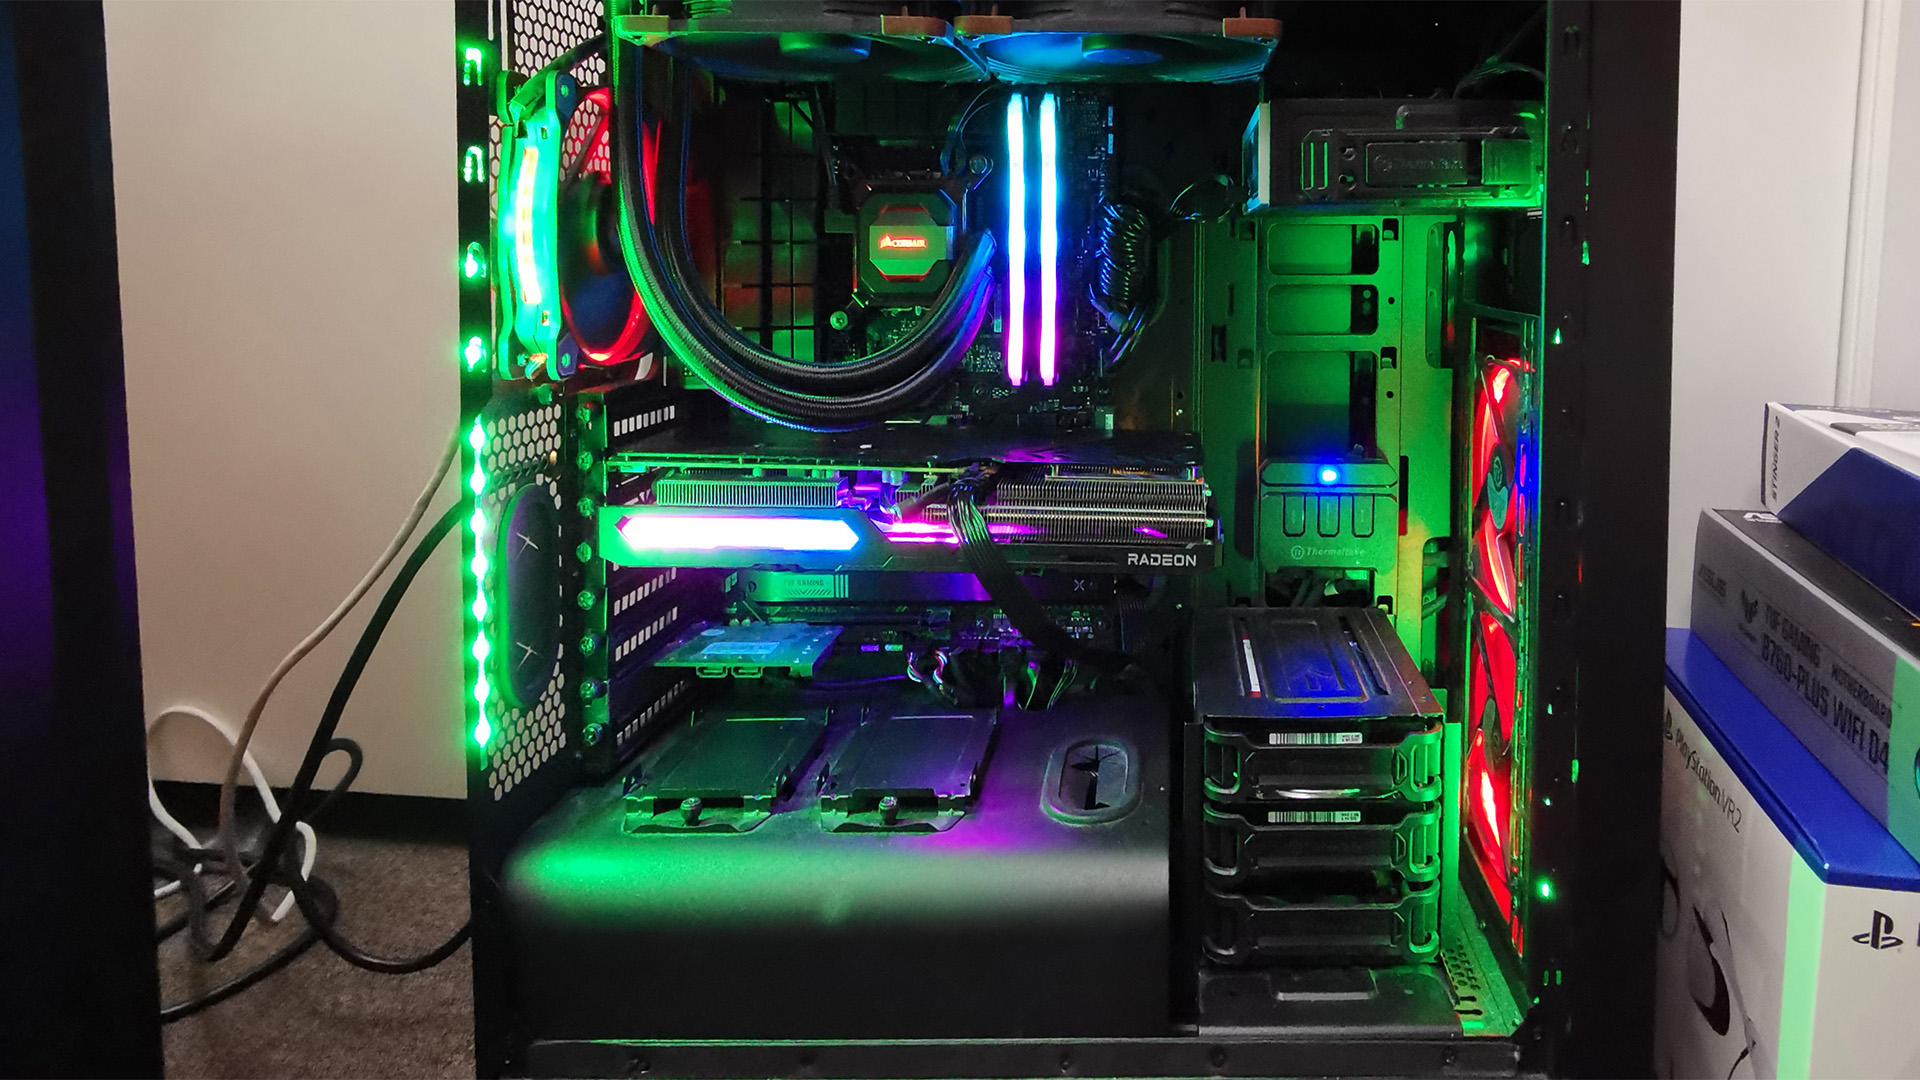
With the Core i5-13600K CPU (cooled by a Corsair AIO cooler), 32GB of DDR4 memory, and a couple of M.2 drives installed, the machine booted the first time.
The inclusion of a driver disc is a puzzling throwback to an earlier time, with the likes of MSI now supplying USB thumb drives, instead. The PC will still boot with Windows defaults, but you’ll need to go on the Asus website and update and install the specific drivers for the board.
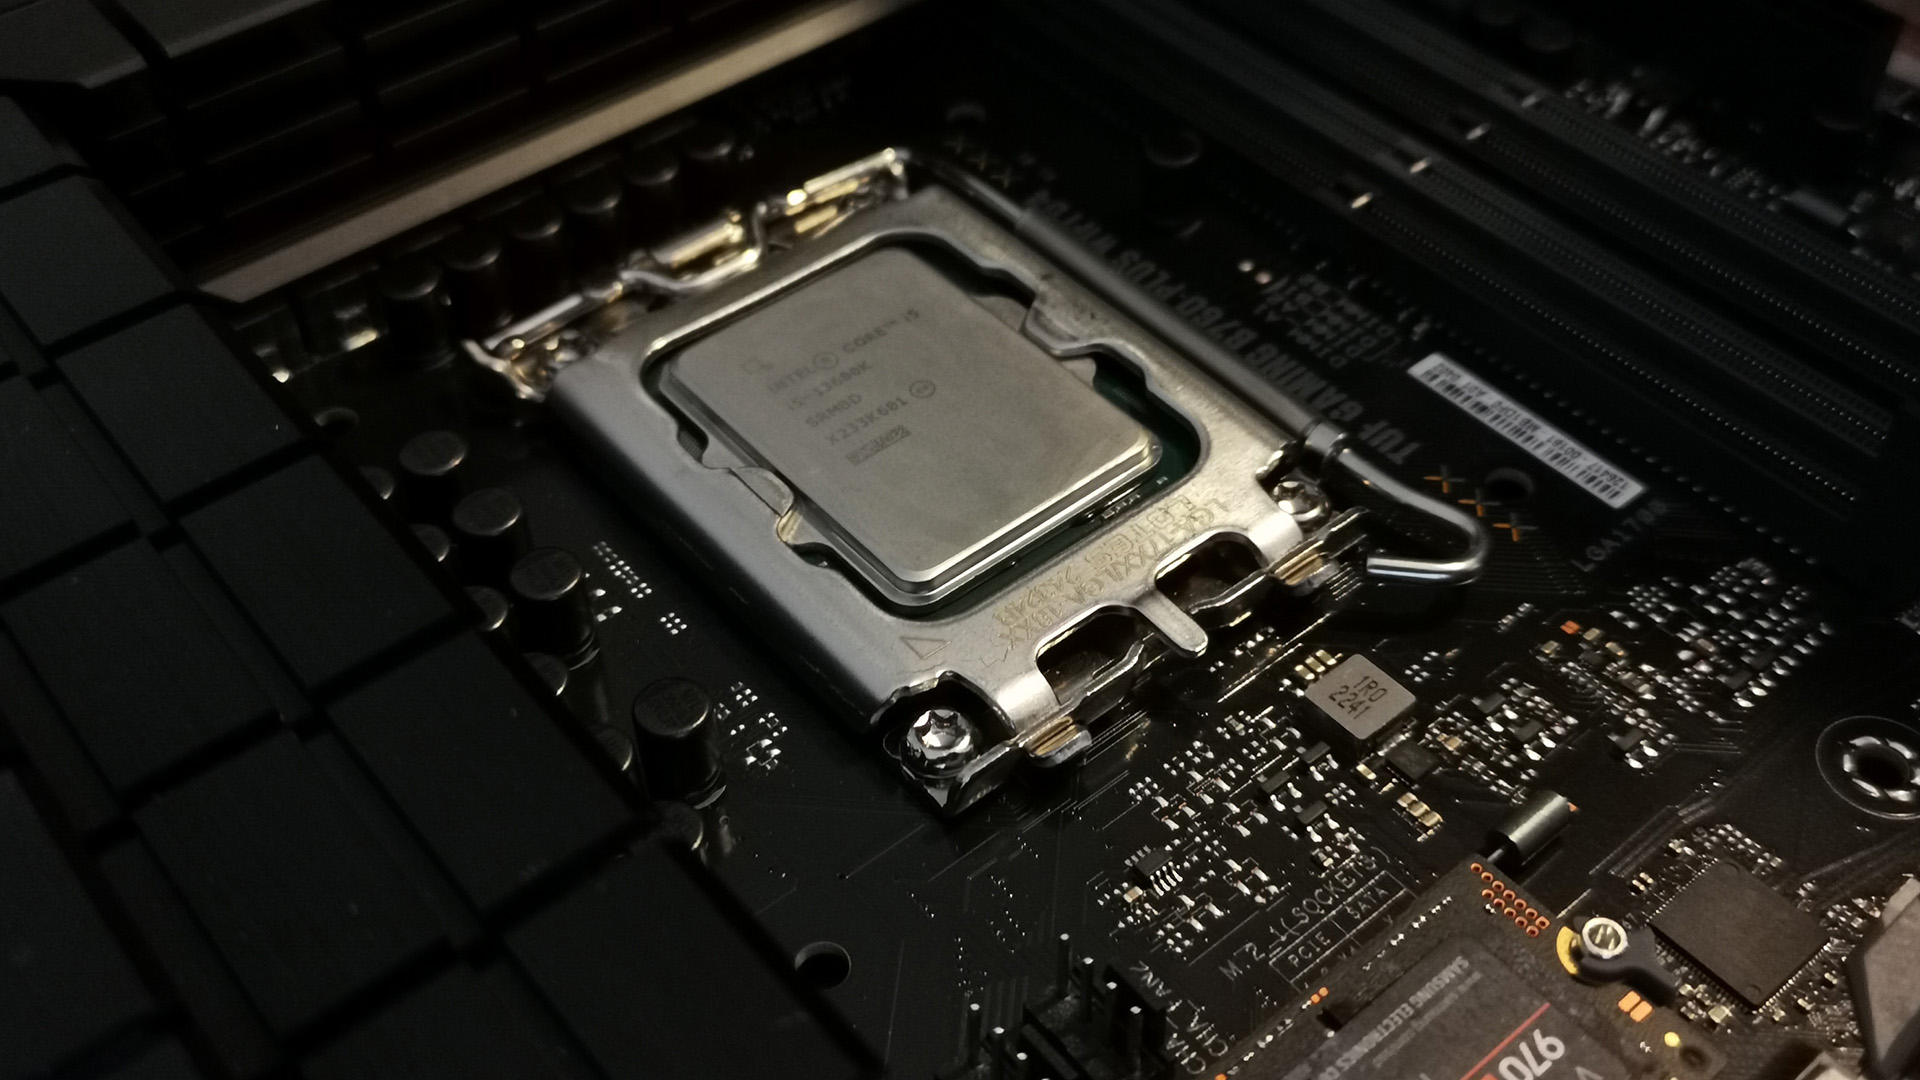
It’s worth noting that whilst the motherboard correctly sets the CPU frequency, it will not automatically set the memory to the XMP timings. Other settings, such as secure boot and Resizable BAR may also need to be manually selected.
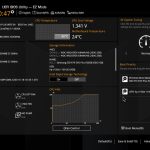
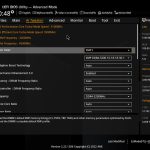
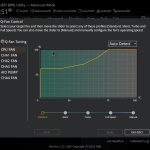
Fortunately, Asus’ easy-to-use UEFI BIOS dashboard makes configuring and fine-tuning the motherboards very easy. Pressing the delete key as the machine starts accessing the UEFI menus. The board defaults to the EZ menu, allowing the XMP setting to be engaged without the fear of messing up any other settings. At the top of the menu, the Resizable BAR setting can also be accessed. EZ mode also allows access to the board’s Q-FAN controls to automatically adjust fan speeds according to component temperatures.
In the EZ menu screen, you can see the main difference “under the hood” between Asus’ B760 board and its Z790 board. The system tuning option at the top right of the EZ UEFI screen only has the choice of “normal” and “power saving”. The more expensive boards also have AI overclocking features that you don’t get with the B760 board. Asus’ AI overclocking allows users to get a little bit more out of their machines without having to mess about manually adjusting frequencies and voltages. Switching to “Advance mode” gives more experienced users access to all the board’s settings to fine-tune the PC performance.
I can’t stress enough just how well-designed the Asus BIOS user interface is. It’s easy to use for both newcomers and veterans alike. As well as tuning the board’s performance, BIOS updates, automatic/optional integration with Asus’ Armory Crate, and the MyAsus app can all be activated via the UEFI BIOS dashboard.
If you are after a smart, nice-looking, no-nonsense but still fully functional motherboard to complement your Intel 12th or 13th Gen CPU and DDR4 RAM, the Asus TUF Gaming B760-Plus WIFI D4 motherboard will fit the bill.

