Microsoft Flight Simulator is introducing a whole new generation to the wonders of flight.
As with all flight simulators, from Elite: Dangerous to Digital Combat Flight Simulator, having the right controller makes all the difference. The same goes for MSFS.
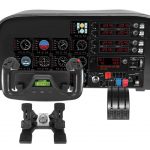
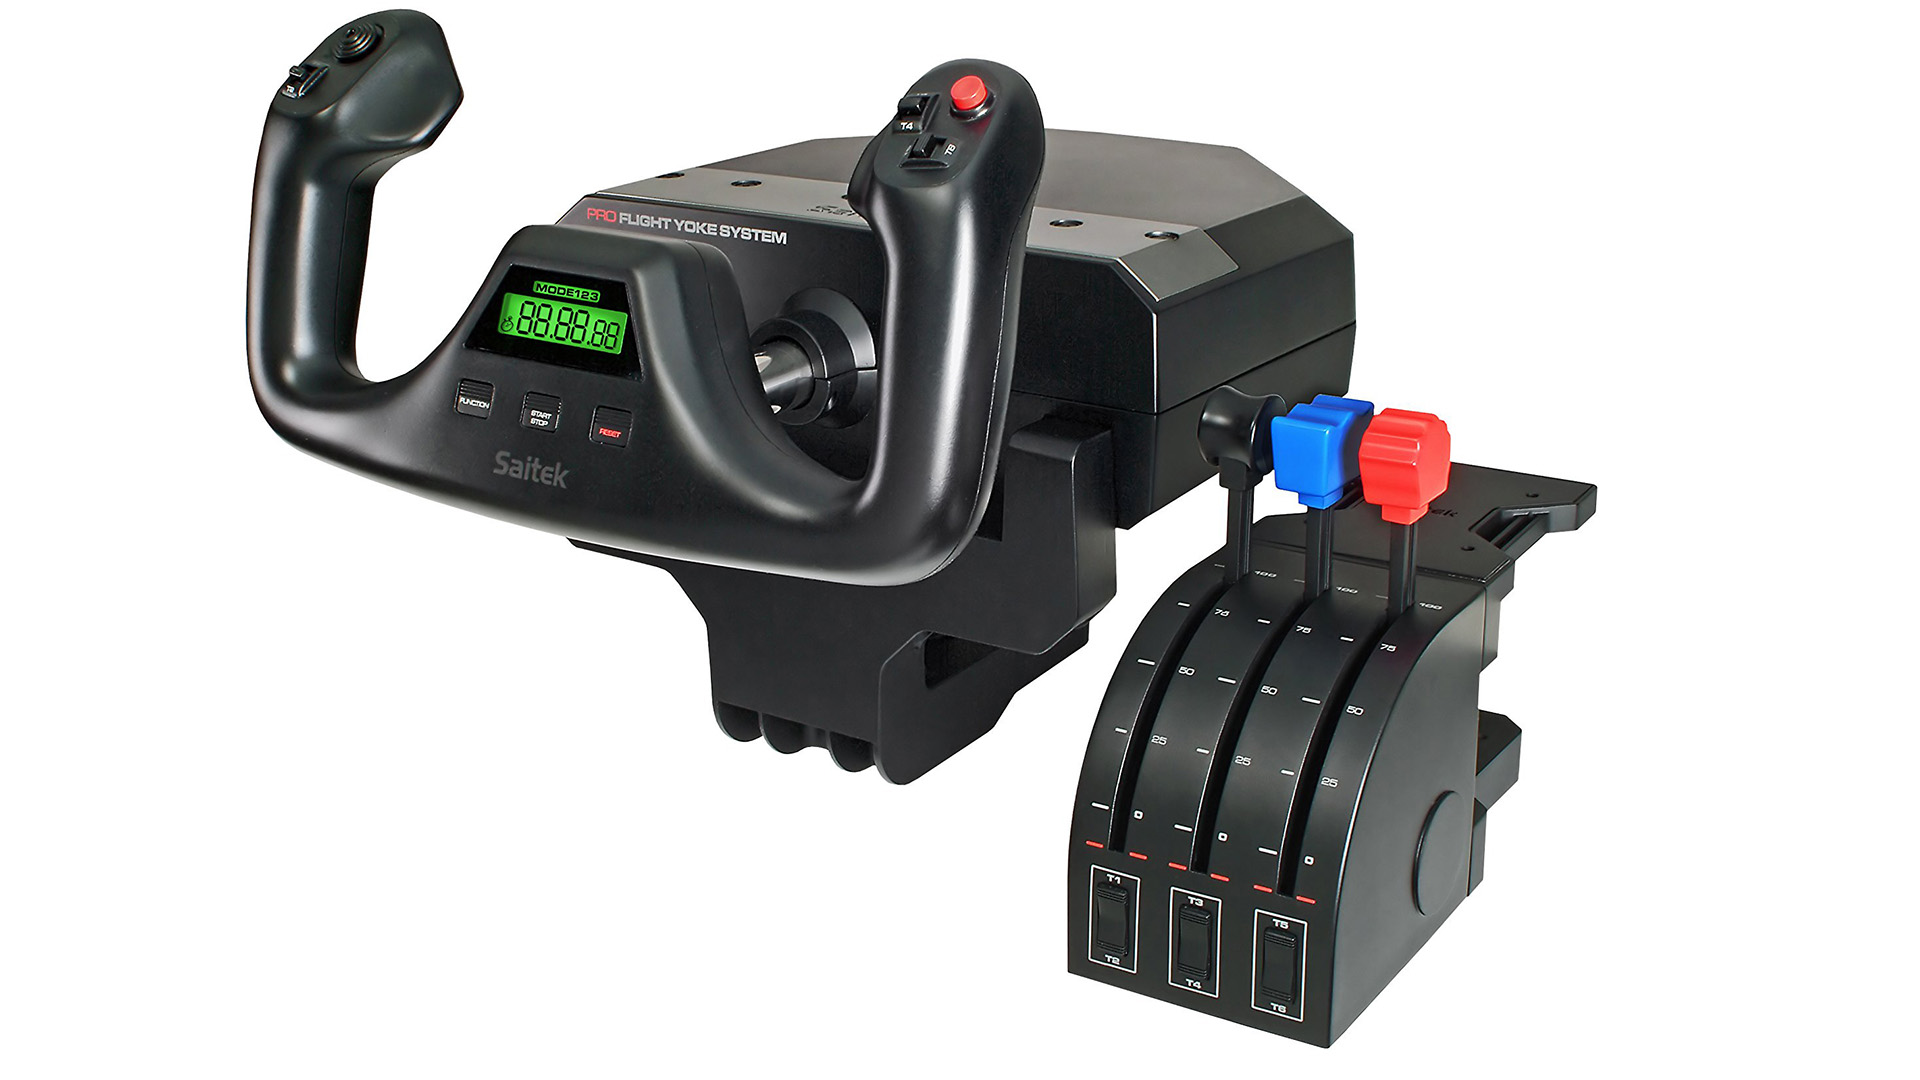
Logitech’s Flight Yoke System provides flight sim fans with controls similar to that of a light plane and many jet aircraft. It also provides the base for optional modular instrument panels that can be connected to form a complete cockpit experience.
A few years ago, I replaced my trusty 20-year-old Saitek Cyborg Gold 3D joystick with a Logitech X52 Pro. It wasn’t because the ambidextrous Cyborg joystick was broken (it still works). I’d wanted to upgrade to a HOTAS (hands-on throttle and stick) setup for a while, but this meant getting used to using the joystick with my right hand, and being a left-hander, this put me off.
A late-night Twitter discussion with Elite co-creator David Braben (also a lefty), had the legendary developer effectively tell me to suck it up and buy a HOTAS. I took the plunge with the X52 and my experience with the likes of Elite: Dangerous (which models the in-game flight controller after the X52 Pro) and Digital Combat Flight Simulator improved no end.
Microsoft’s latest iteration of their long-running Flight Simulator series mainly features general aviation and some commercial aeroplanes. Whilst you can fly using a keyboard and mouse (good luck with that), Xbox controller, HOTAS, or regular joystick, a decent flight controller makes for a more immersive set-up.
Whilst my X52 Pro did the job, I was acutely aware that except for the Airbus A320, every plane in the game used a flight yoke rather than a joystick. Having flown a Cessna 150 a few times, I know that the sensation of controlling a plane with a yoke is a lot different than that of a joystick.
Having already transitioned from using a twist of the X52 Pro’s joystick for the rudder and getting a set of rudder pedals, I thought it was time to look into a flight yolk.
Logitech’s Flight Yoke System has been around for years. Previously marketed by Saitek, which was bought out by Madcatz, which were then bought out by Logitech, it’s been the go-to flight yolk for many sim flyers. Right now, it’s really one of only two consumer-level flight yolks on the market, the other being from Honeycomb.
I’ve heard good things about the Honeycomb yolk, and so I should as it is twice as much as Logitech’s. Whilst the Honeycomb setup requires the yolk and throttles to be purchased separately, the Logitech kit comes complete. The Honeycomb Yolk does, however, have some extra buttons on the yolk unit for engine start, etc.
Apart from the cheaper price compared to the Honeycomb kit, Logitech’s flight gear is modular. Very modular, in fact.
Flight sim fans can pick up just the Logitech yoke with the throttle quadrant (I’d recommend rudder pedals as well) and head off into the clouds. The more discerning pilot can purchase another throttle quadrant, which can plug into the USB hub built into the yolk, and be all set for multi-engine planes. But it doesn’t stop there. There are enough Logitech flight accessories to build a fully-functioning small aircraft cockpit if you have a big enough wallet.
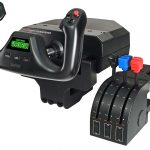
The Logitech Flight Yolk System comes with a base unit (the yolk i.e. the plane’s “steering wheel”) and a throttle quadrant. The Yolk has a digital clock with a stopwatch in the centre.
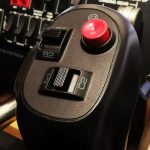
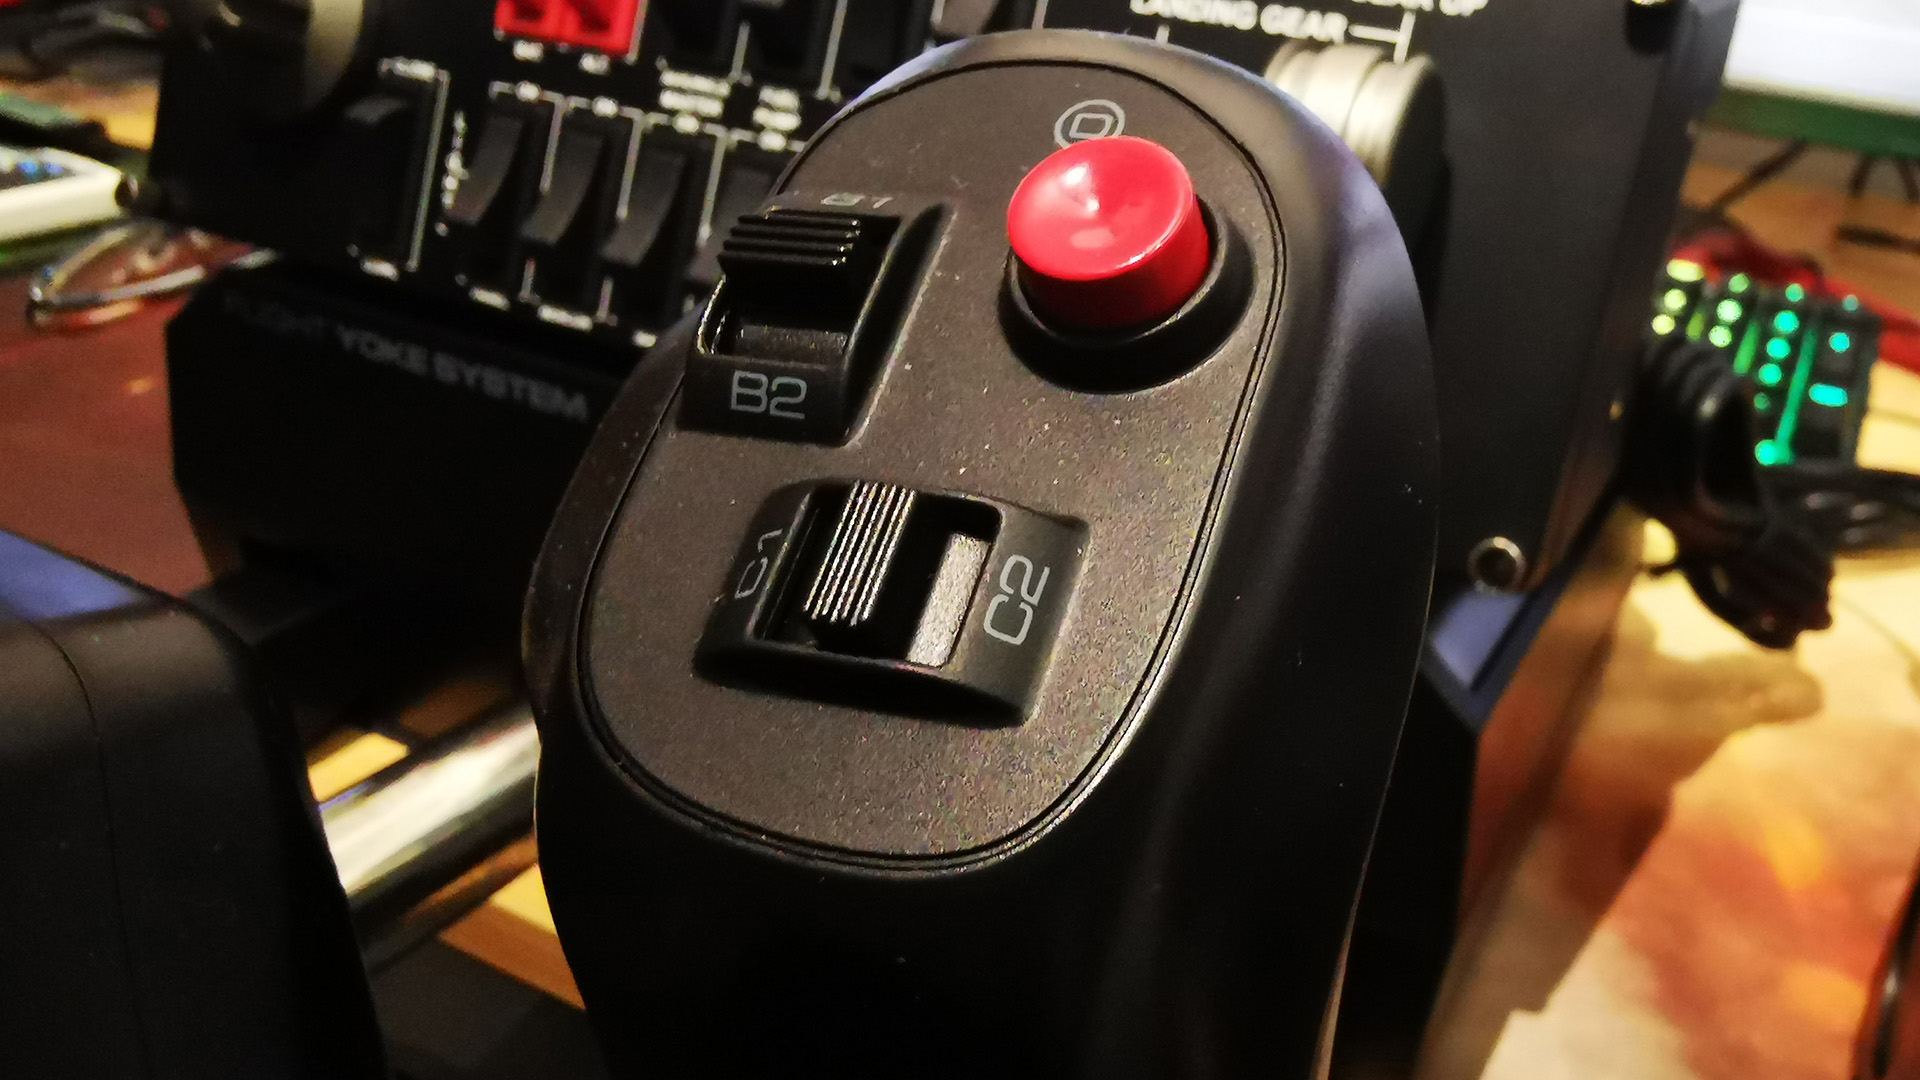
On the left handle of the Yolk, there’s a hat switch, a 2-way rocker switch, and a button on the underside. The right handle of the Yolk has a red button and rocker switches aligned vertically and horizontally. The rocker switches are handy for essential actions such as trim controls and landing gear.
There’s a dial on the underside of the right Yolk handle for switching to the three modes that can be used to customise controls for alternative uses. This uses the programming software to set up profiles available from the Logitech website.
The Yolk feels very comfortable in your hands. It’s actually bigger than the Yolk you’d find in a Cessna 152/172!
It is made from plastic and does feel very plasticky. It’s a common criticism of the unit, perhaps because, otherwise it is a very good set-up.
The Yolk has a metal shaft that gives just the right resistance when pushed and pulled to adjust the elevators. This makes manually maintaining an altitude a lot easier than with a joystick. Similarly, turning the Yolk offers a lot more resistance than my joystick, adding precision and the feeling of a bit of weight behind the aircraft handling.
The Yolk does stick a bit if you lean down on it when pulling it back or pushing it forward. By not applying unnecessary force on the metal shaft, it moves smoothly and freely. Better bearings would probably have elevated this minor issue.
The throttle quadrant has three levers, defaulting to throttle, prop speed, and mixture.
The different shapes of the levers make them easy to feel for (especially useful if you are flying in VR). There are also three 2-way rocker switches, perfect for flap control, brake, or landing gear. The sides of the throttle quadrant have circular areas that can be used to mate with additional USB quadrant units, available separately, for controlling the power when flying multi-engine planes.
Setting up the Flight Yoke System was simple and without issue. The throttle quadrant connects to the Yoke unit via a PS/2 socket and the Yoke unit plugs into your PC via a USB cable.
The Yoke base unit has a three-port USB hub for more accessories (more on that later). The Yoke can be screwed into a dedicated cockpit setup or affixed to a desk using the included mount. Similarly, the throttle quadrant can also be directly screwed to a 3rd party cockpit arrangement or attached to the supplied desk mounting bracket.
After installing the drivers downloaded from the Logitech site and connecting the set-up to my PC, Microsoft Flight Simulator recognised the Yoke and assigned the default switches. I customised the setup to add brakes and the external view to the throttle quadrant switches, but other than that the defaults were spot on.
The first flight really bought home just how unrealistic it is flying a prop plane with a joystick.
The Yolk feels so much more positive than a joystick.
Whilst a joystick may be great for performing an Immelmann turn at Mach 1, general aviation passengers expect a smooth ride. A well-trimmed Yolk will give a pilot the ability to gently adjust the plane and keep the passengers’ breakfast down.
The Yolk seemed to realistically simulate the delay between adjusting the control surfaces and the action of the aircraft, which is not so apparent with the small movements of a joystick. The whole flight experience was so much more realistic. But this added realism took some getting used to. Whereas I’d be able to leisurely realign my aircraft on final approach with quick wrist actions via my joystick, guiding my aircraft down the centre-line with the Yoke required more deliberate actions.
The Yoke unit comes with a series of holes, with Allen screws (Allen key not included), along its top for mounting optional panels.
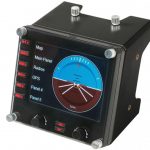
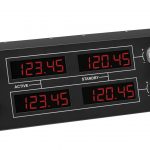
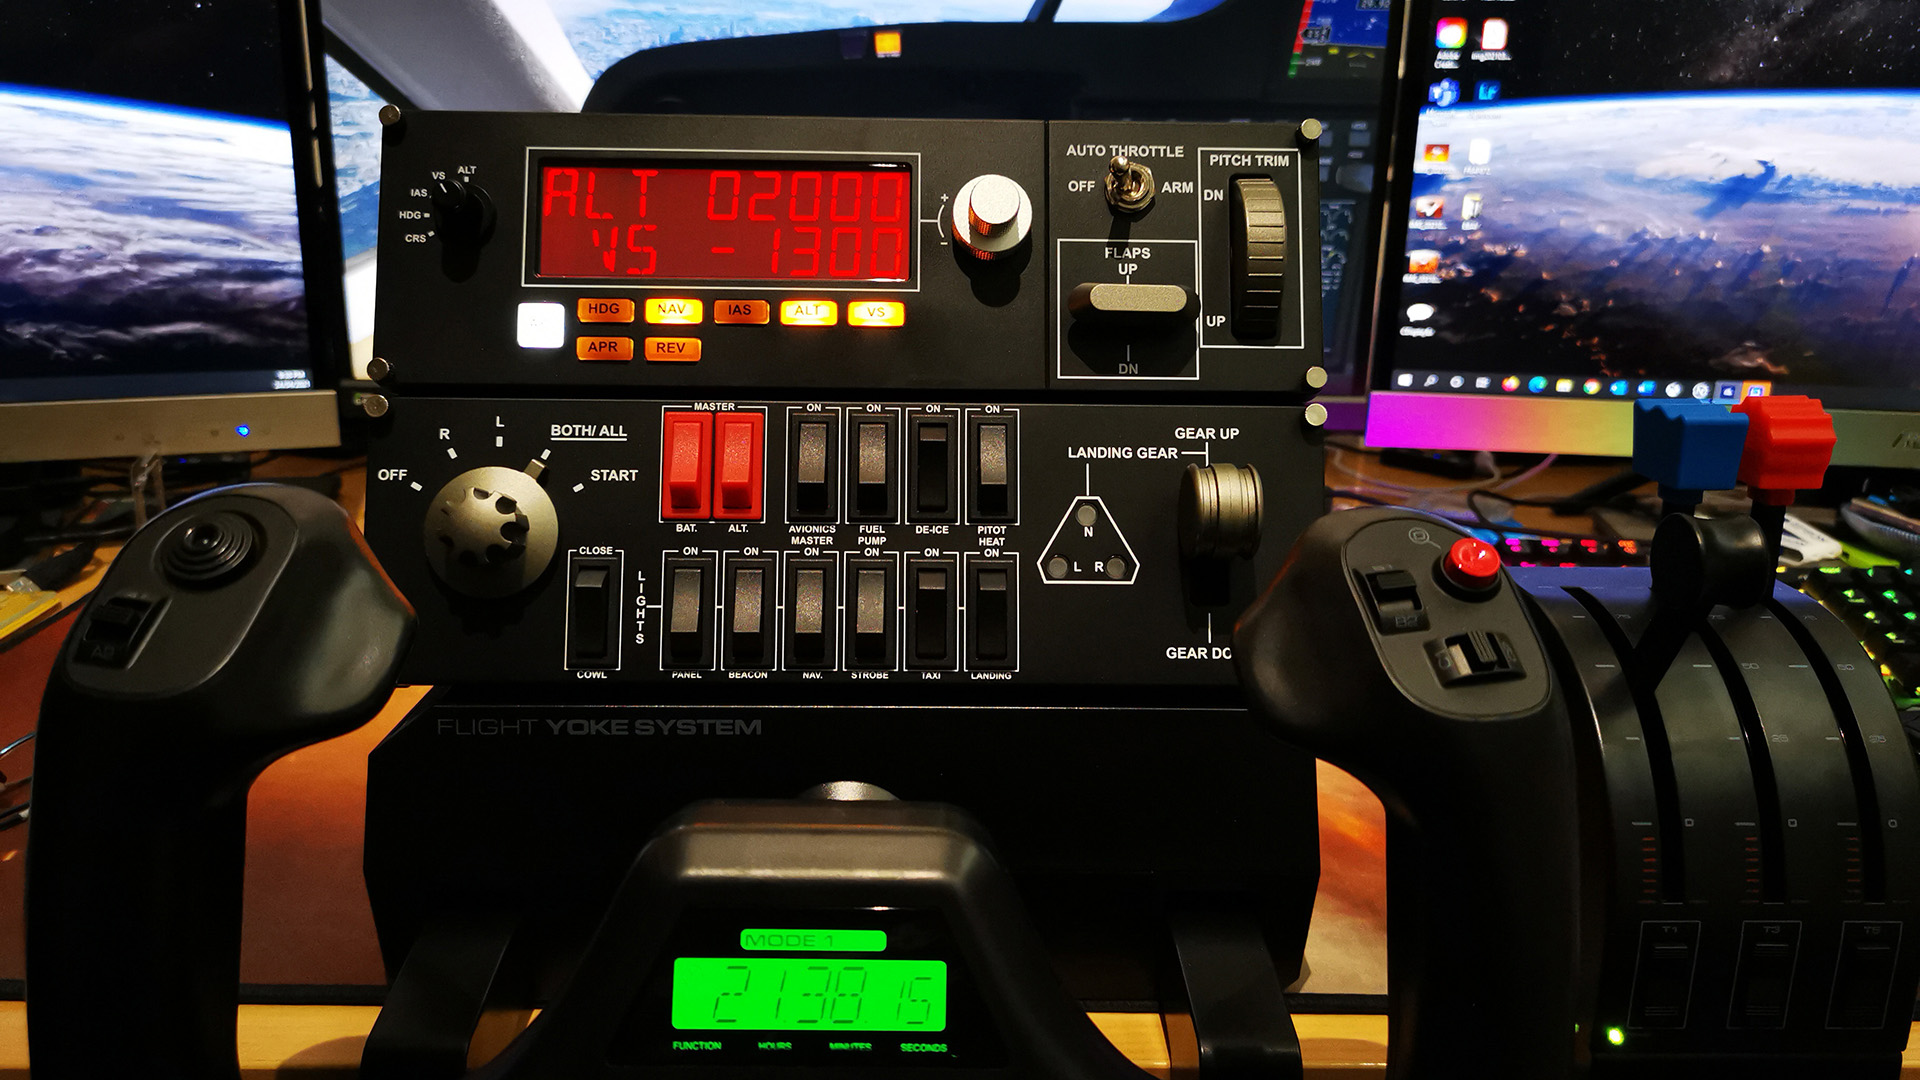
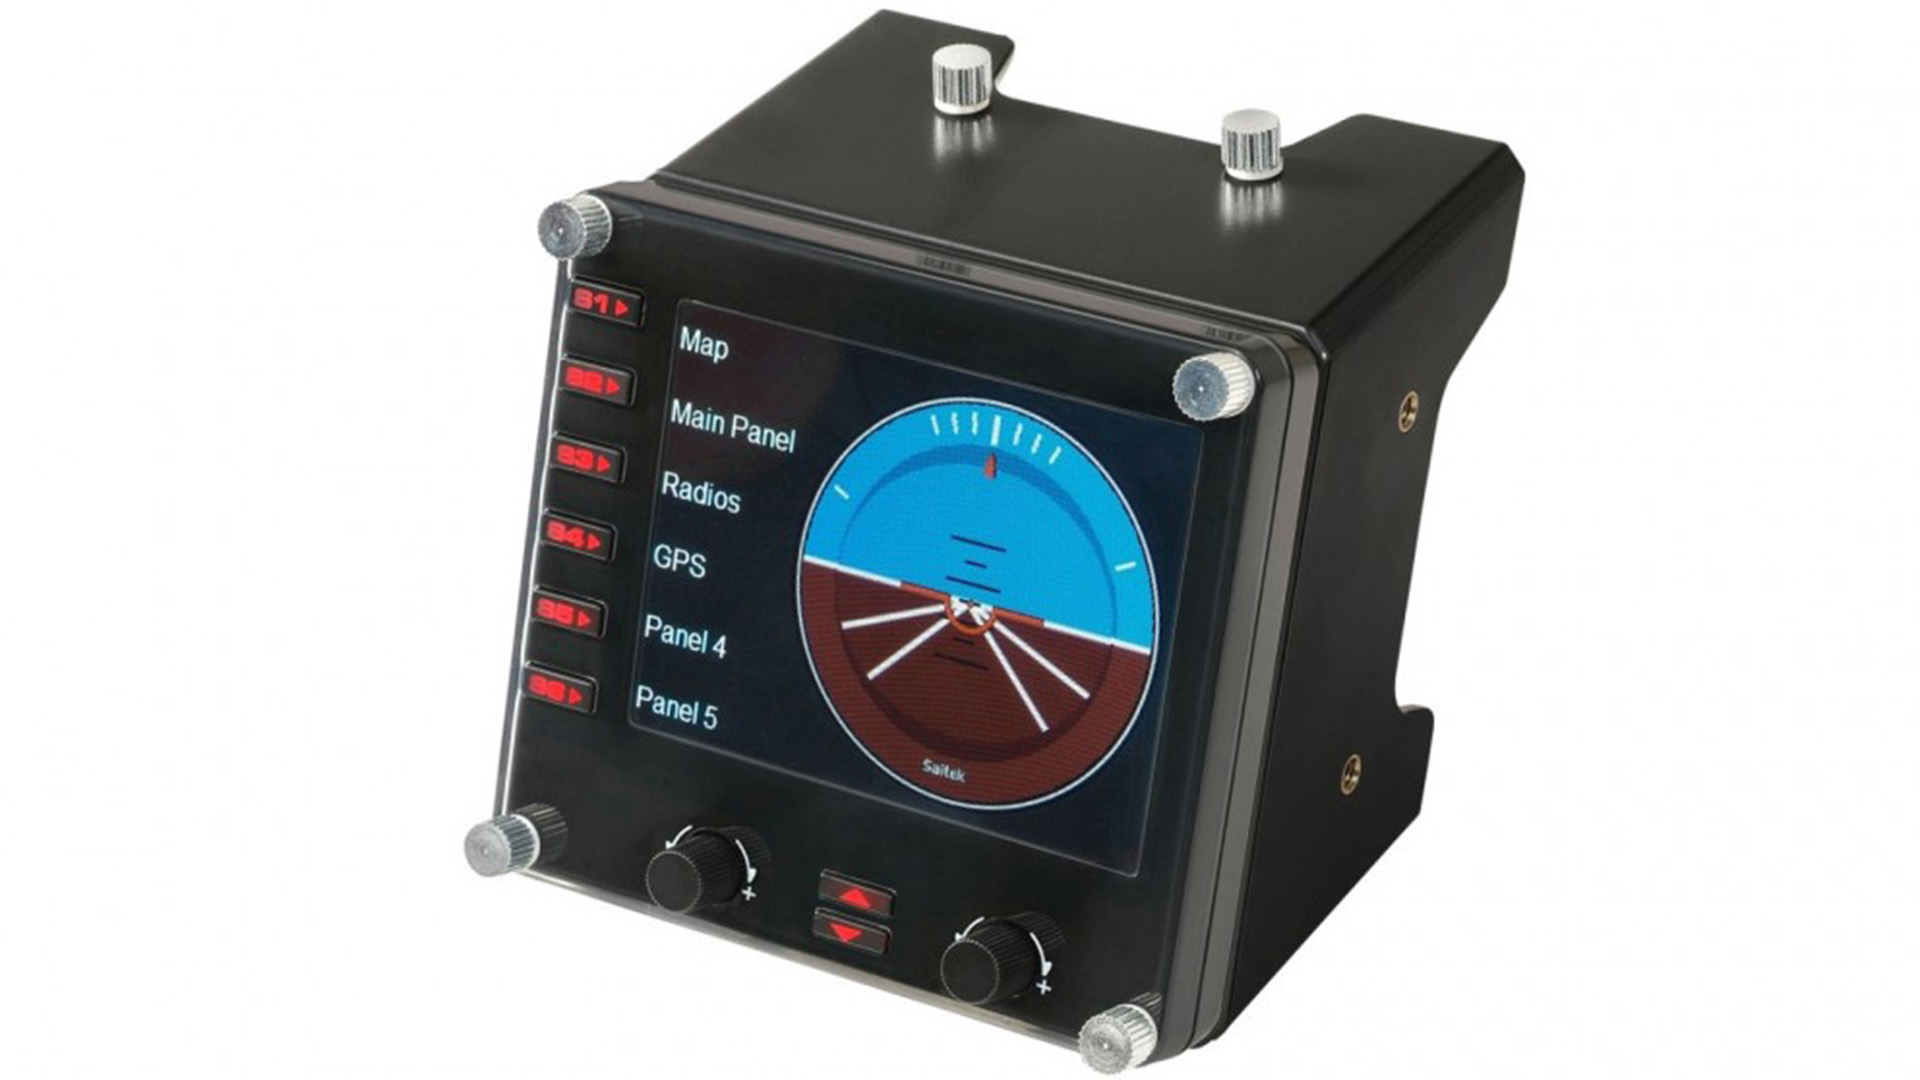
There are three additional panels available: the Flight Switch Panel (which also has the landing gear controls), the Flight Radio Panel (both nav and coms), and the Flight Multi Panel (which has autopilot, flaps, and aileron trim). There’s also an LED Flight Instrument Panel that can be customized to display attitude, vertical speed, etc. Multiple Flight Instrument Panels can be used together to complete the cockpit.
A full cockpit setup isn’t going to be cheap, but as Logitech allows sim fans to purchase the modules separately, the expense of these optional components can be spread.
As well as the Logitech Flight Yoke I also picked up a Flight Switch Panel and, a week later, a Flight Multi Panel.
The Logitech Flight Switch Panel comes with a mounting bracket that can be affixed to the top of the Yoke unit or on your desk with the included sticky-backed velcro. The panel can also be used without the bracket for insertion into a 3rd-party cockpit facia.
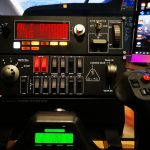
I screwed the bracket to the top of the Yoke unit and inserted the Flight Switch Panel. The back of the panel has a USB cable that I connected to the Yolk unit’s hub.
The Yolk unit has quite a low profile, so even with the Flight Switch Panel attached I was still able to see my monitor over the top.
This was also the case with the second panel, attached via the four holes along the top of the panel, but a third panel stacked on top would likely obscure my view. The sides of the Flight Panels have two holes for attaching additional panels, as well, which would get around the height issue.
The Logitech Flight Panels have an additional plugin that needs to be downloaded from the Logitech website for them to work with Microsoft Flight Simulator. On plugging in the Flight Switch Panel and starting the game, I was ready to go.
Interestingly, unlike the Yoke, the panels do not show up in the Flight Simulator control options. This didn’t matter, as all the switches were correctly bound as per the labels.
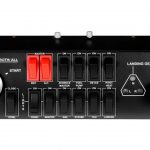
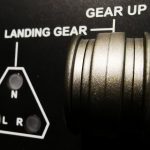
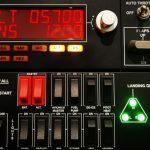
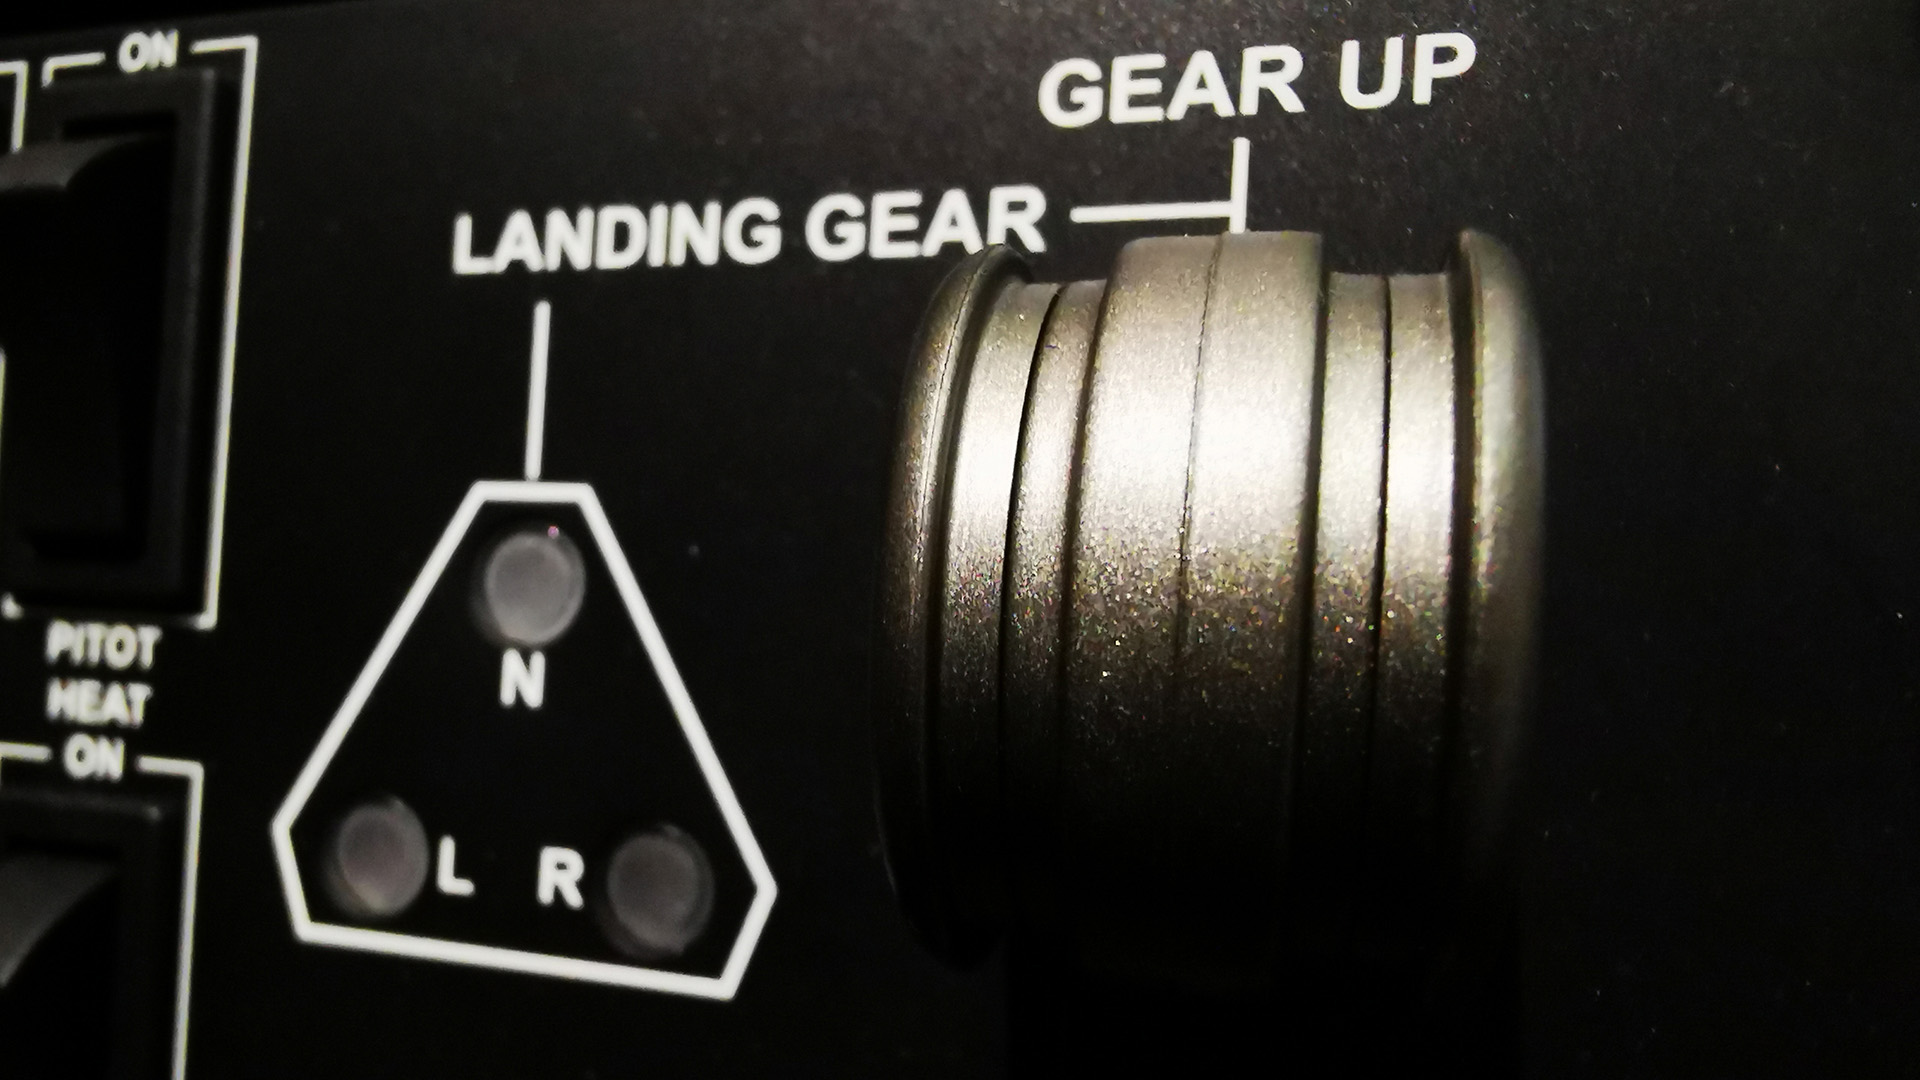
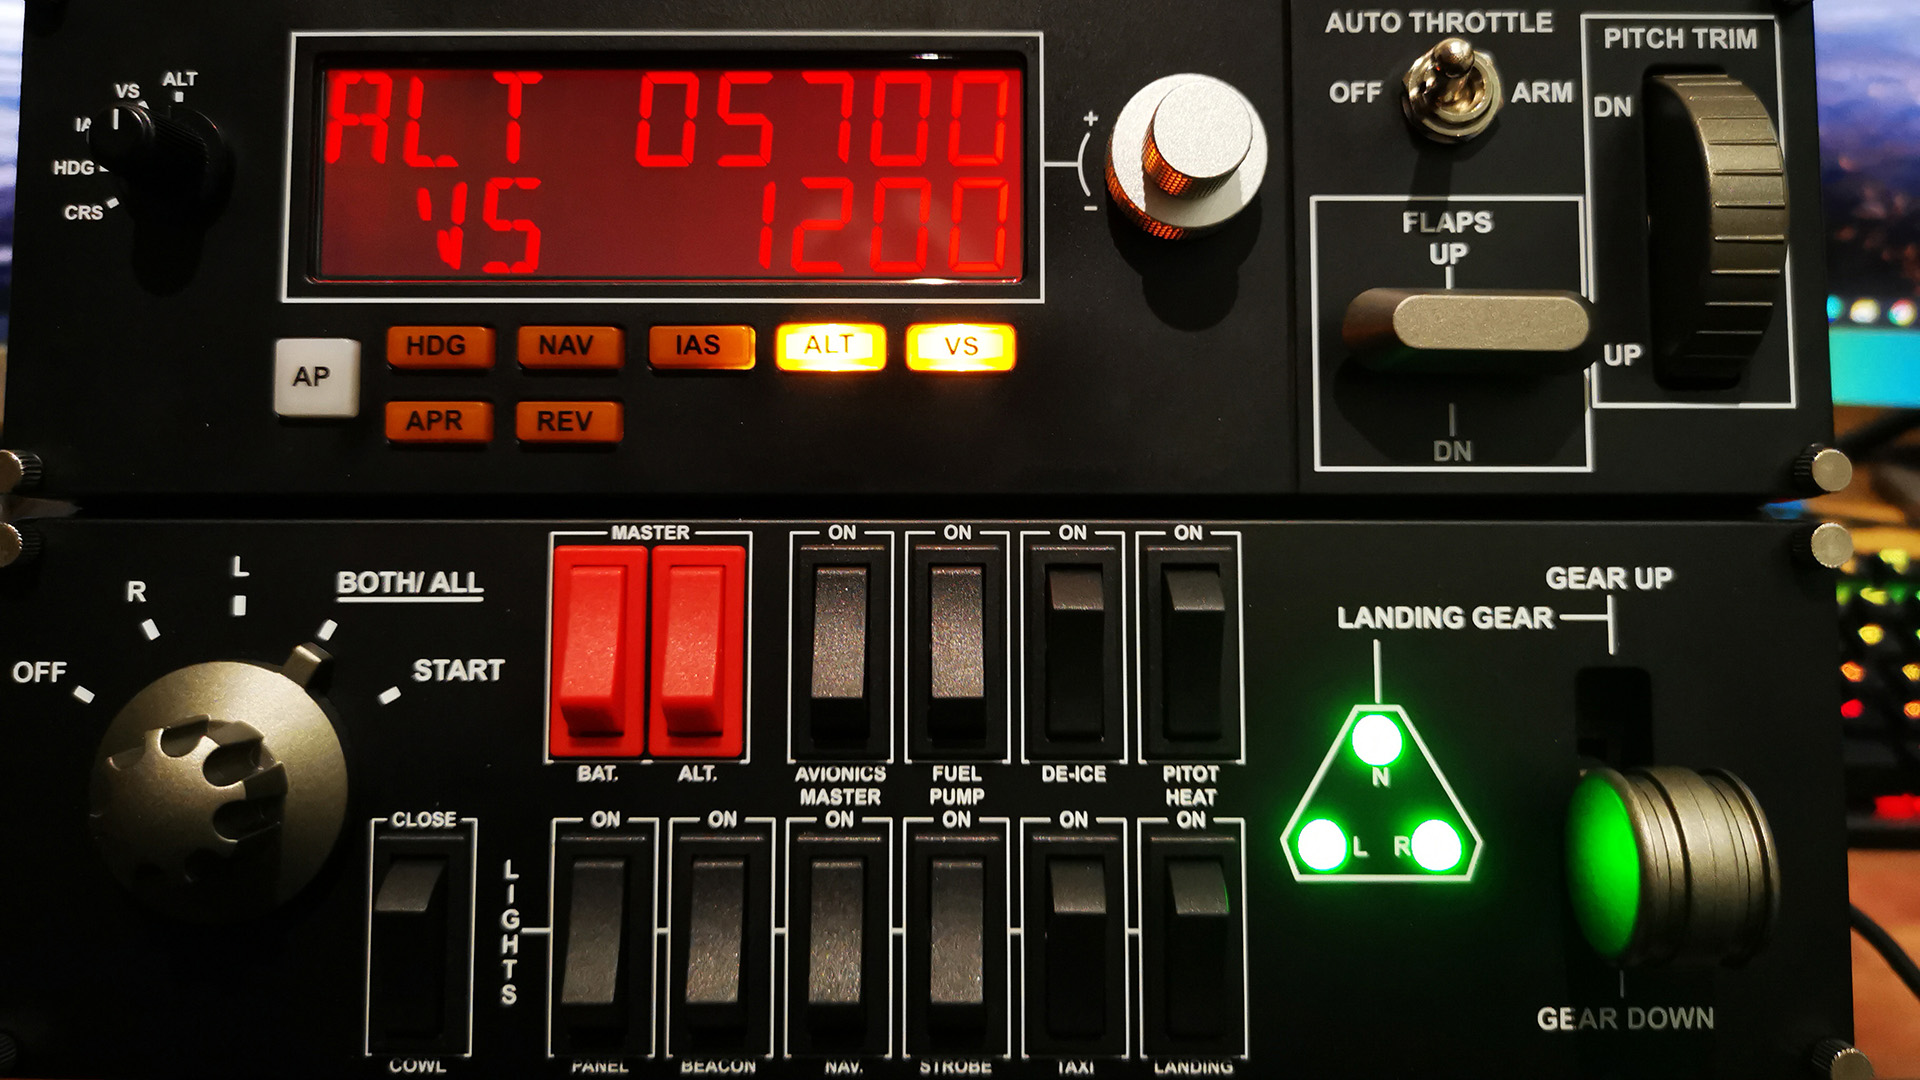
The Flight Switch Panel has a dial on the left-hand side for left and right engine start and a landing gear level, for raising and lowering the wheels, on the right side. Three lights light up red when the gear is in motion and green when lowered. If your particular plane has fixed gear, the lights will not illuminate.
Between the starter dial and the gear lever are the control switches for the batteries, avionics, fuel pump, de-ice, and pitot heat. There are also switched for your plane’s internal and external lighting. The last switch is for opening and closing the cowl. The switches, although plastic, all feel very positive and robust. The ignition dial and landing gear level don’t feel quite as sturdy.
If you usually start your flight on the runway, most of the switch functions on the panel will be triggered automatically. You’ll still get to use the landing gear lever and switch your taxi and landing lights on and off.
I found that the panel encouraged me to start the flight parked up stationary at the gate and carry out the proper start-up procedure before taxing to the runway. I recommend doing this as it adds a massive amount of realism to the game.
The Logitech Flight Multi Panel is the same size as the Switch Panel. Both panels are angled slightly away from the player for a nice, uniform cockpit design aesthetic.
Interestingly, to set up the Multi Panel I needed to plug it directly into my internal USB hub as the display did not illuminate when plugged into the yolk hub. Likely more to do with the low power supplied via my external USB hub than the fault of the Logitech equipment. Worth noting if you come across a similar problem, though.
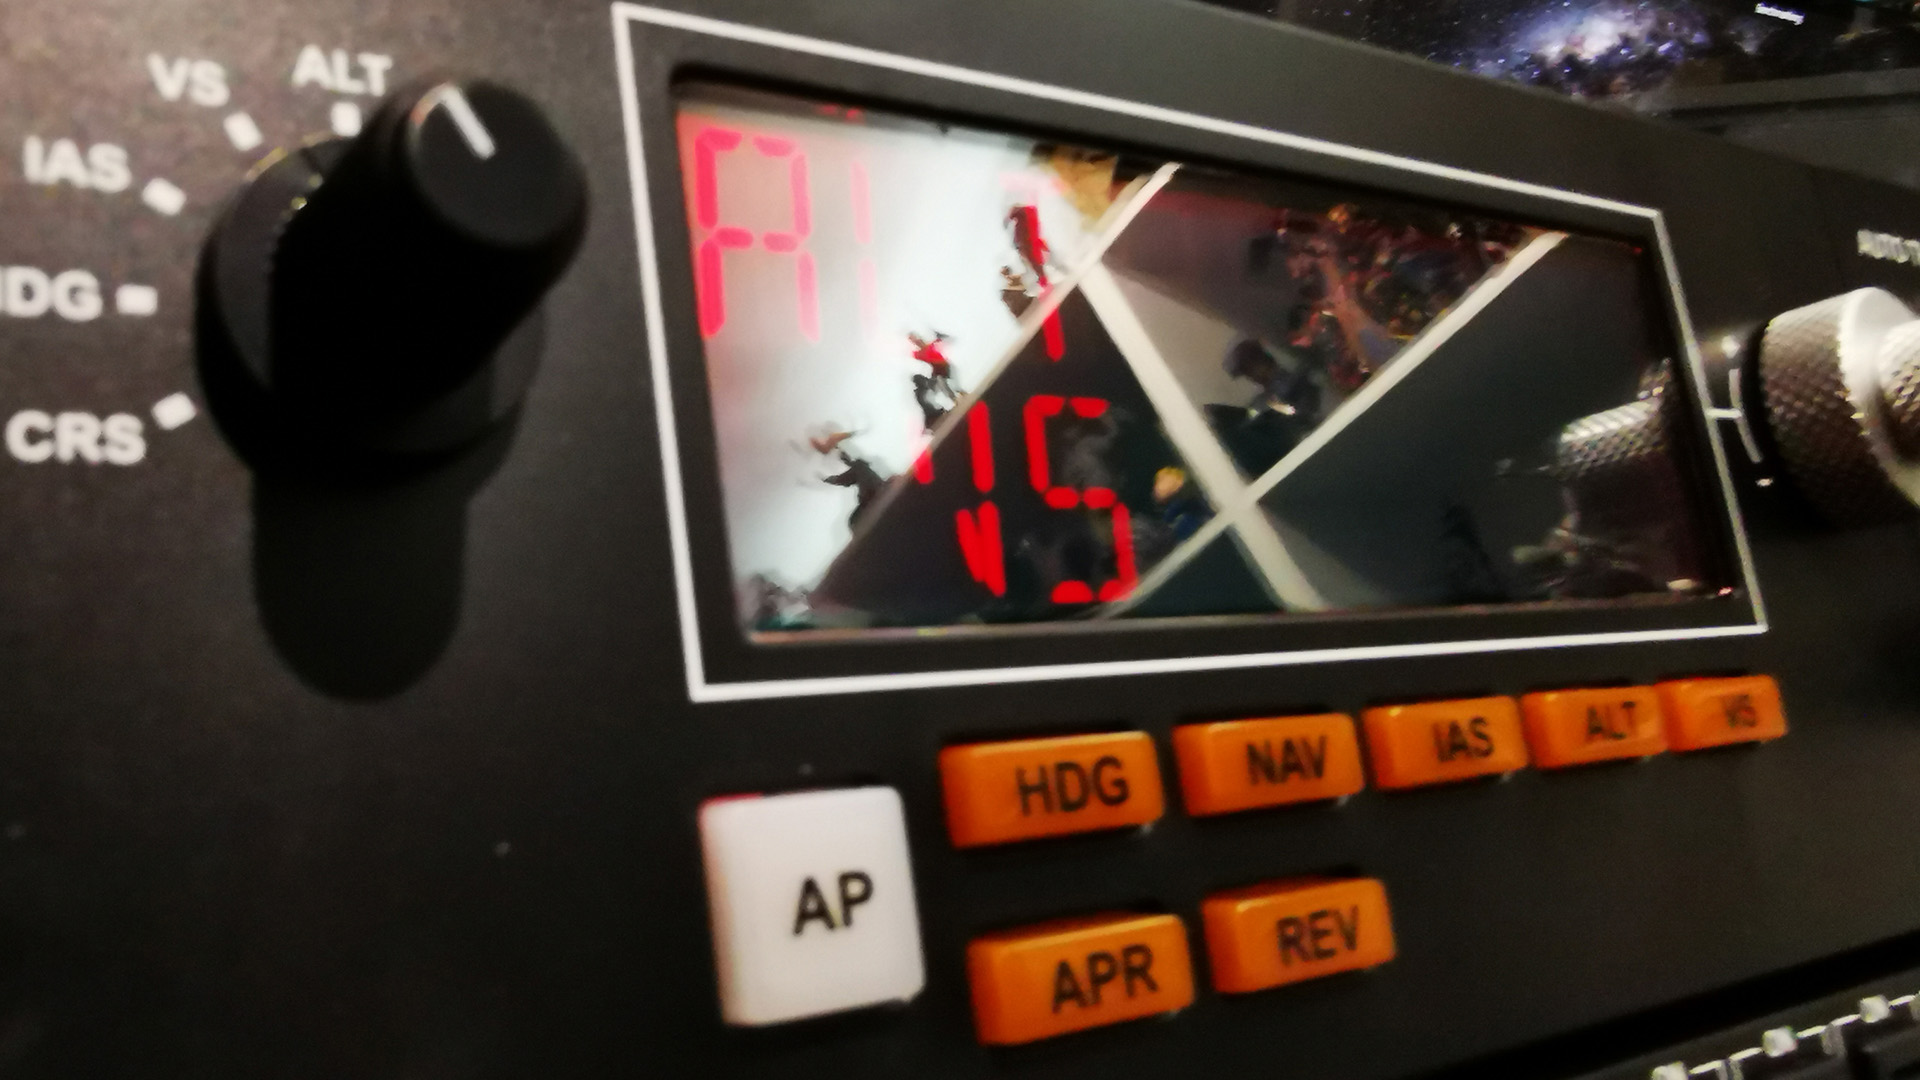
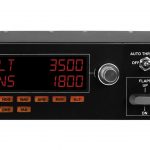
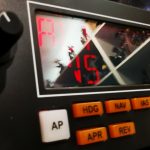
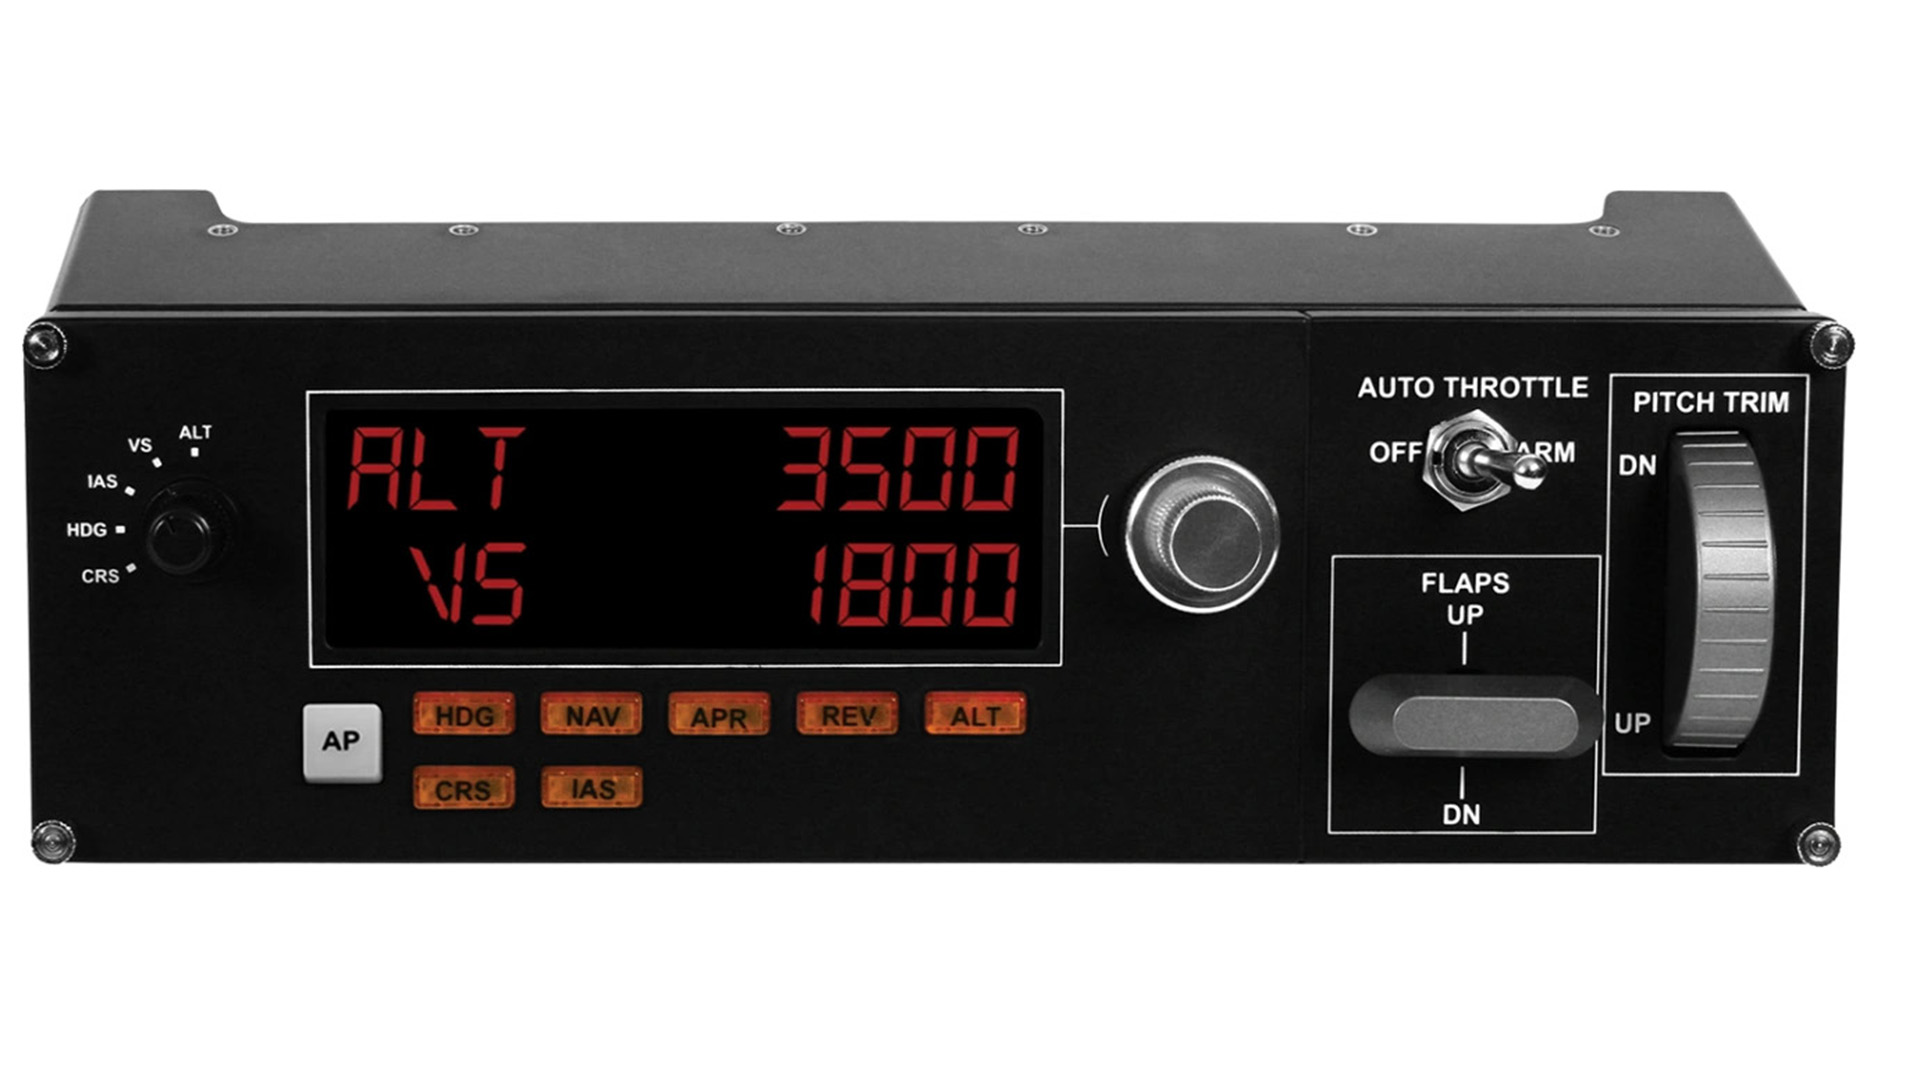
The Multi Panel is, effectively, the controls for your plane’s autopilot. The LED display can illuminate two lines of data for the various autopilot settings.
The rotating dial on the left of the display can be used to select desired altitude, vertical speed, indicated airspeed, heading, and course. To the right of the display is a is a dial for adjusting the displayed values. Both dials feel robust and nice to use. The display is also nice and easy to read.
Below the display are the autopilot buttons which, for the most part, mimic the buttons found in the cockpit of the planes in the simulator.
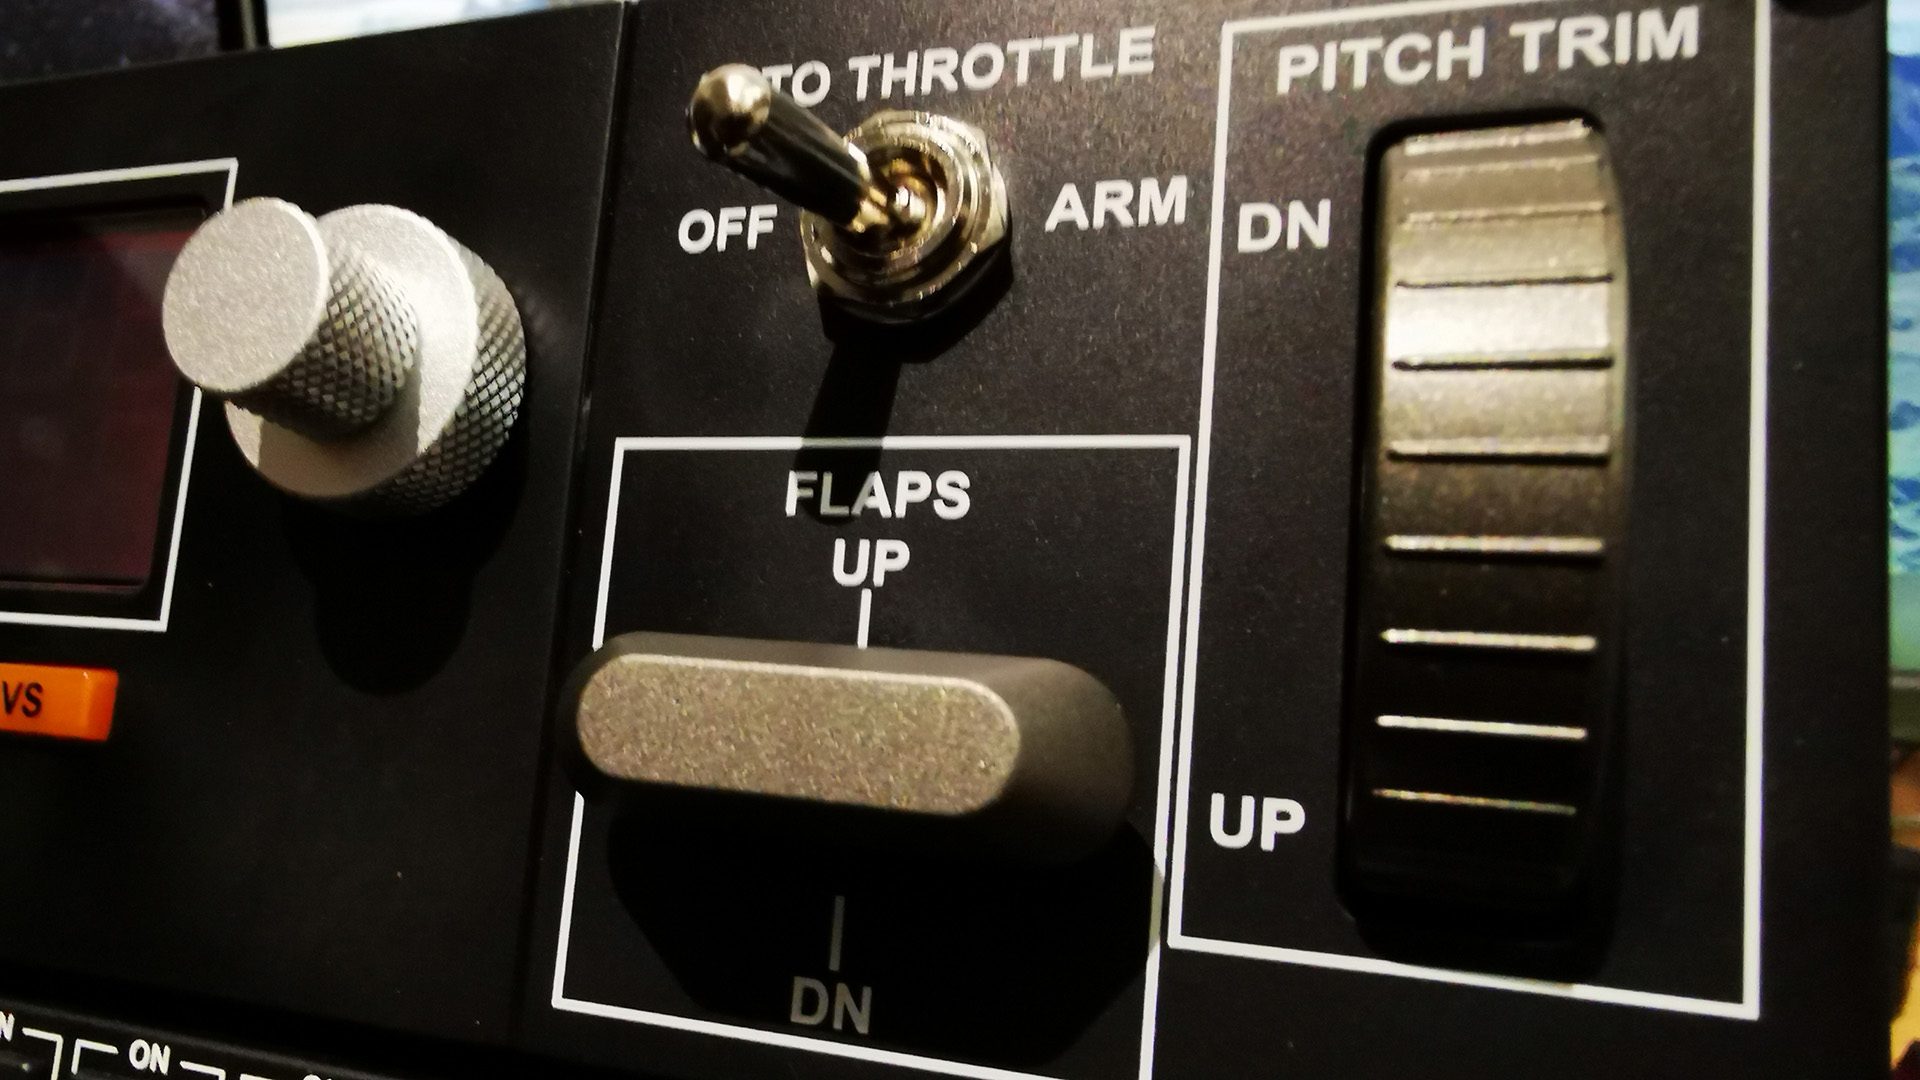
Different models have different layouts, but they all work in essentially the same manner. The HDG, NAV, IAS, ALT, and VS buttons trigger the selected settings as dialled in, with APR for an ILS runway approach and REV for a back course approach. There is also a switch for triggering auto throttle. The final button is the AP button that triggers the autopilot control. The buttons have a positive click to them and all the buttons illuminate when active.
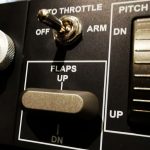
There is additional functionality in the form of a lever for raising and lowering the flaps and a dial for trimming the ailerons. Both are plastic and whilst the trim dial seems robust, the flap level is a bit wobbly. I also found for Microsoft Flight Simulator I really had to turn the trim dial for it to have any effect. Probably better this way than too sensitive, though.
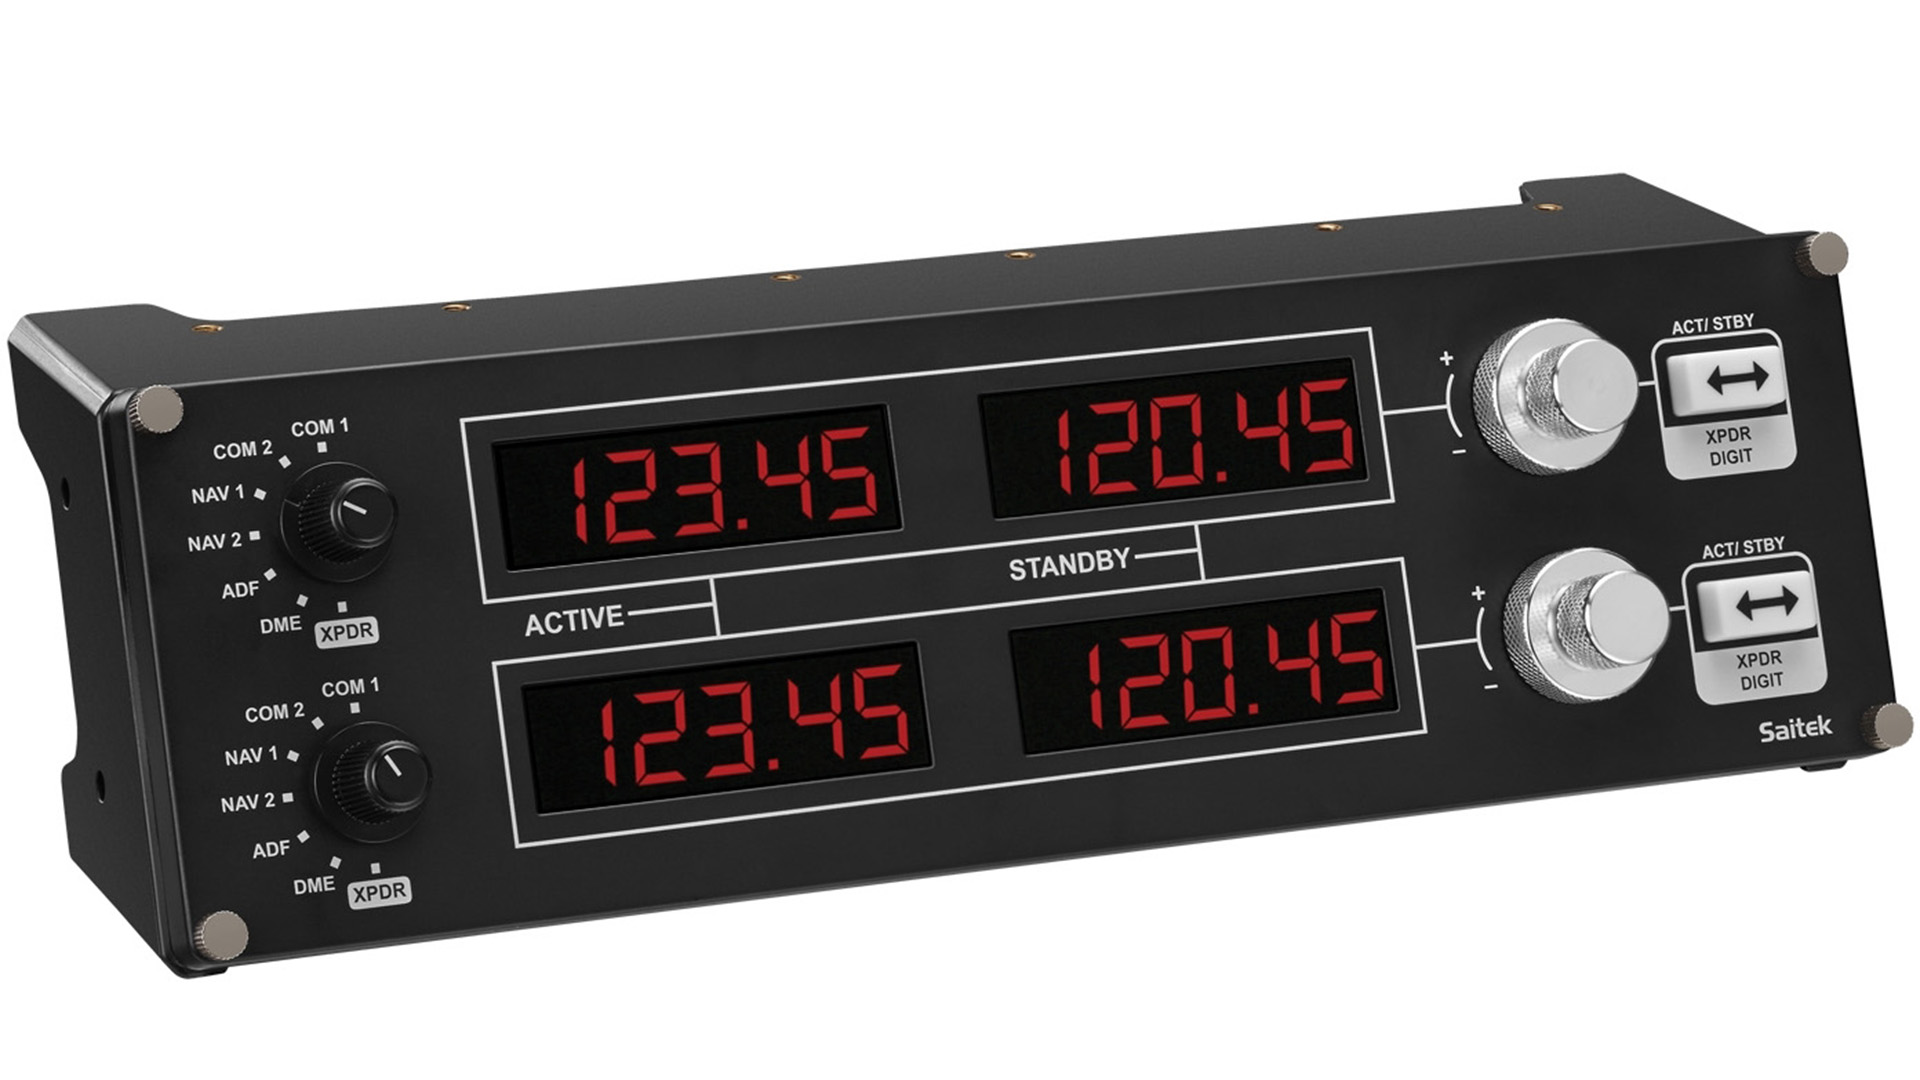
Next on my list will probably be the radio stack, although a flight Instrument Panel would also be nice. Either is cheap at around AU$250 each!
The panels are more like those found in small and medium general aviation aircraft than jets and airliners. Regardless, though, they still give an element of realism, even when flying the bigger machines.
The build quality of the Logitech Flight gear is reasonably good, offering a fair trade-off between price and quality. It may be a little too plasticky for some, but Logitech does use decent parts when they need to be hard-wearing, like the dials and switches.
The Logitech Flight System is still expensive, with a full cockpit setup costing a couple of grand. The modular design allows virtual pilots to build their cockpit as their budget allows from just the excellent yoke and throttle to a fully-fledged cockpit instrumentation set-up.
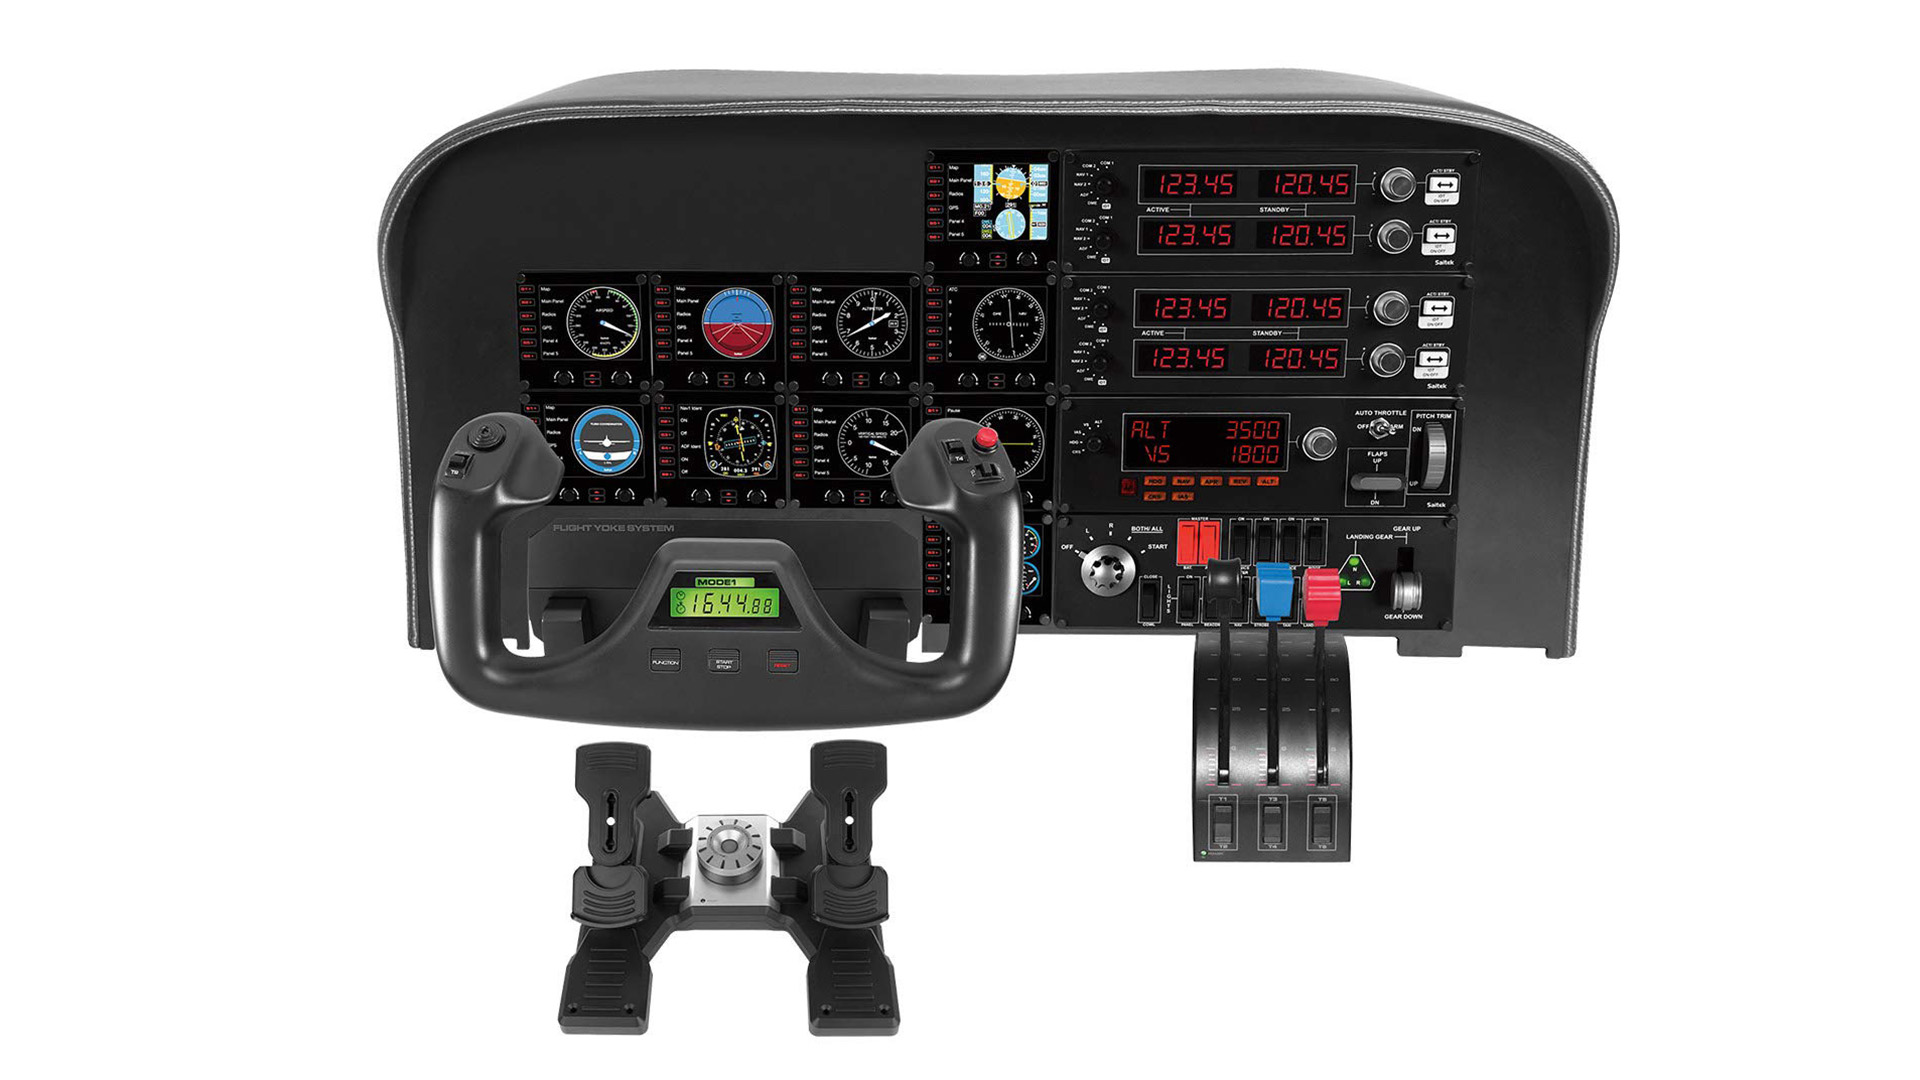
The ease with which I was able to integrate the Logitech Flight System into my Microsoft Flight Simulator set-up is a credit to both the developers of the simulation, Asobo, and Logitech. To be able to just plug all this stuff in and just have it work is exactly what you want.
Having the switches in front of me made me want to start my plane cold on the ramp, going through the start-up procedures and setting my autopilot before taxiing to the runway and off to my virtual destination. Planes are so much easier to adjust in flight, not only because of the feel of the Yoke but also being able to flip switches and dial in headings, etc. on the fly, as it were.
I really can’t express just how much difference the use of Logitech flight simulation gear makes to the Microsoft Flight Simulator experience. Even going from an X52 Pro HOTAS, controlling the plane with a yoke, flipping switches, and selecting settings adds so much, taking the MSFS from a game to a fully-fledged realistic consumer flight simulator.
The Logitech Flight Yolk, Flight Switch Panel, and Flight Multi Panel were purchased by the reviewer at retail and not supplied by Logitech.
