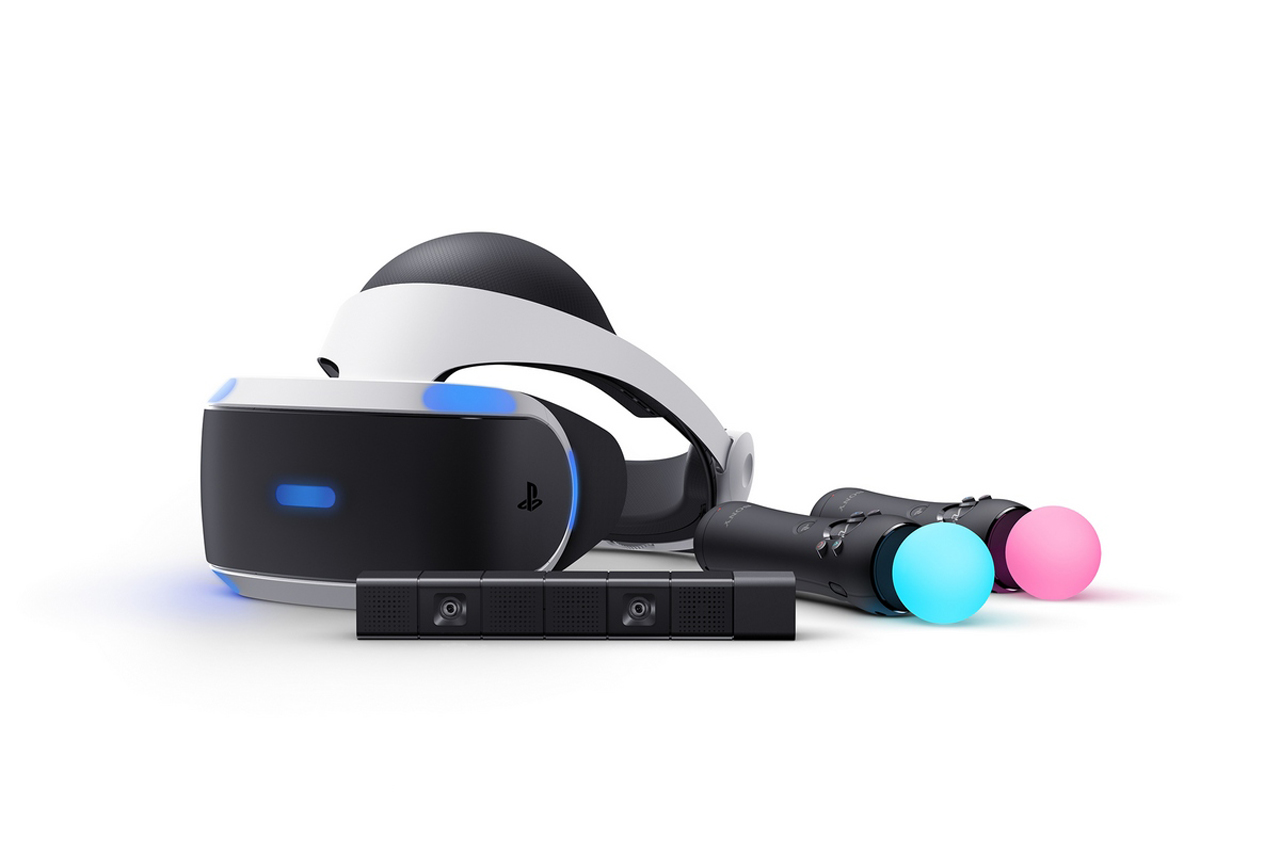
The once internet rumoured PlayStation VR (PS VR) is now a reality (nevermind the pun) and will be launched real soon on the 13th of October, 2016.
This is the horizon for gaming to change as we know it. Playing the game is no longer the norm. Living the game is now.
Sony PlayStation NZ sent StG a unit on pre-release along with titles to get us up and virtual. Here at the StG we eagerly unpacked the large box and within 5 steps and a PlayStation 4 console update we were good to go!
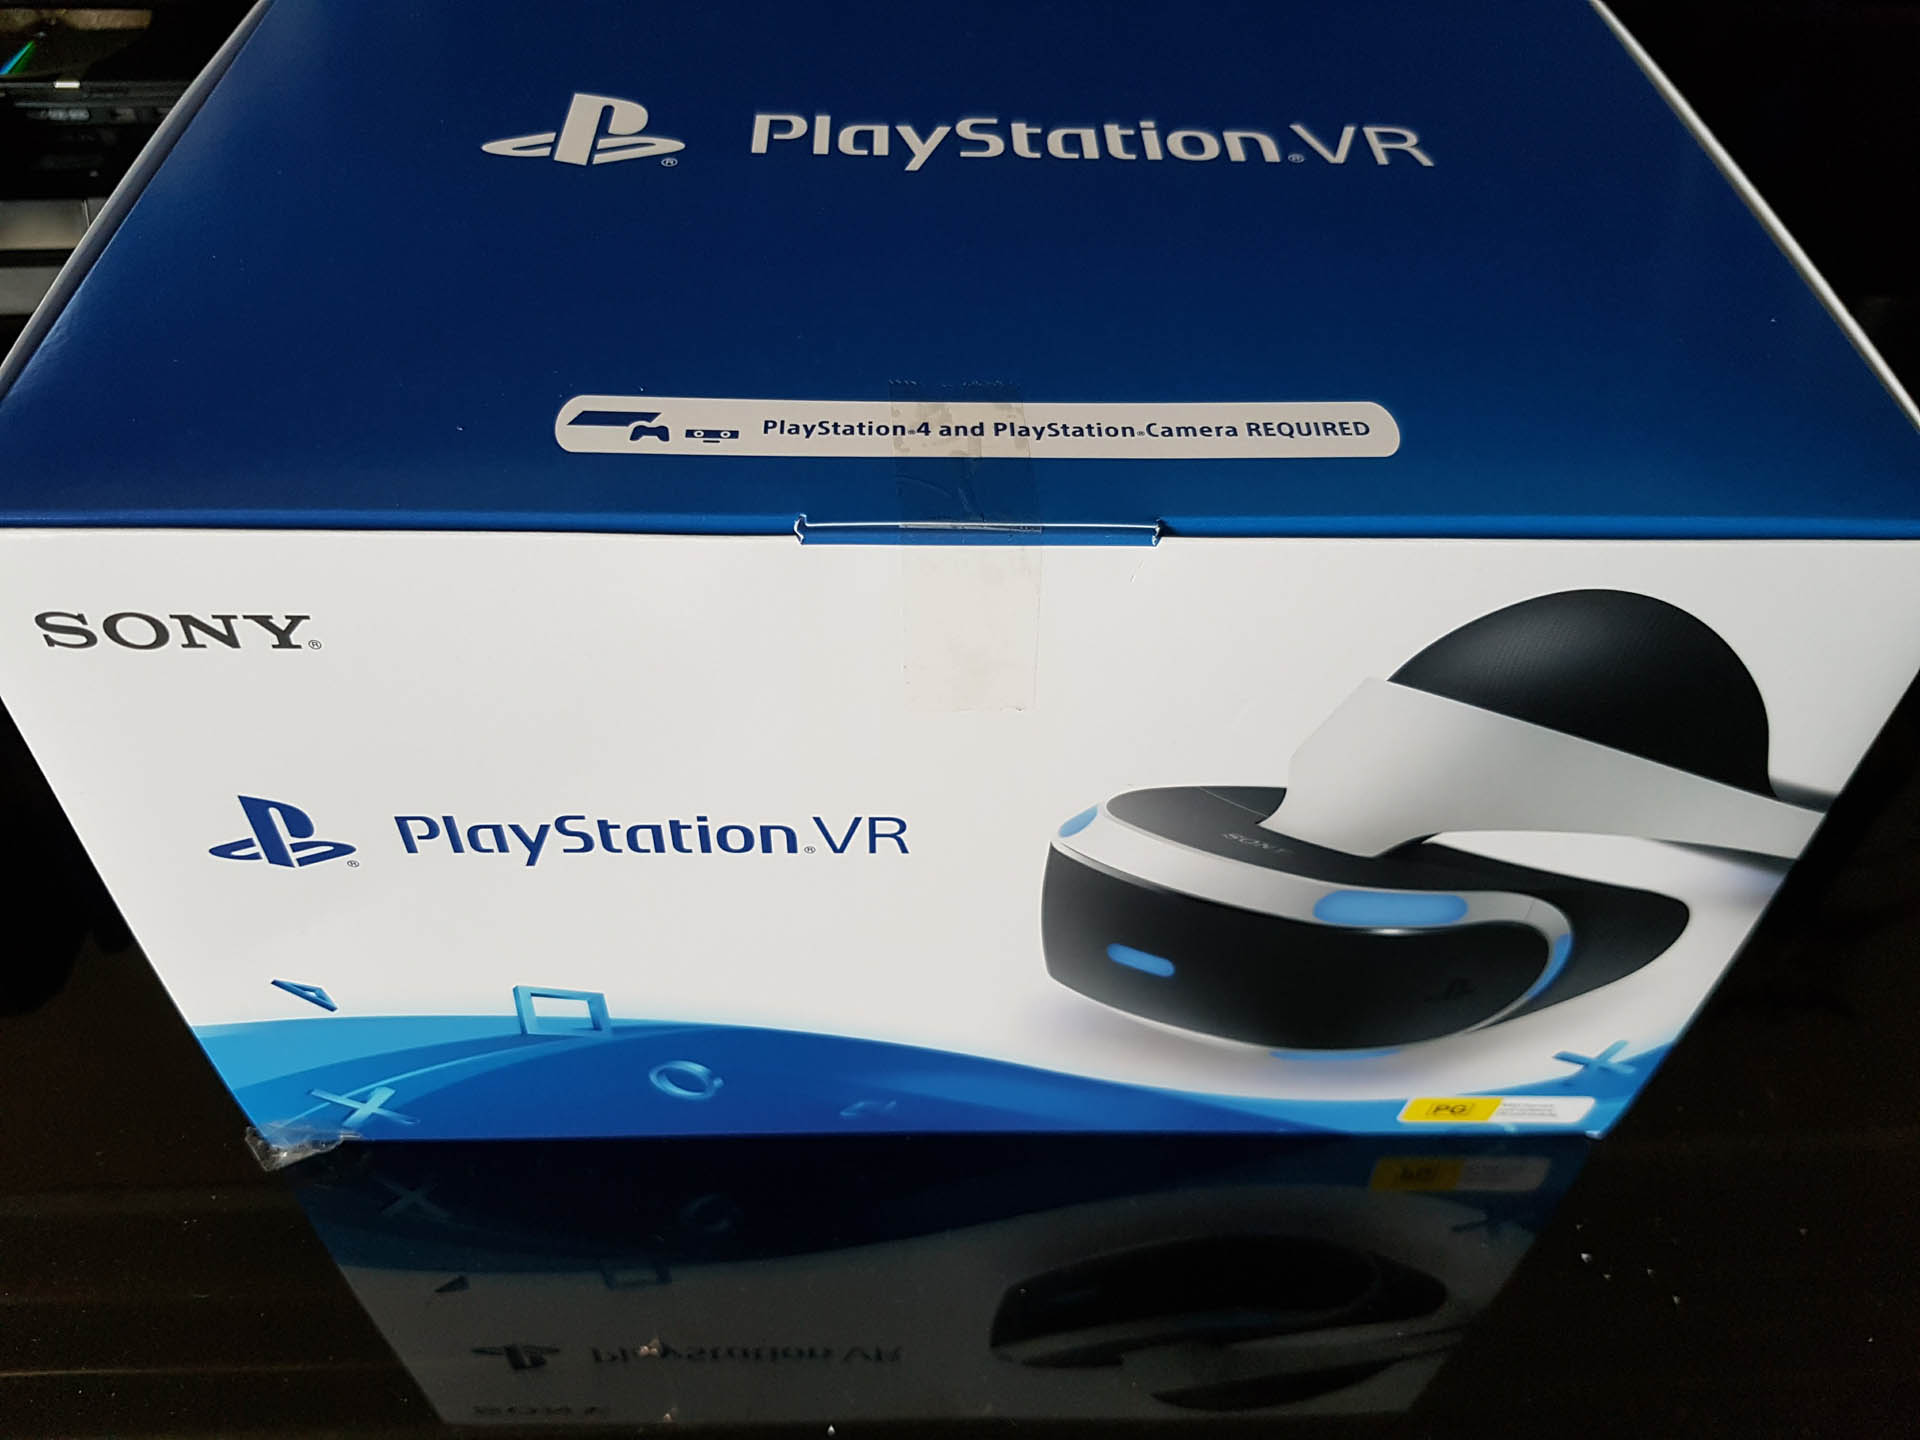
Enticingly packaged the large box that your PS VR unit comes in is also a series of boxes in a box.
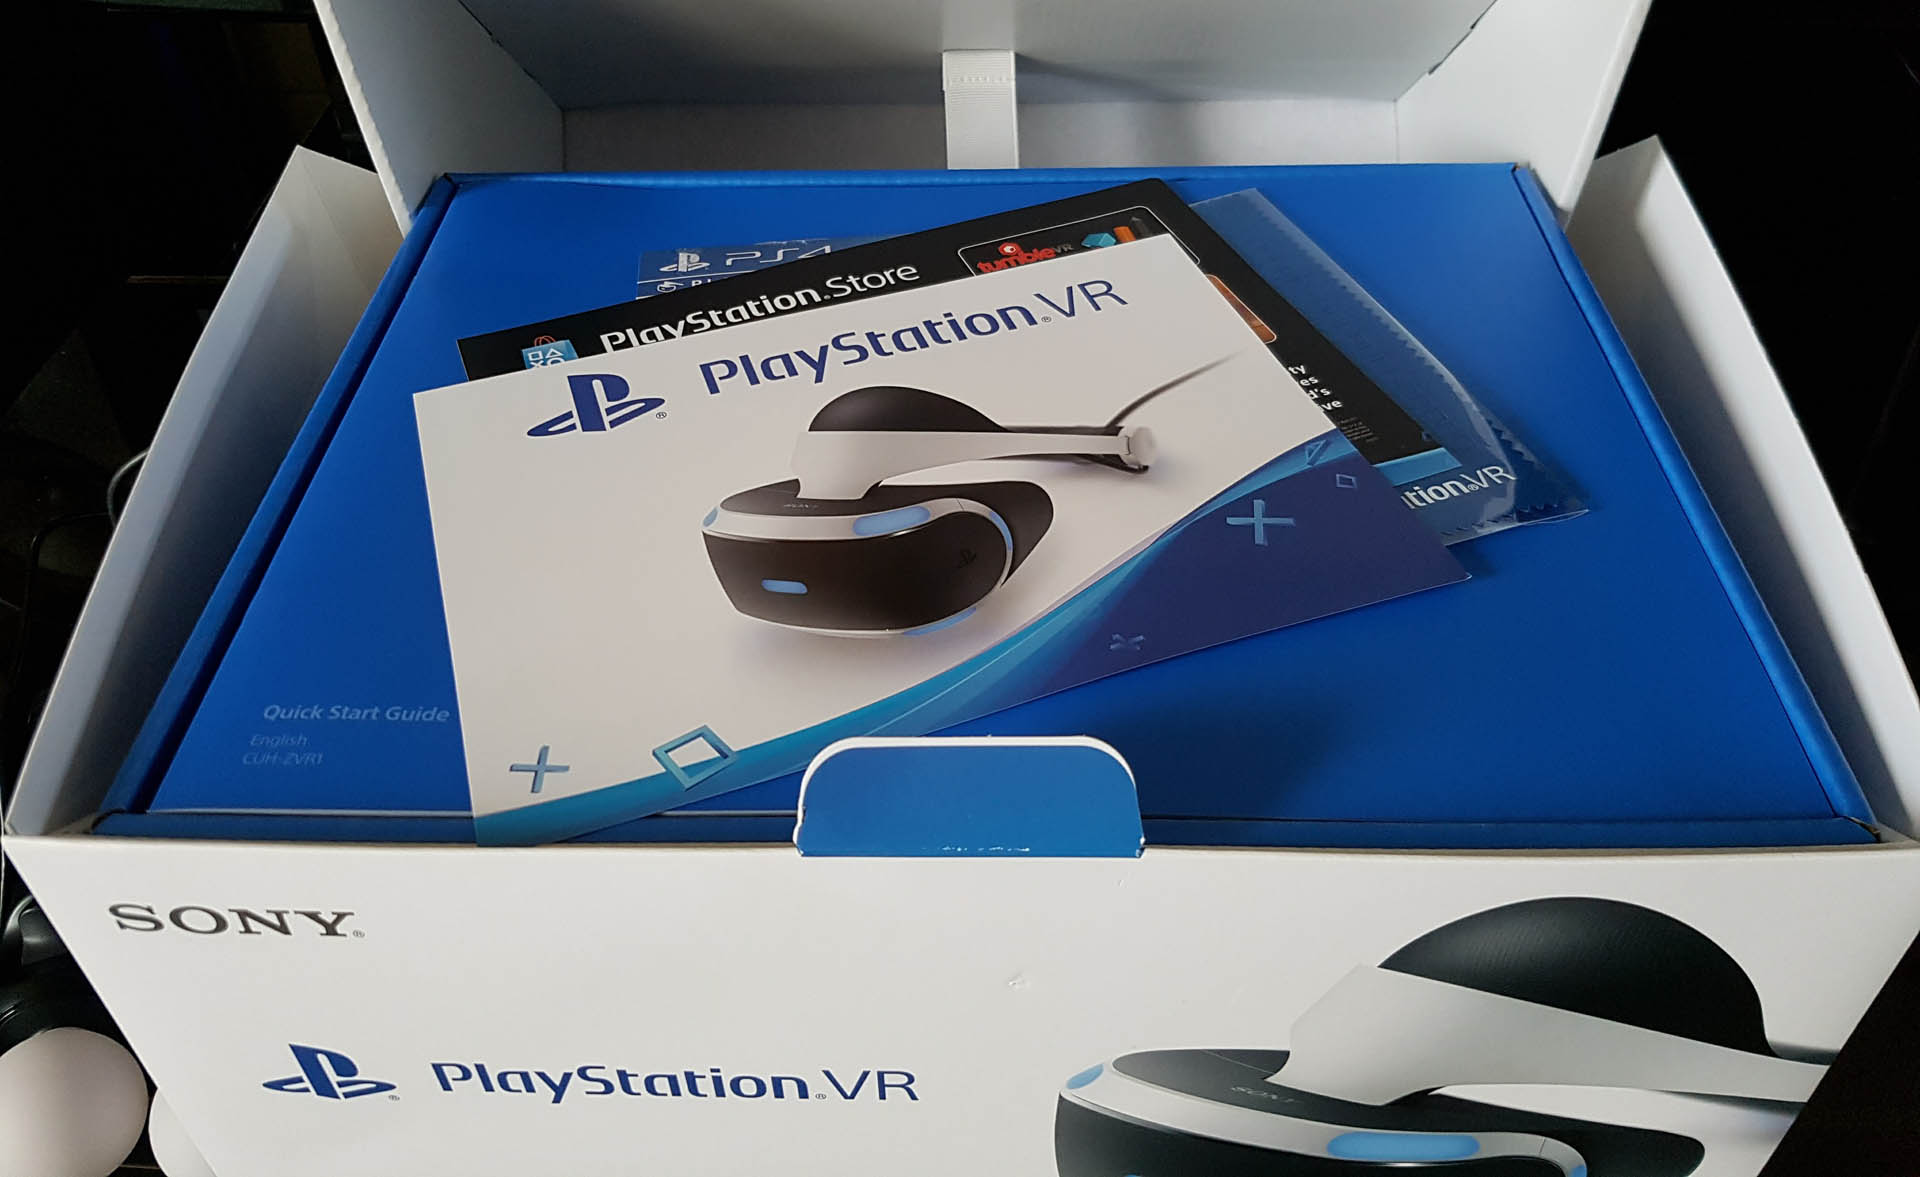
The first bits that you will encounter is an introduction guide to the PS VR, an easy to follow Step by Step Manual and a VR Games Demo Disc.
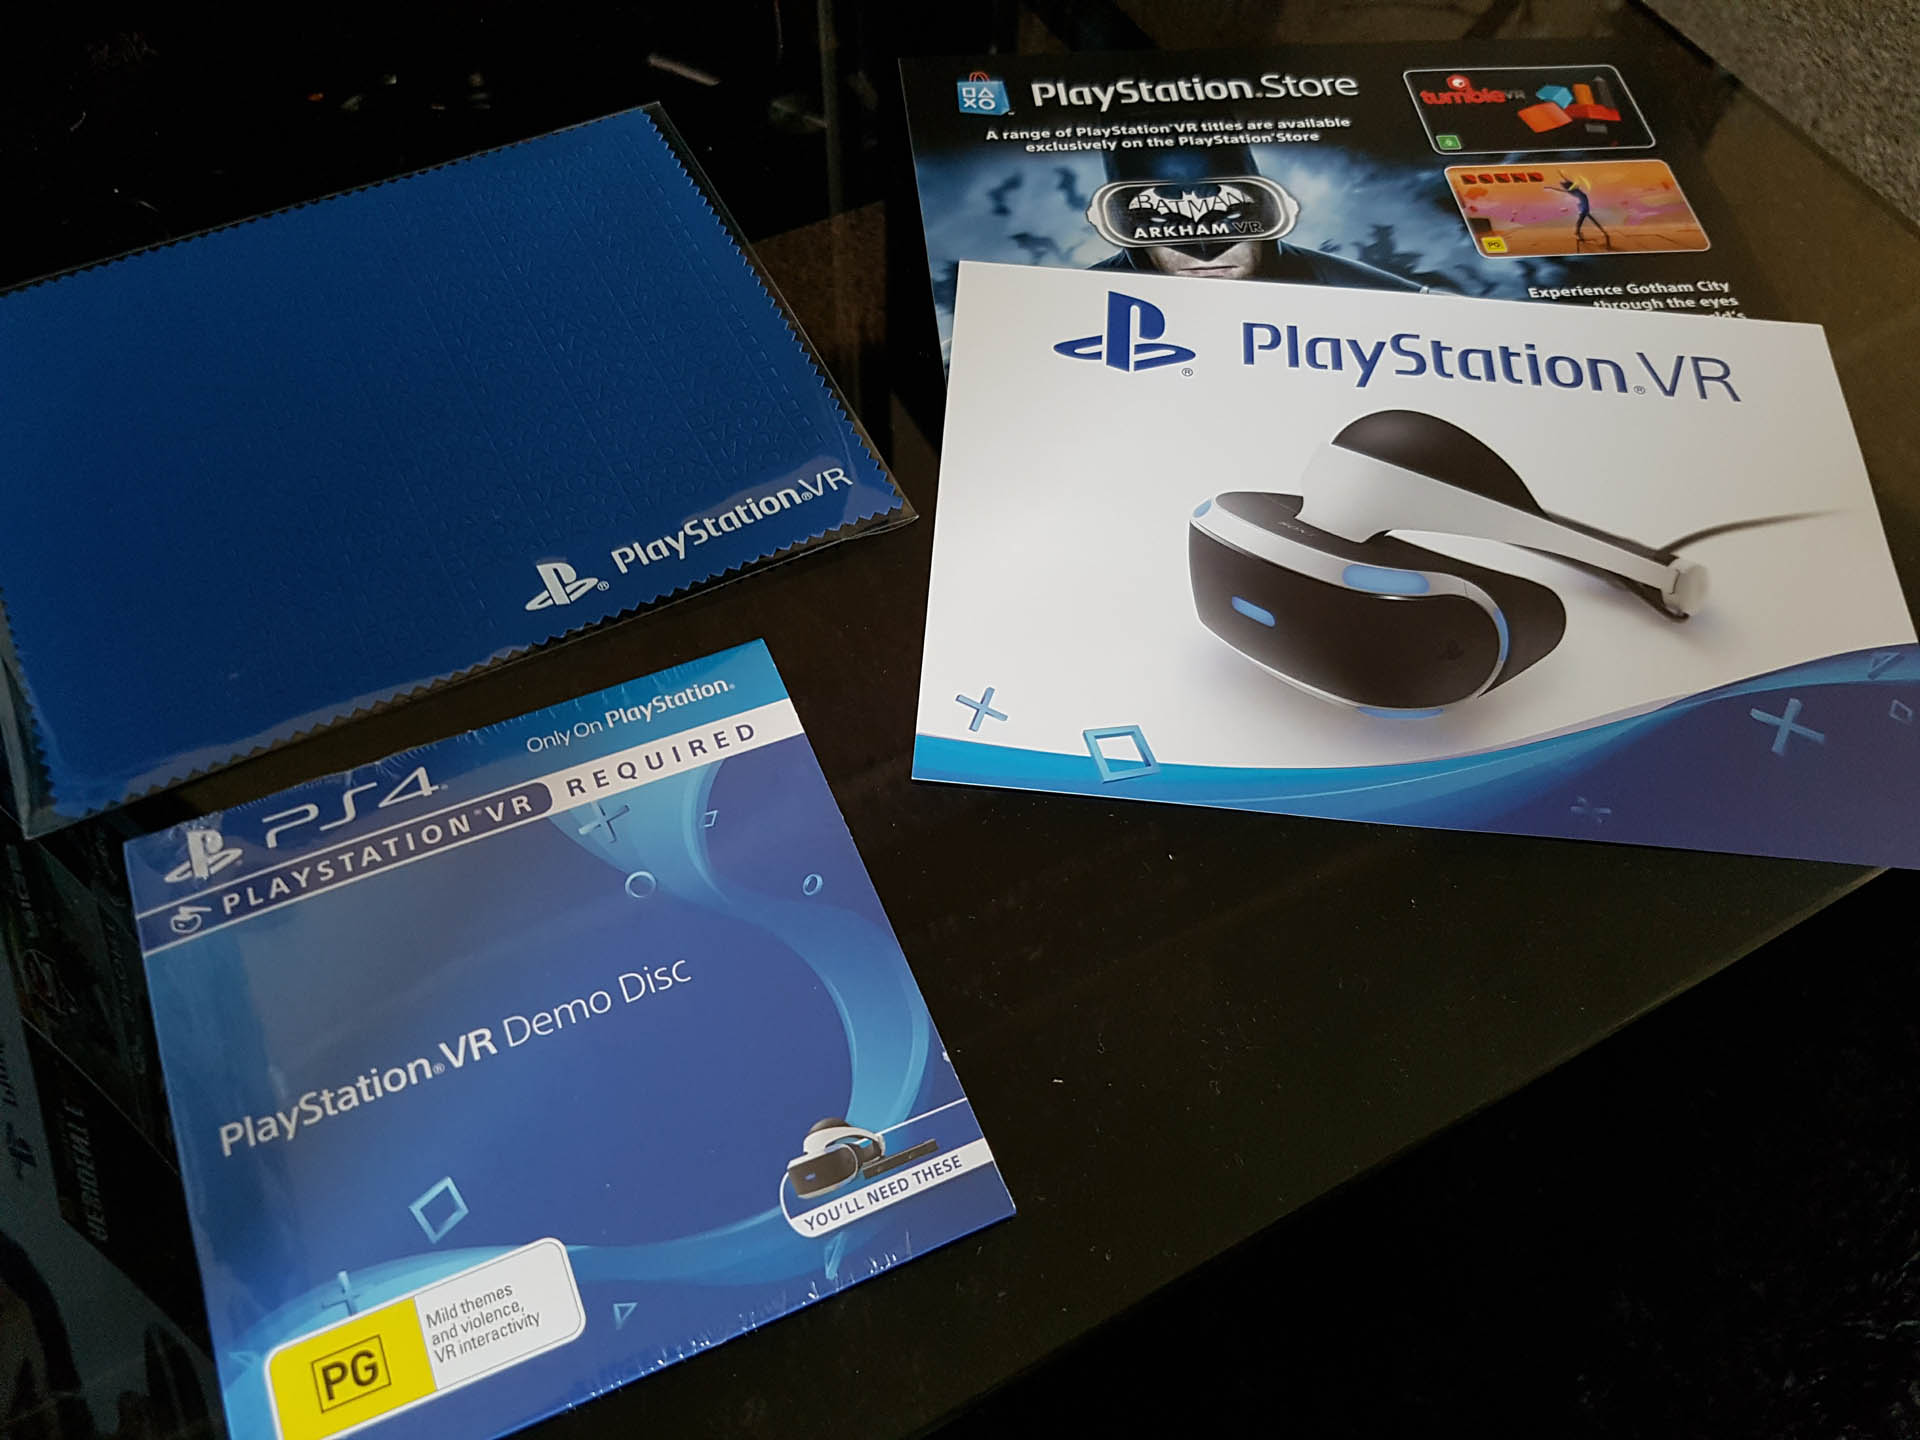
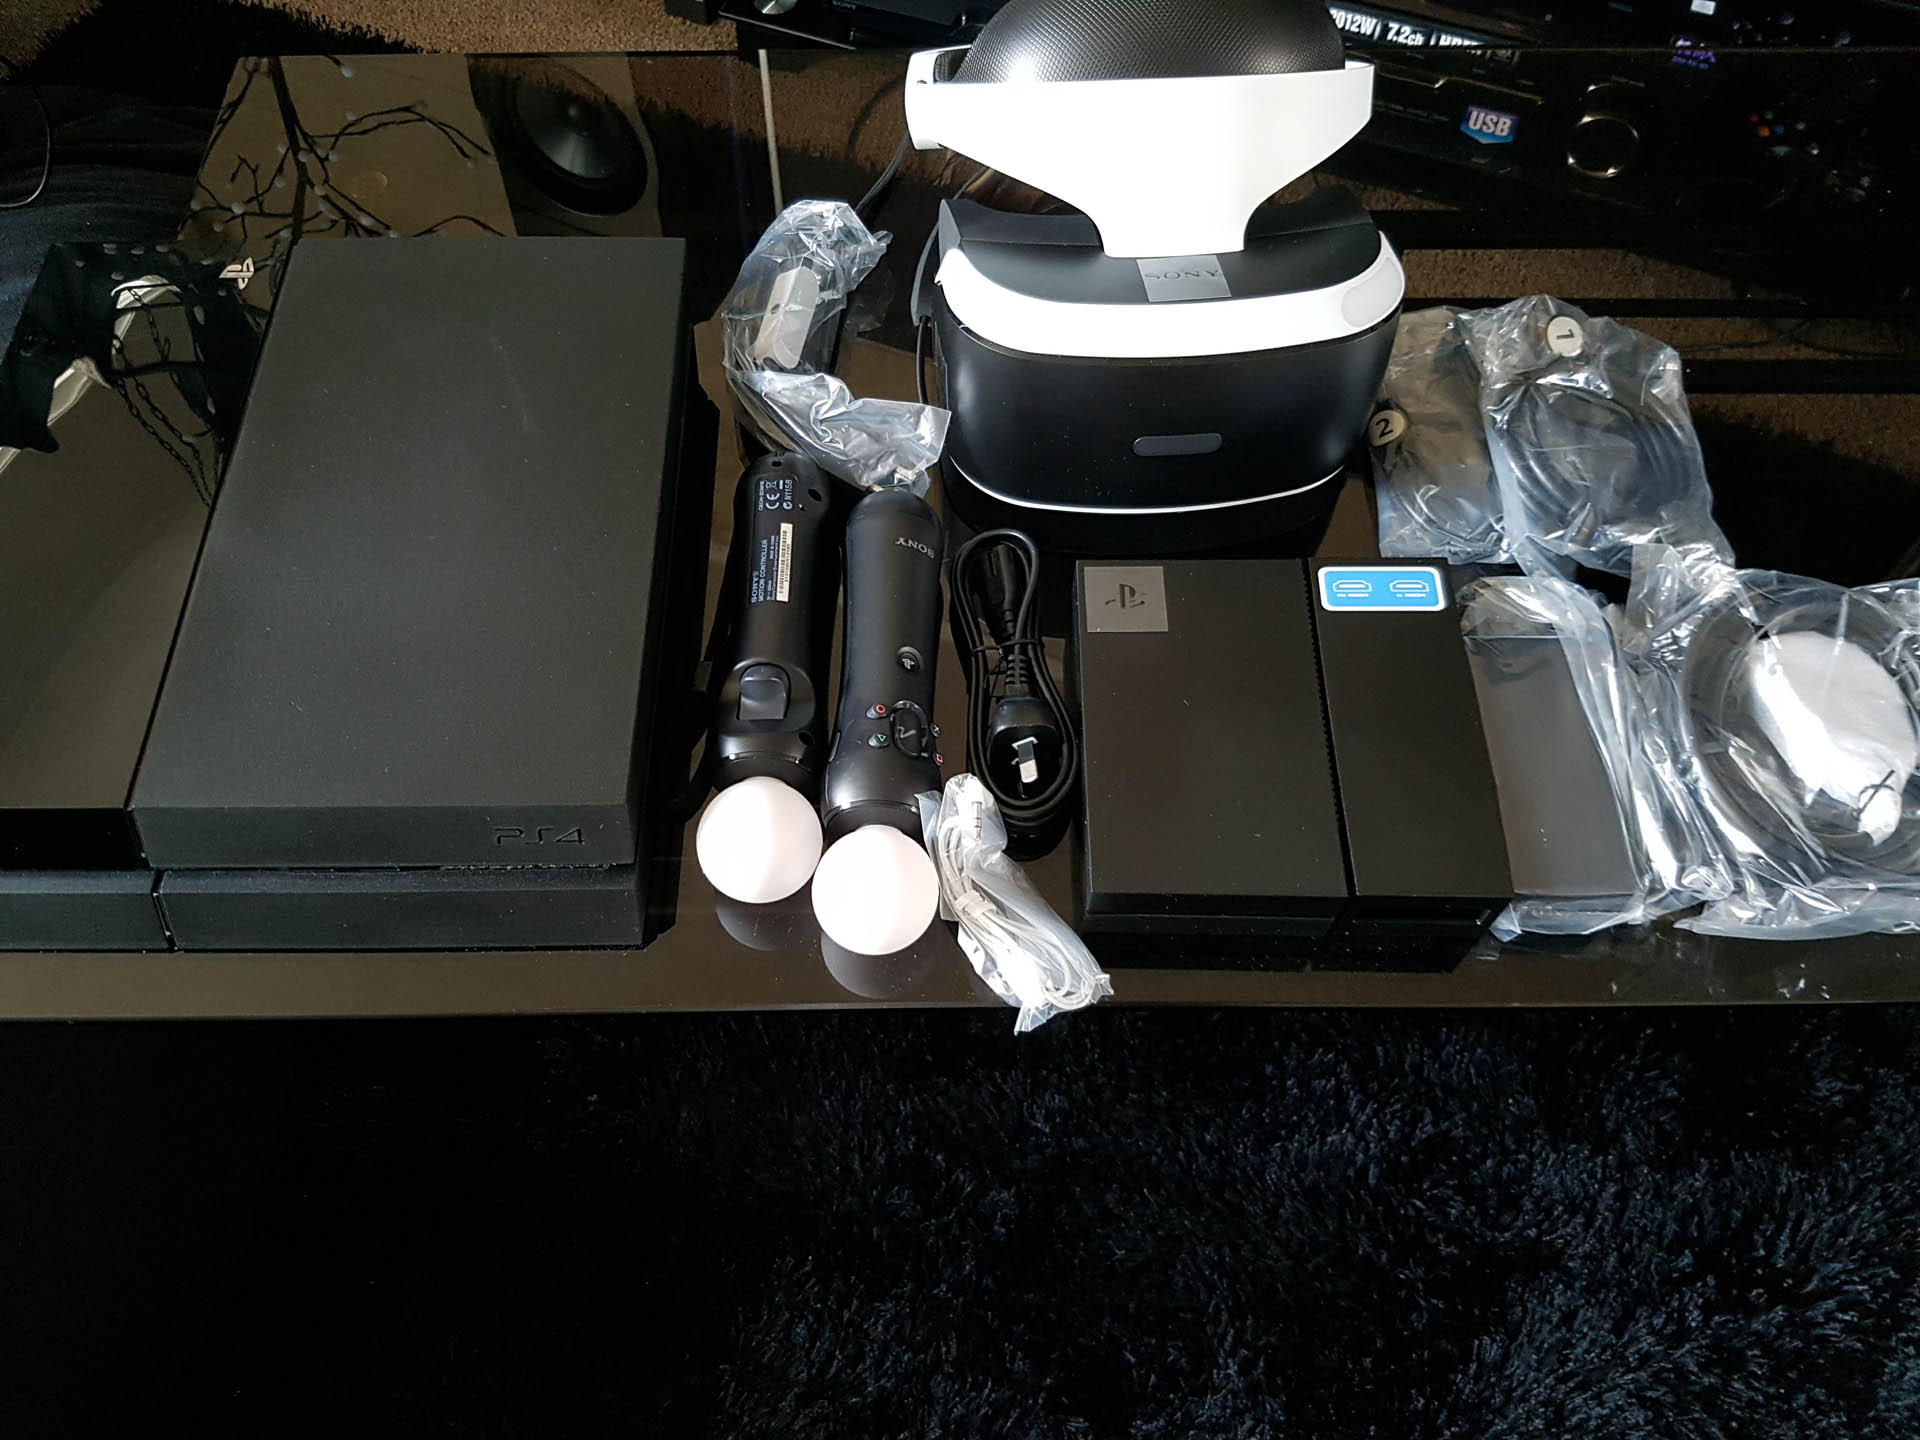
Digging further into the box you will then come across a couple of smaller boxes. These contain the HDMI converter, power and data cables and under these is the very awesome looking PS VR unit.
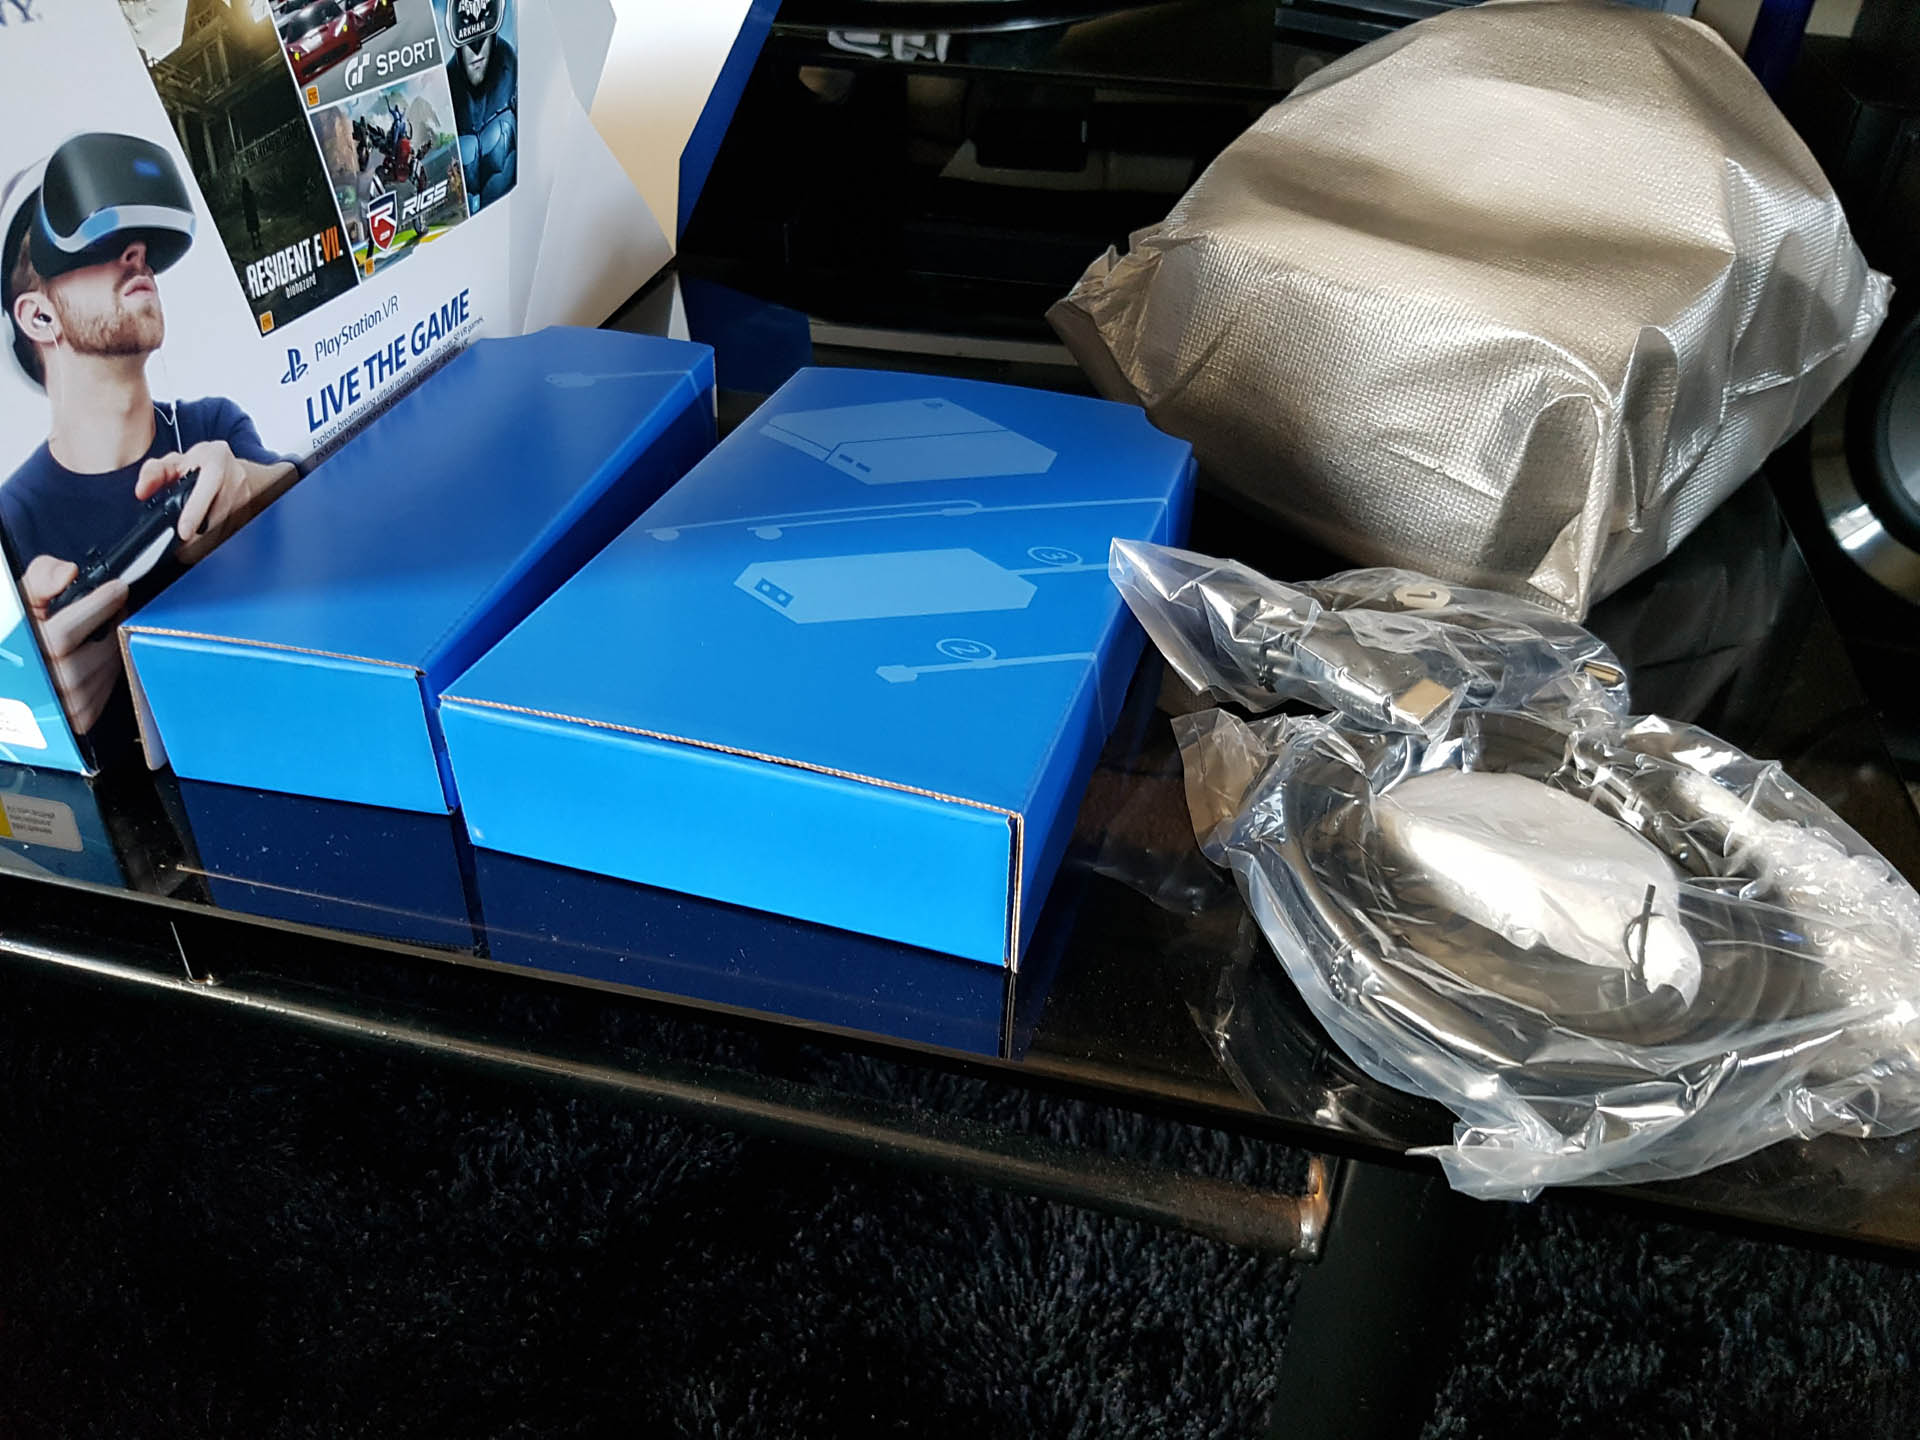
The HDMI converter unit acts as a conduit between your PS4 and the PS VR.

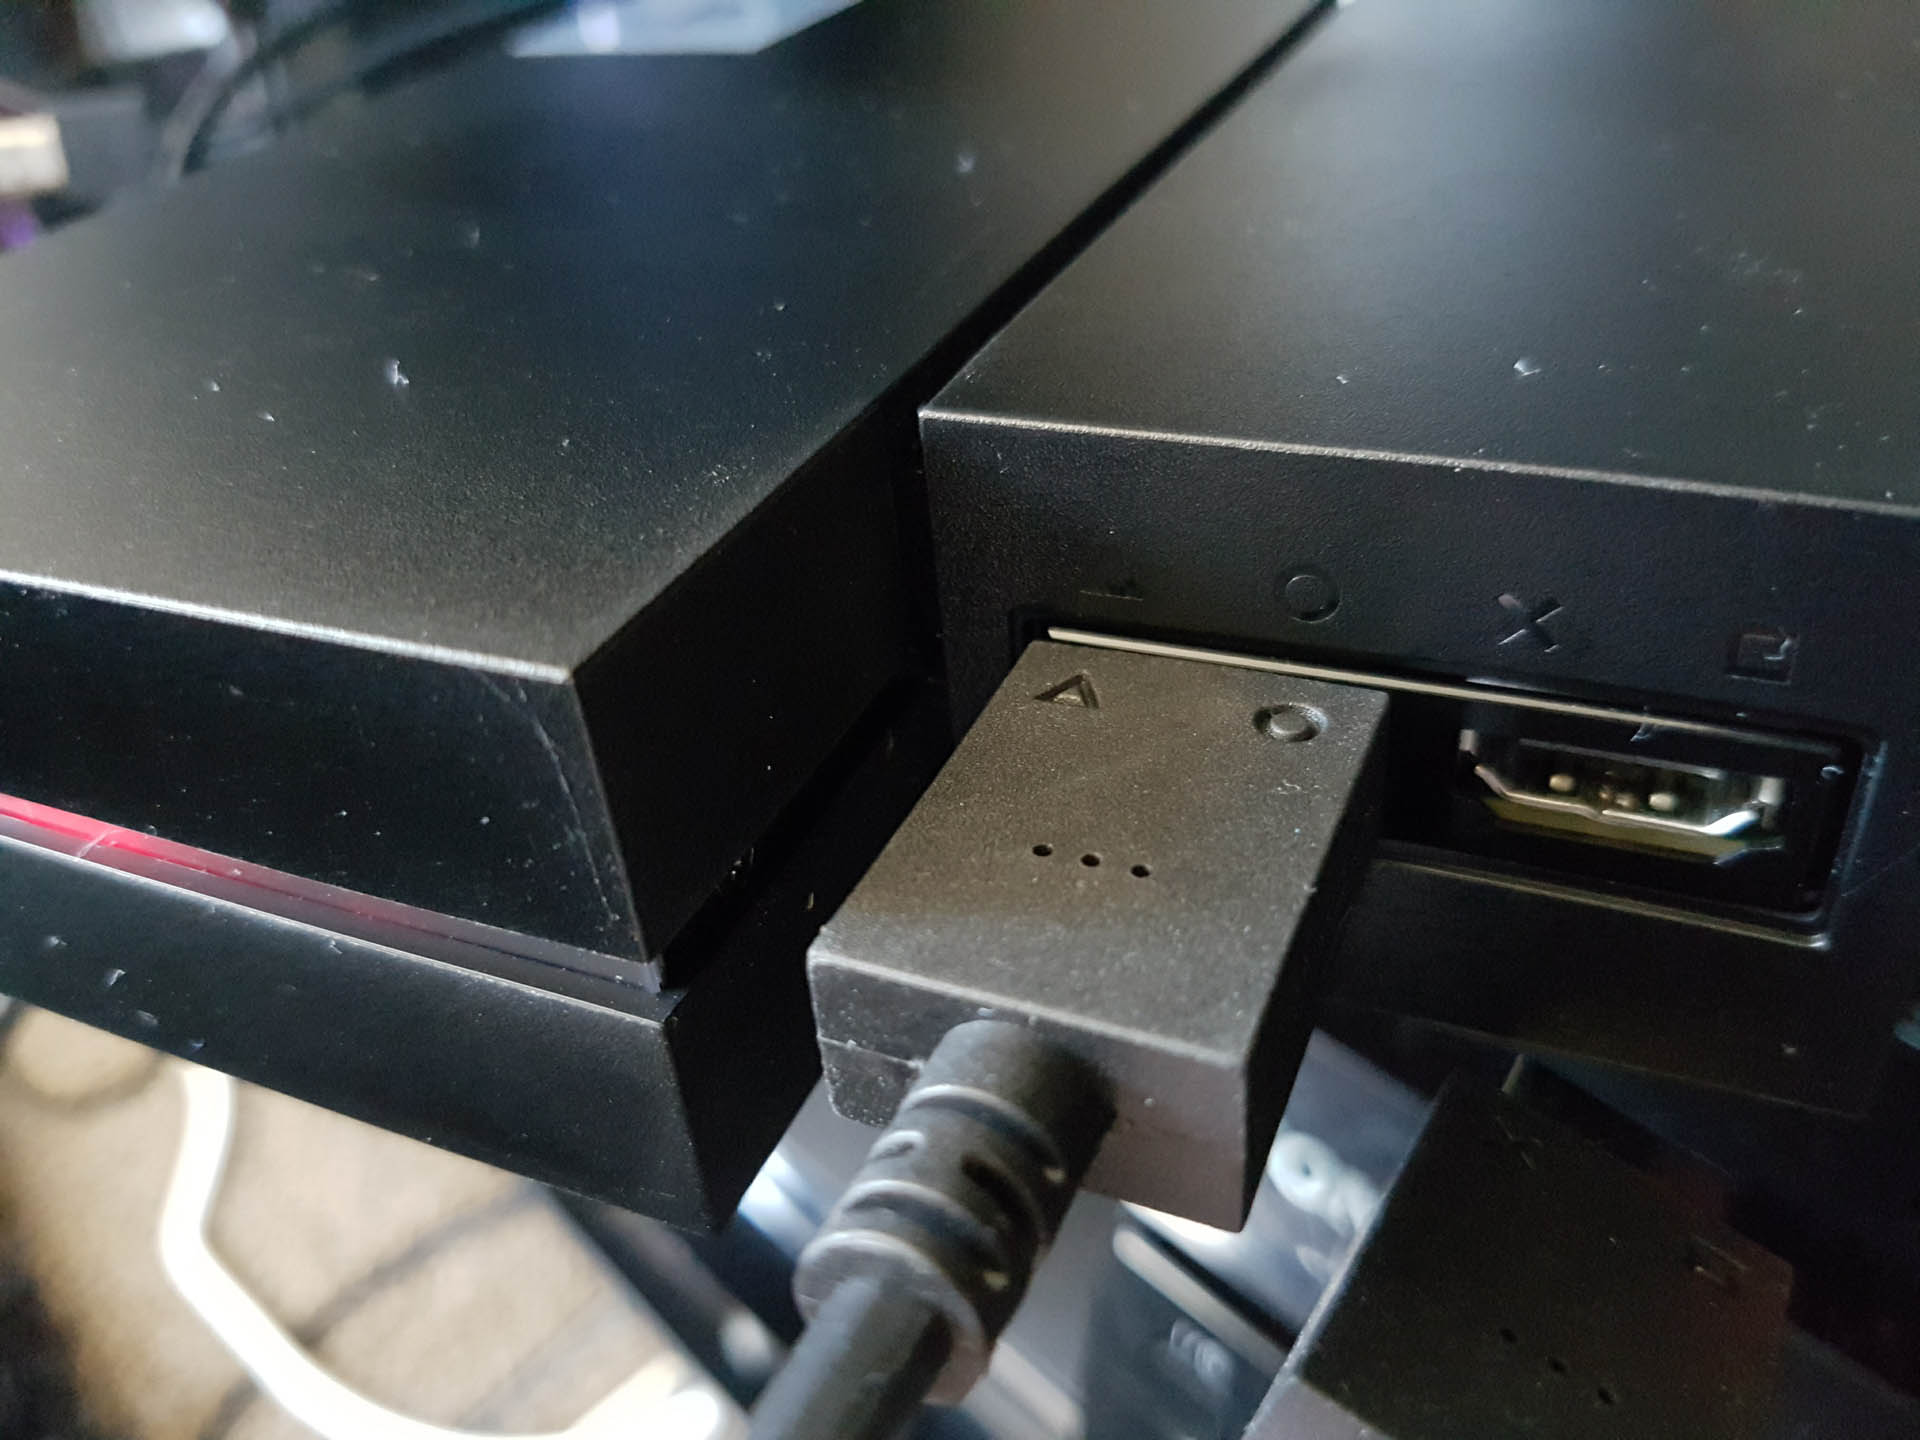
Whether you follow the instructions guide or not, one of the first points of set up to do is to get the HDMI converter ready. This goes in between your TV and PS4 connections on the rear side and has the HDMI and data connection slots for the PS VR on the front.
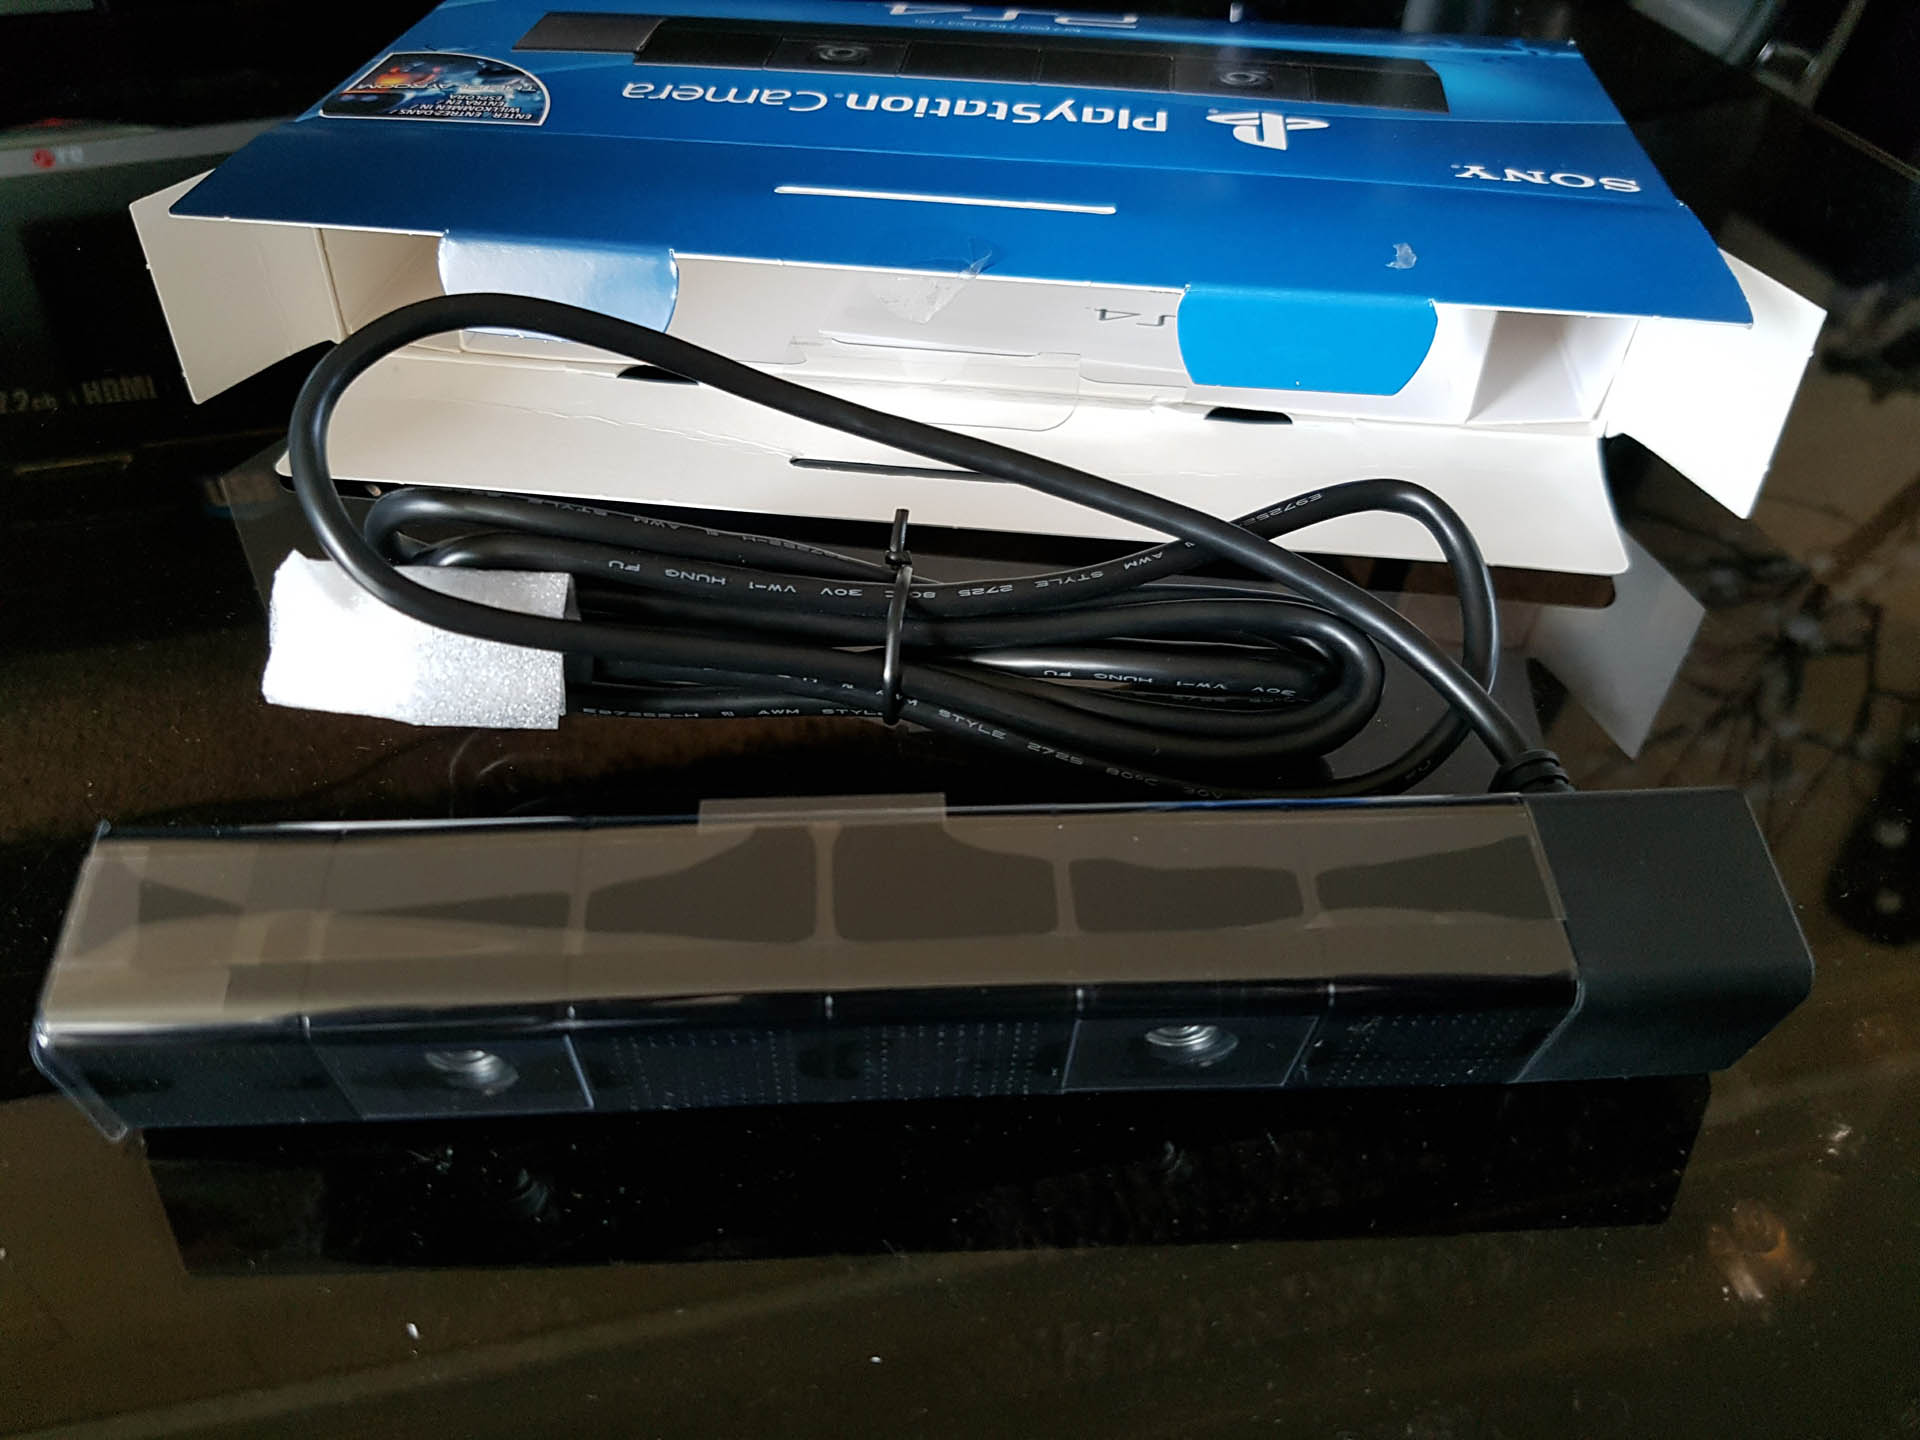
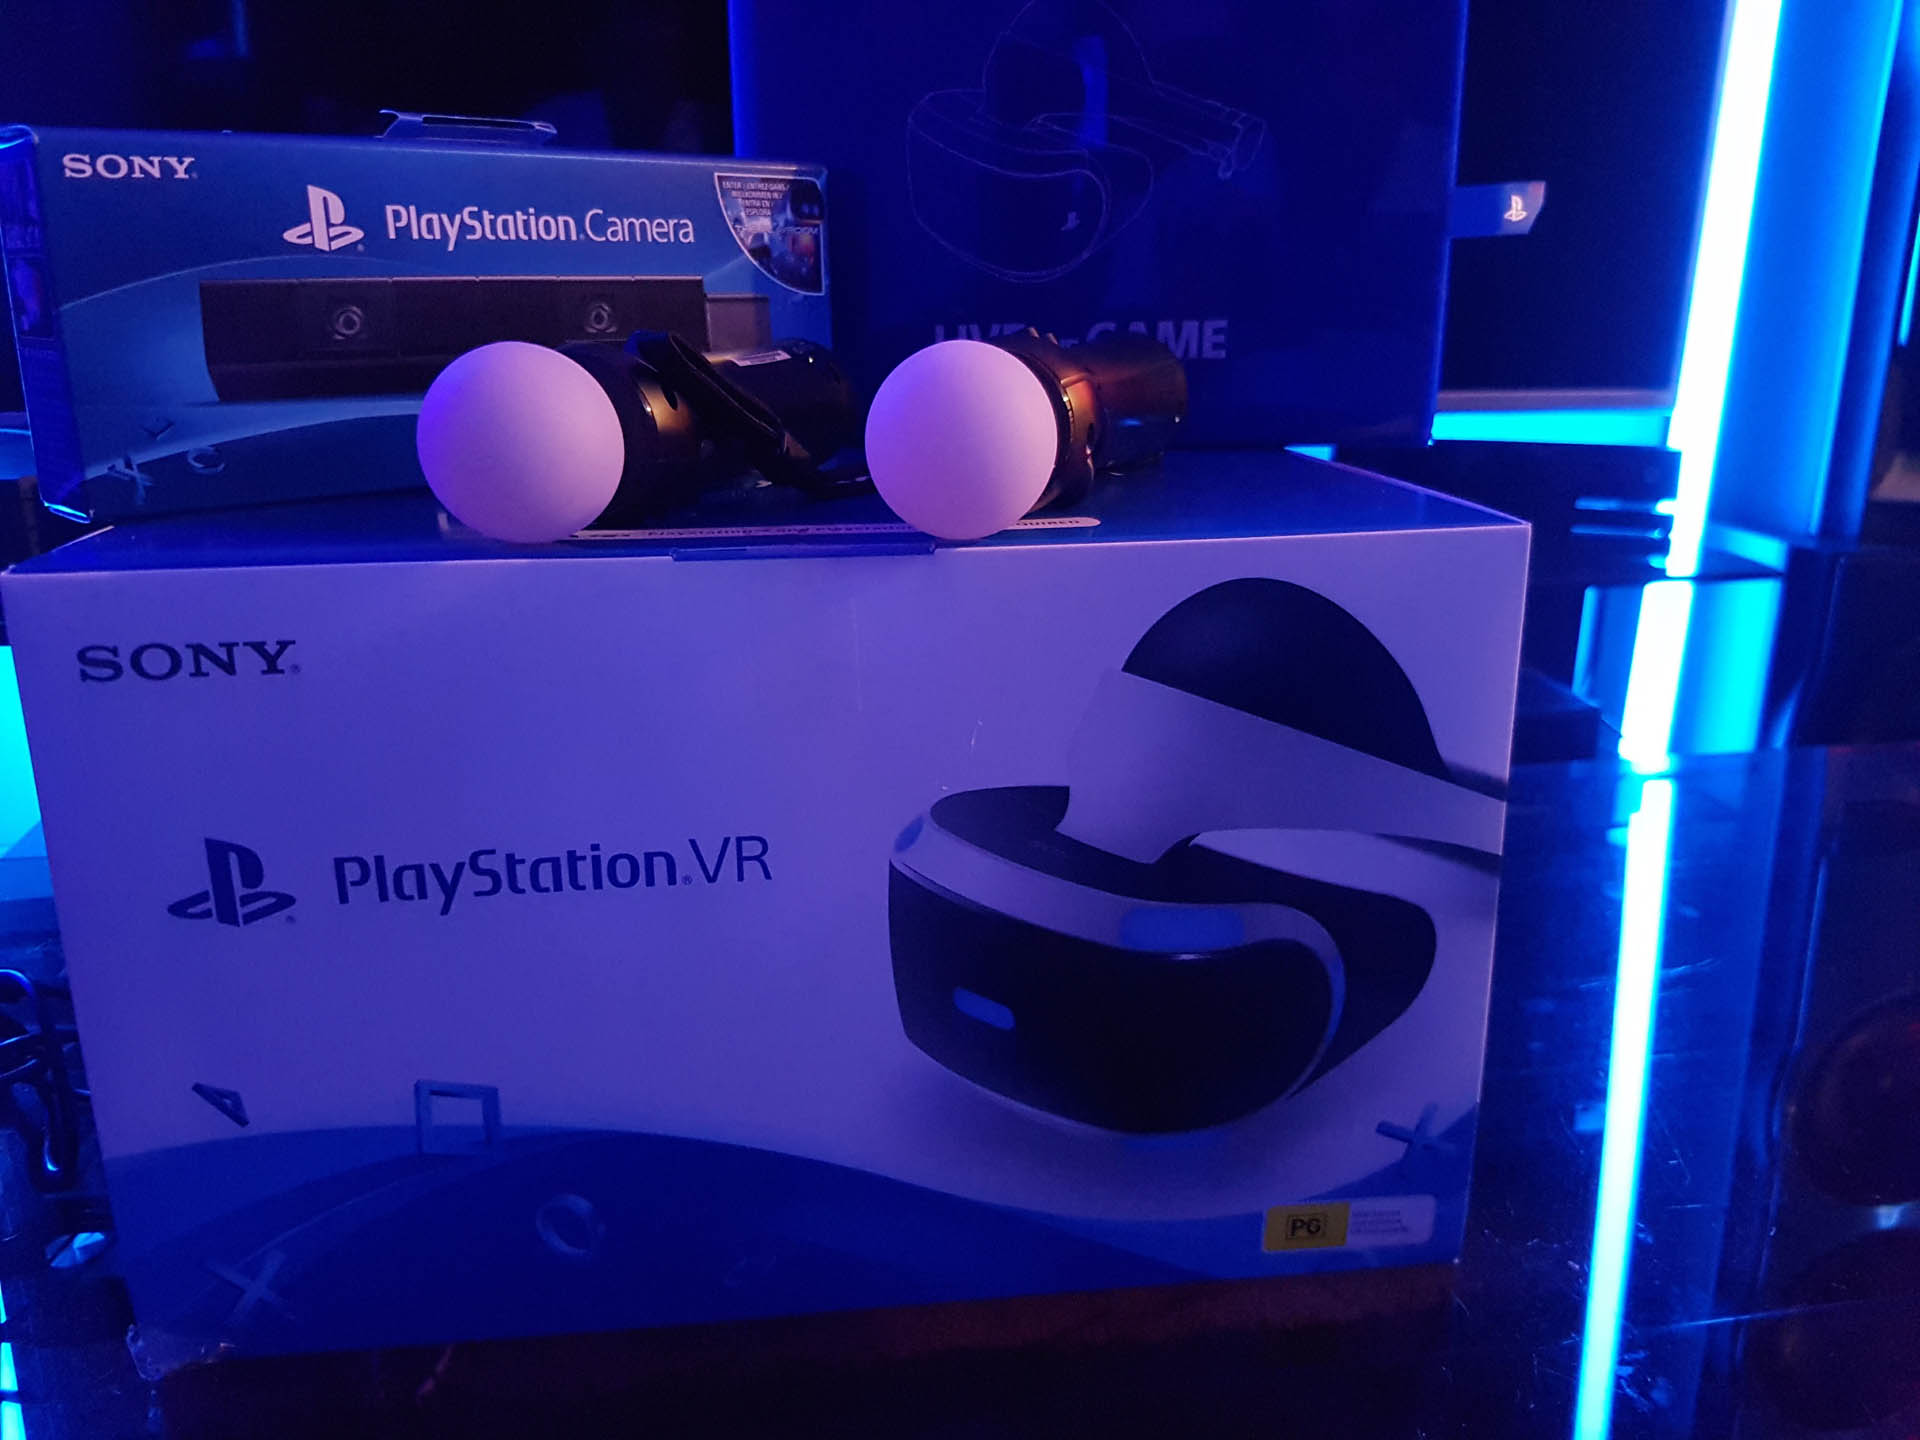
A necessary component of the PS VR is owning a PlayStation Eye Camera for PS4. The camera is utilised by the PS VR unit to detect your movement when both playing games or viewing content.
At this time the PS4 Eye Camera is not included in the PS VR box. The Camera plugs directly in to a specified port at the back of your PS4.
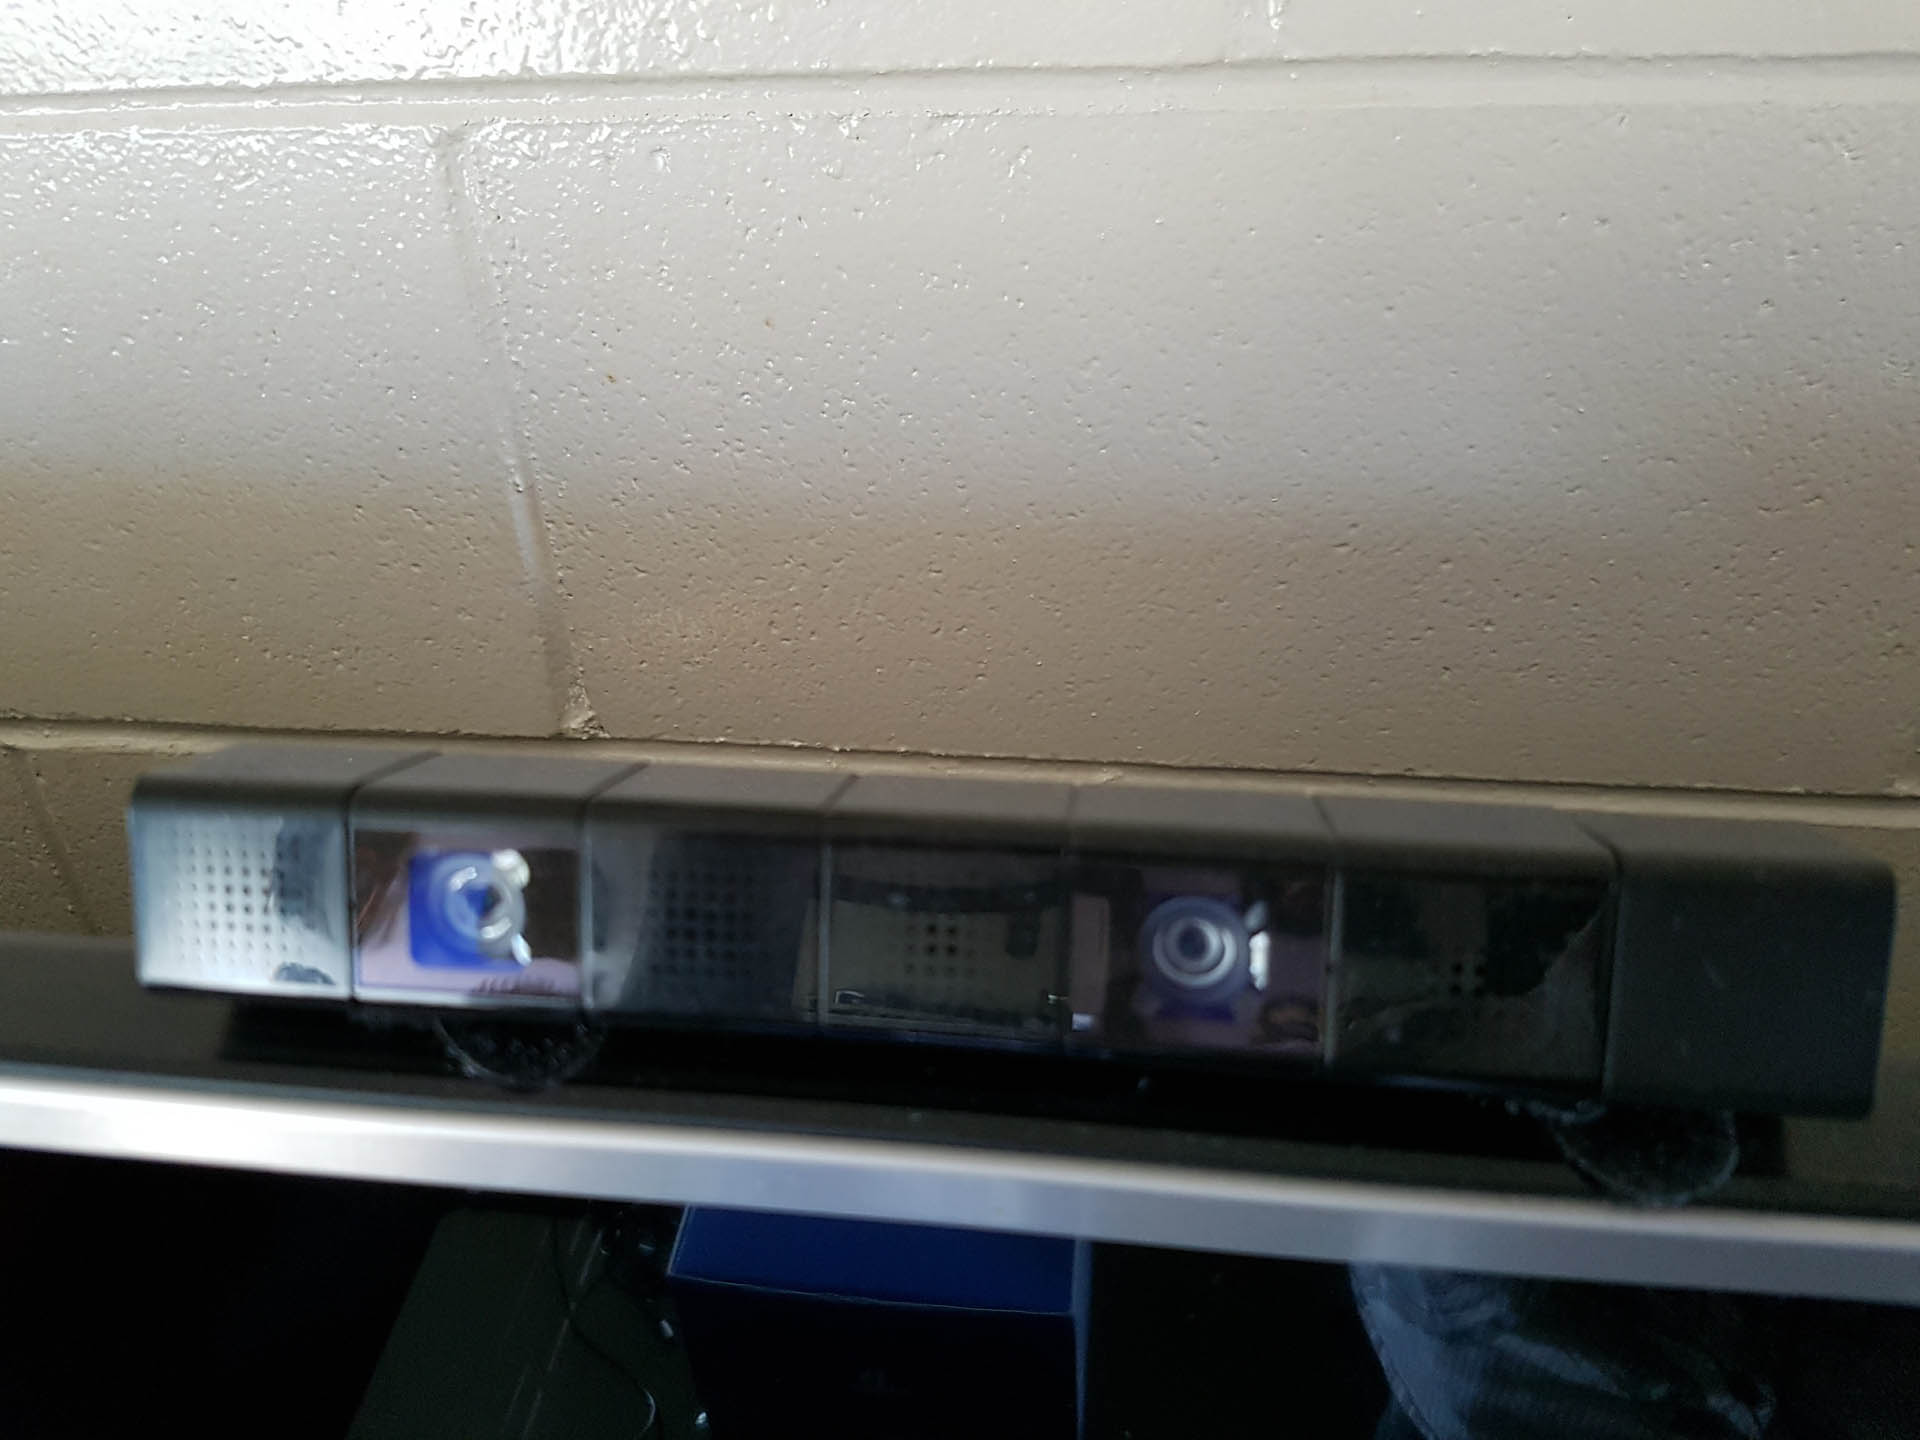
Then you will need to mount it near your TV either at head height, or at least where it can detect your movement. We placed it on top of our gaming TV.
It’s also important that you have all of the cables securely connected. The major one is the dual cable that connects the PS VR to the PS4 via the converter.
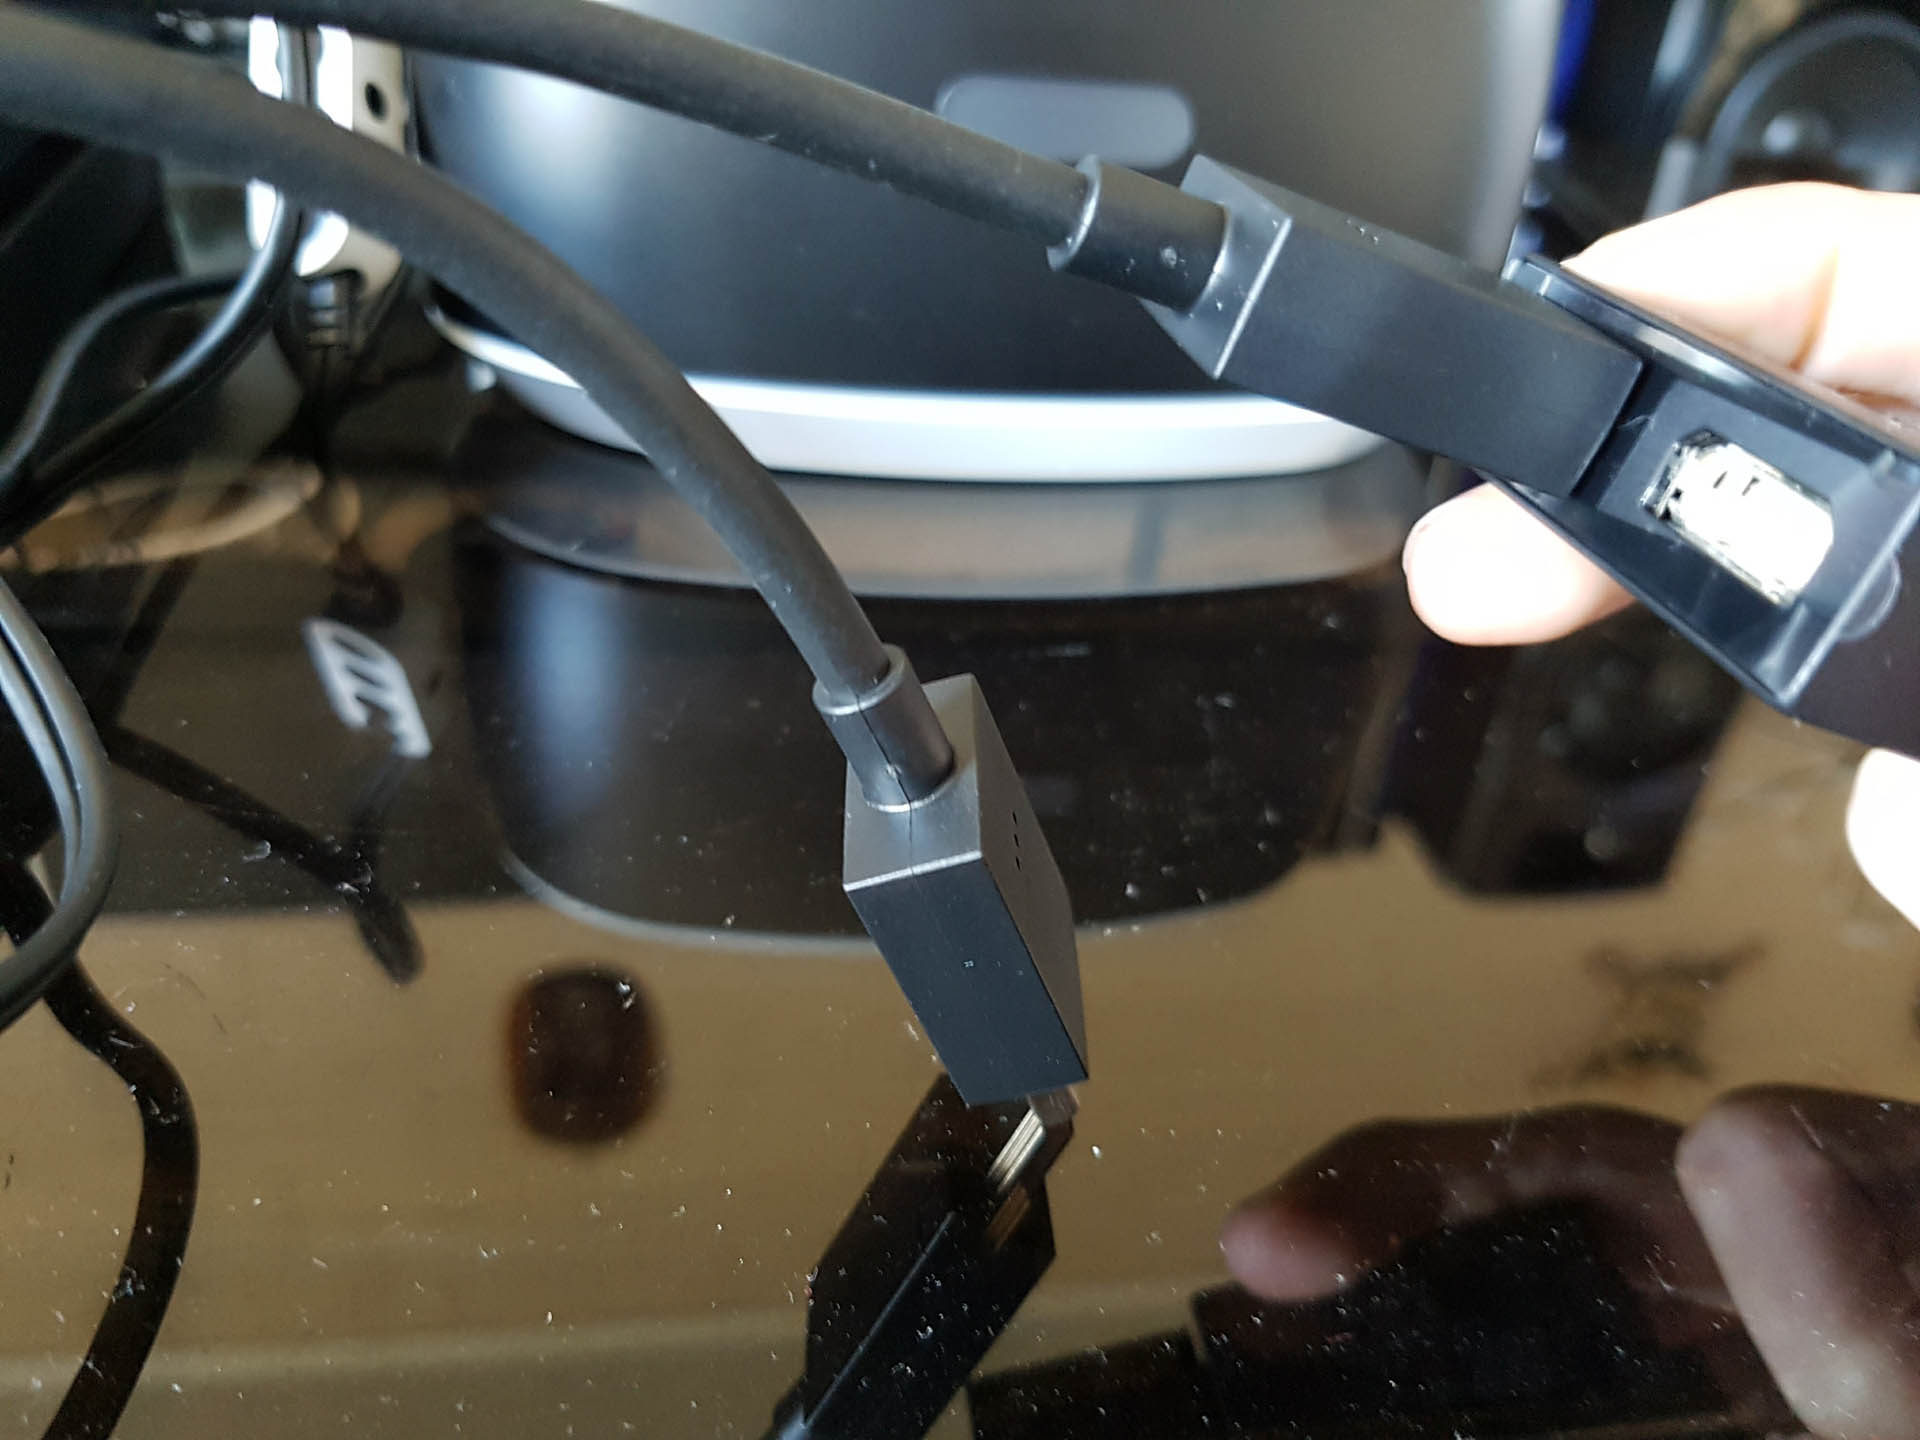
Once the HDMI is powered up (it takes its own separate power source) then you’re basically all good to go!. Well almost…
Using one of the front USB sockets on your PS4 you will connect the HDMI converter. This will prompt the PS4 to recognise the PS VR and you will be prompted to enact a console update and a quick set up.
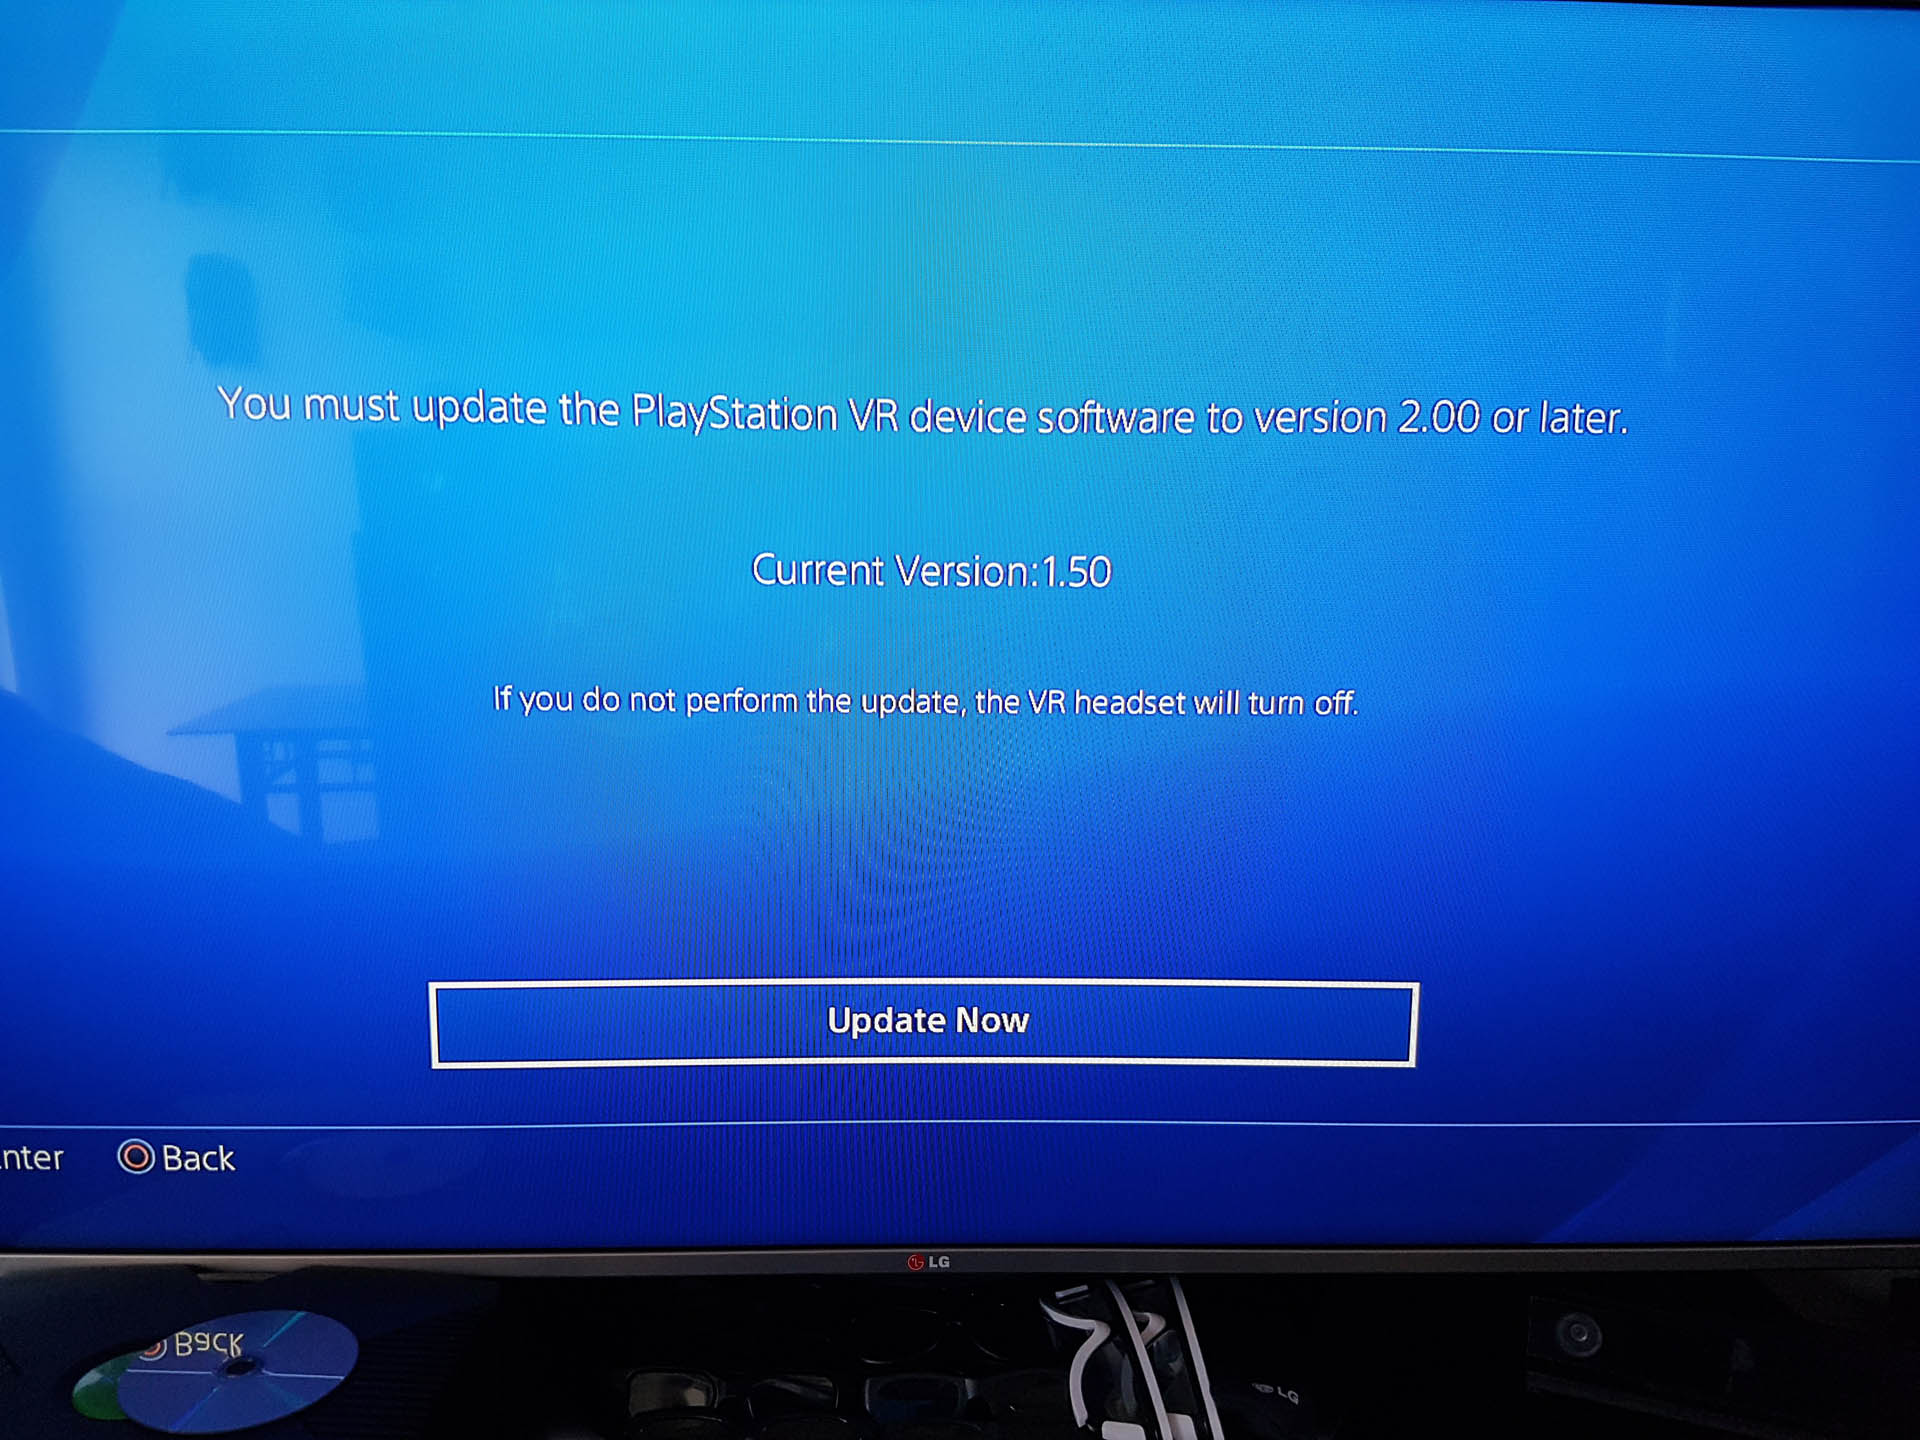
Once the update is complete your PS VR is ready. You can adjust the PS VR to suit your liking, size and even if you usually wear reading glasses.
The PS VR boasts it’s own control system with functions such as Power, Volume and Mute. Included the PS VR is PlayStation VR ear buds. While you do not necessarily need to wear these, for the full VR immersion I do recommend.

The PlayStation VR is also PS Move equipped. Yes, remember those lollipop-like wand controllers that released a while back on PlayStation 3? A marvel at the time but until now largely forgotten. The PS VR brings them back with vengeance. Not included with the PS VR unit but an excellent accessory, using dual Move controllers means that you are pretty much button mashing free, swapping out the PS4 controller to play.
And there you have it. Entering the virtual gaming dimension has never been so simplistic and more real, with titles such as RIGS, DriveClub VR, Resident Evil, Batman VR to name a few that will be available on or near launch.
Stay tuned to us as we cover and review launch PlayStation VR titles aswell as a full review of the PlayStation VR unit real soon.

