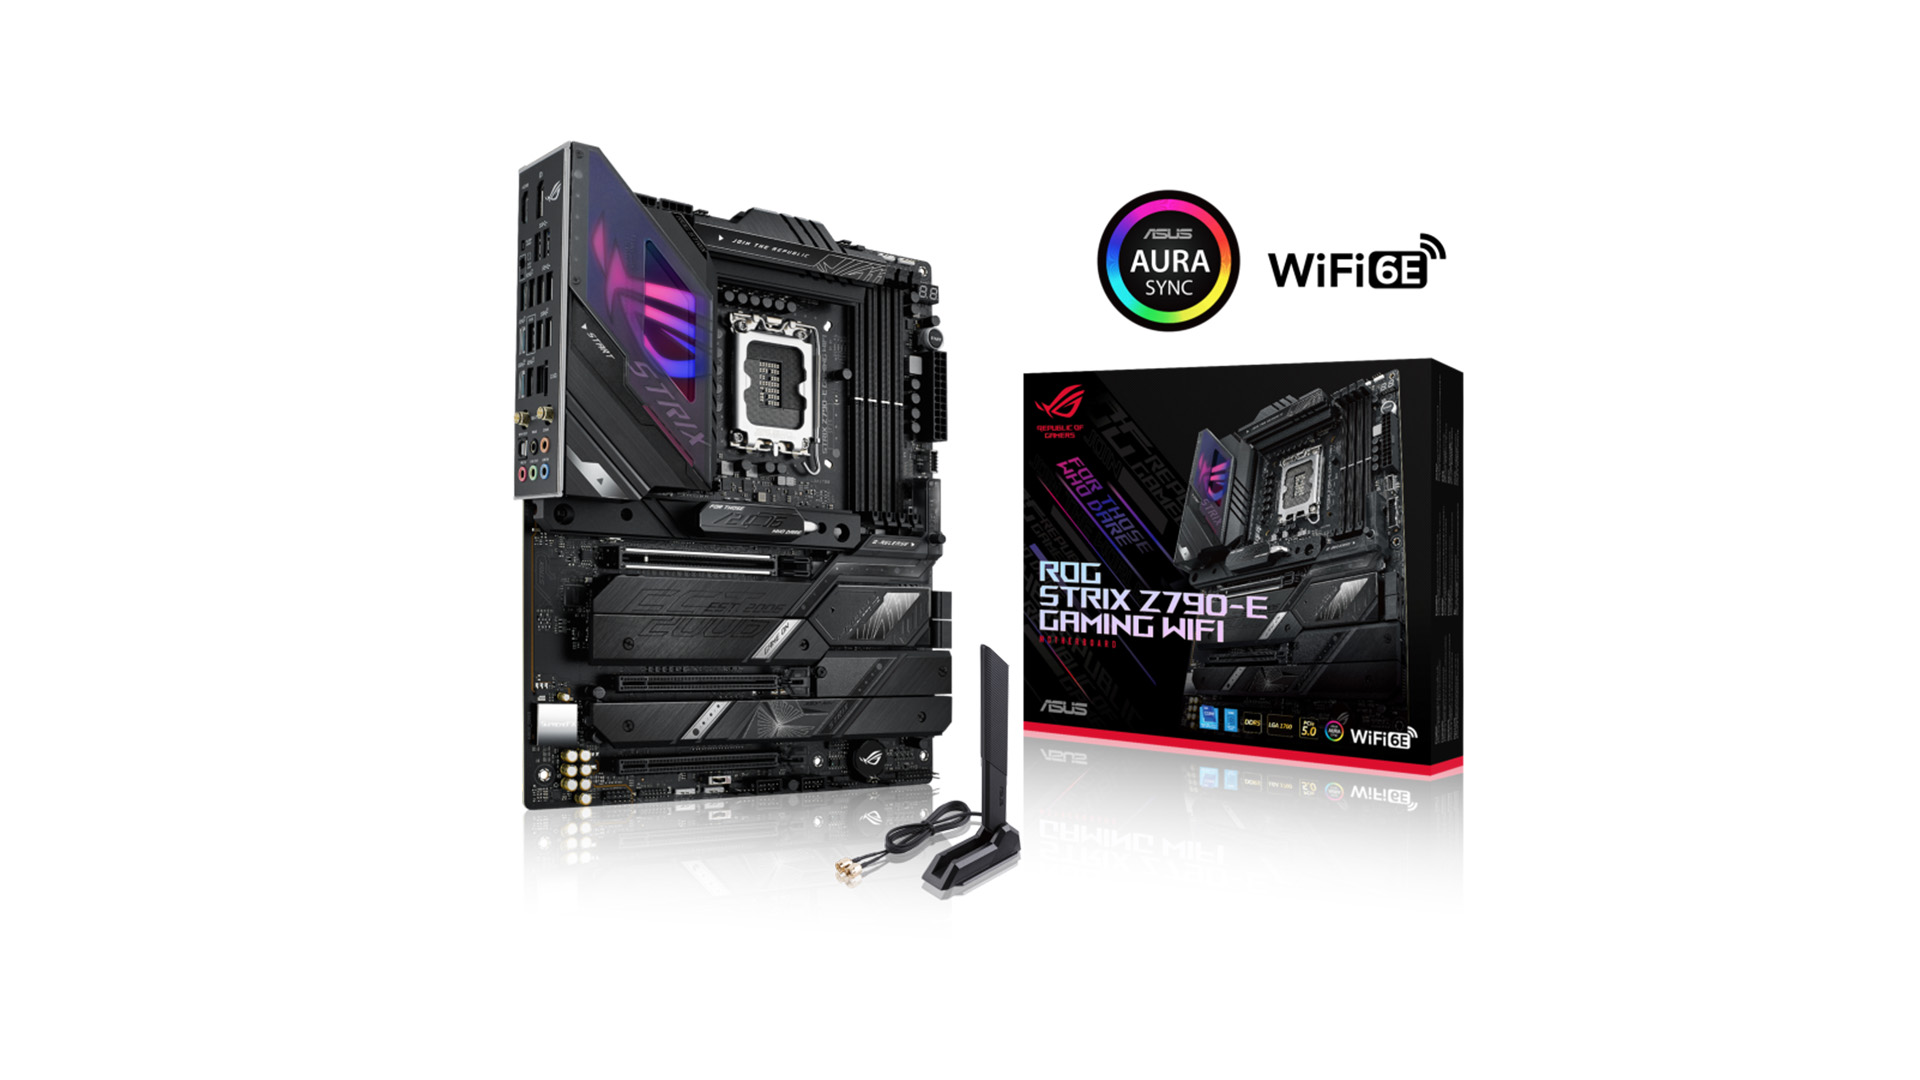
The Asus ROG Strix Z790-E Gaming WiFi is a premium ATX DDR5 gaming motherboard for Intel 12th,13th, and 14th-generation Intel CPUs.
This is not the newer version of the motherboard, which is the ROG Strix Z790-E Gaming WiFi II, released with Intel’s Raptor Lake refresh CPUs, but the original version that was released in September 2022. The newer revision has upgraded VRMs and Wi-Fi 7, and likely a few other tweaks under the hood, but other than that this older board is virtually the same, and it supports Intel’s 14th-generation CPUs. This means that if you play your cards right, you could net yourself a top-spec Intel DDR5 ATX motherboard for a fraction of the usual price.

In the box, as well as the ROG Strix Z790-E Gaming WiFi board, you get two SATA 6GB/s cables, a selection of M.2 screws, latches and pads, the Wi-Fi antenna, a cloth ROG keyring, a quickstart guide, the obligatory Asus sticker sheet, a thank you card, and the comprehensive user guide.
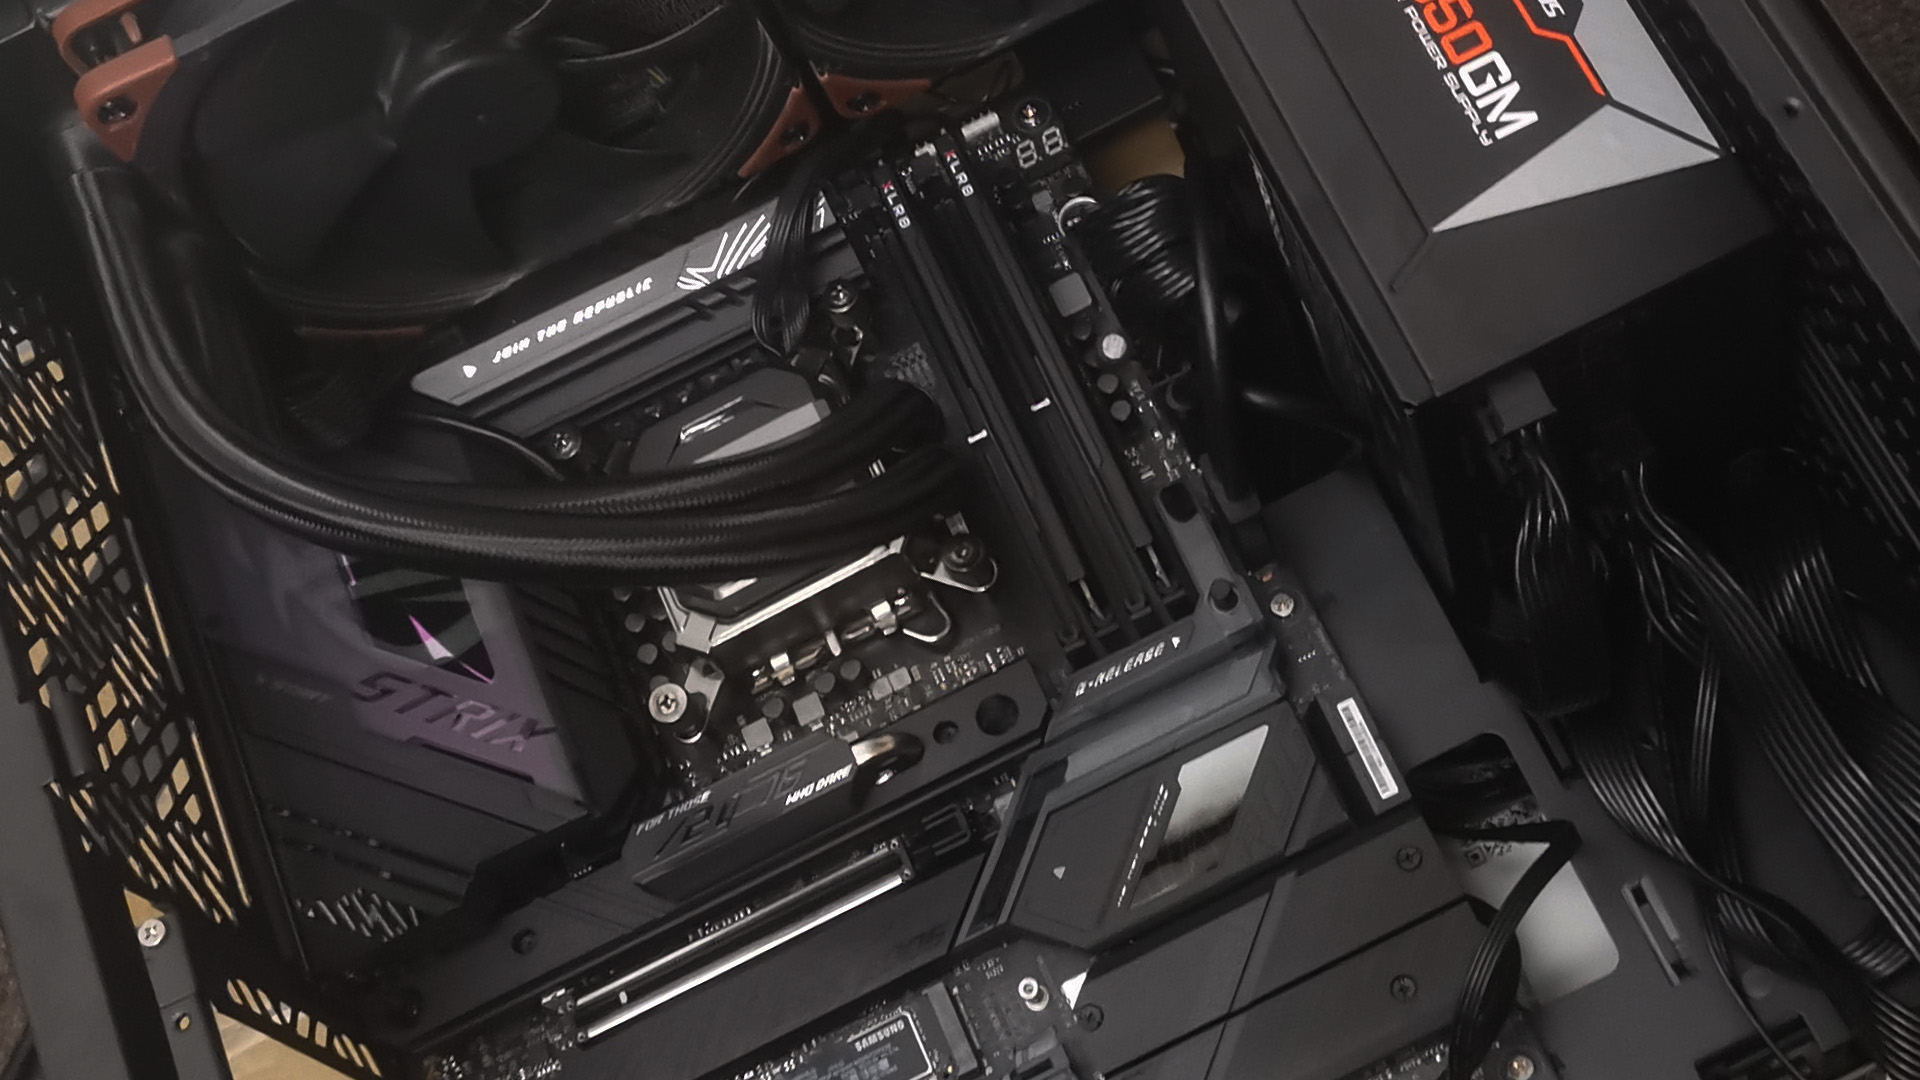
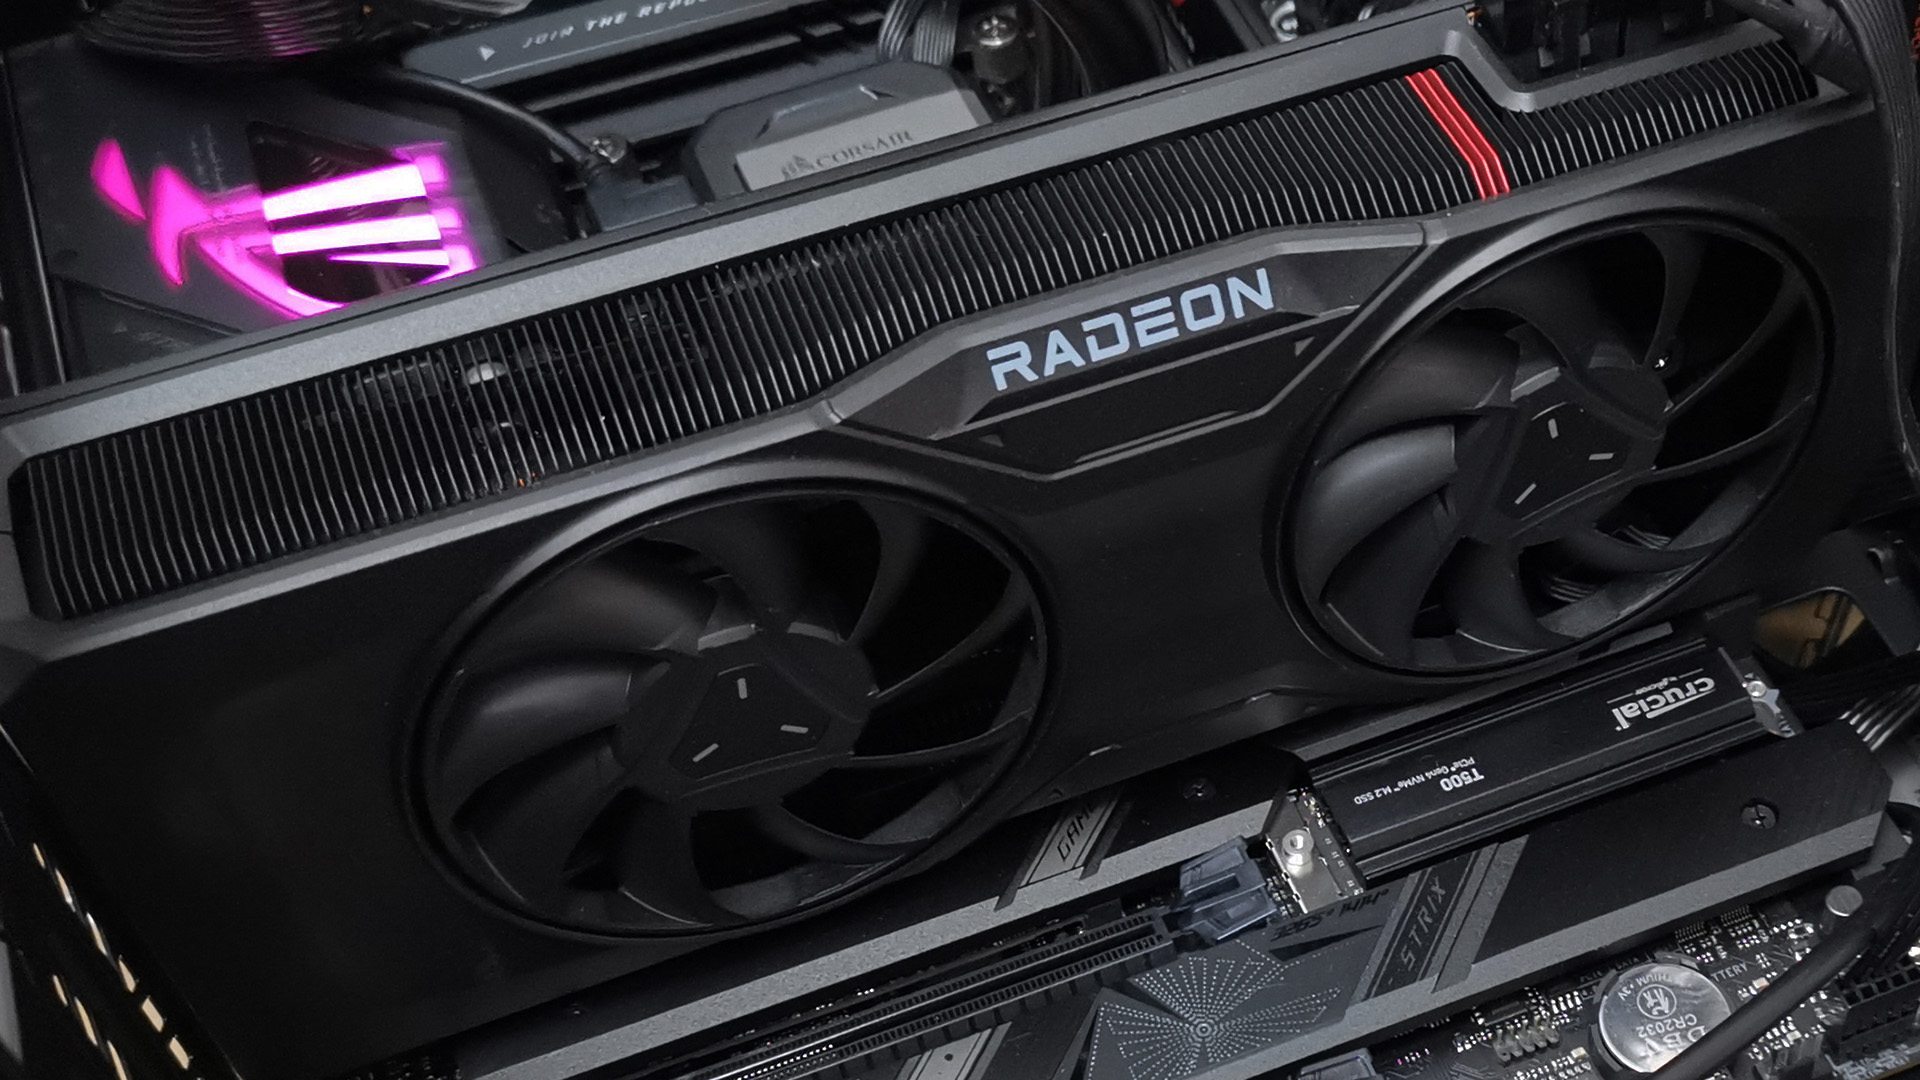
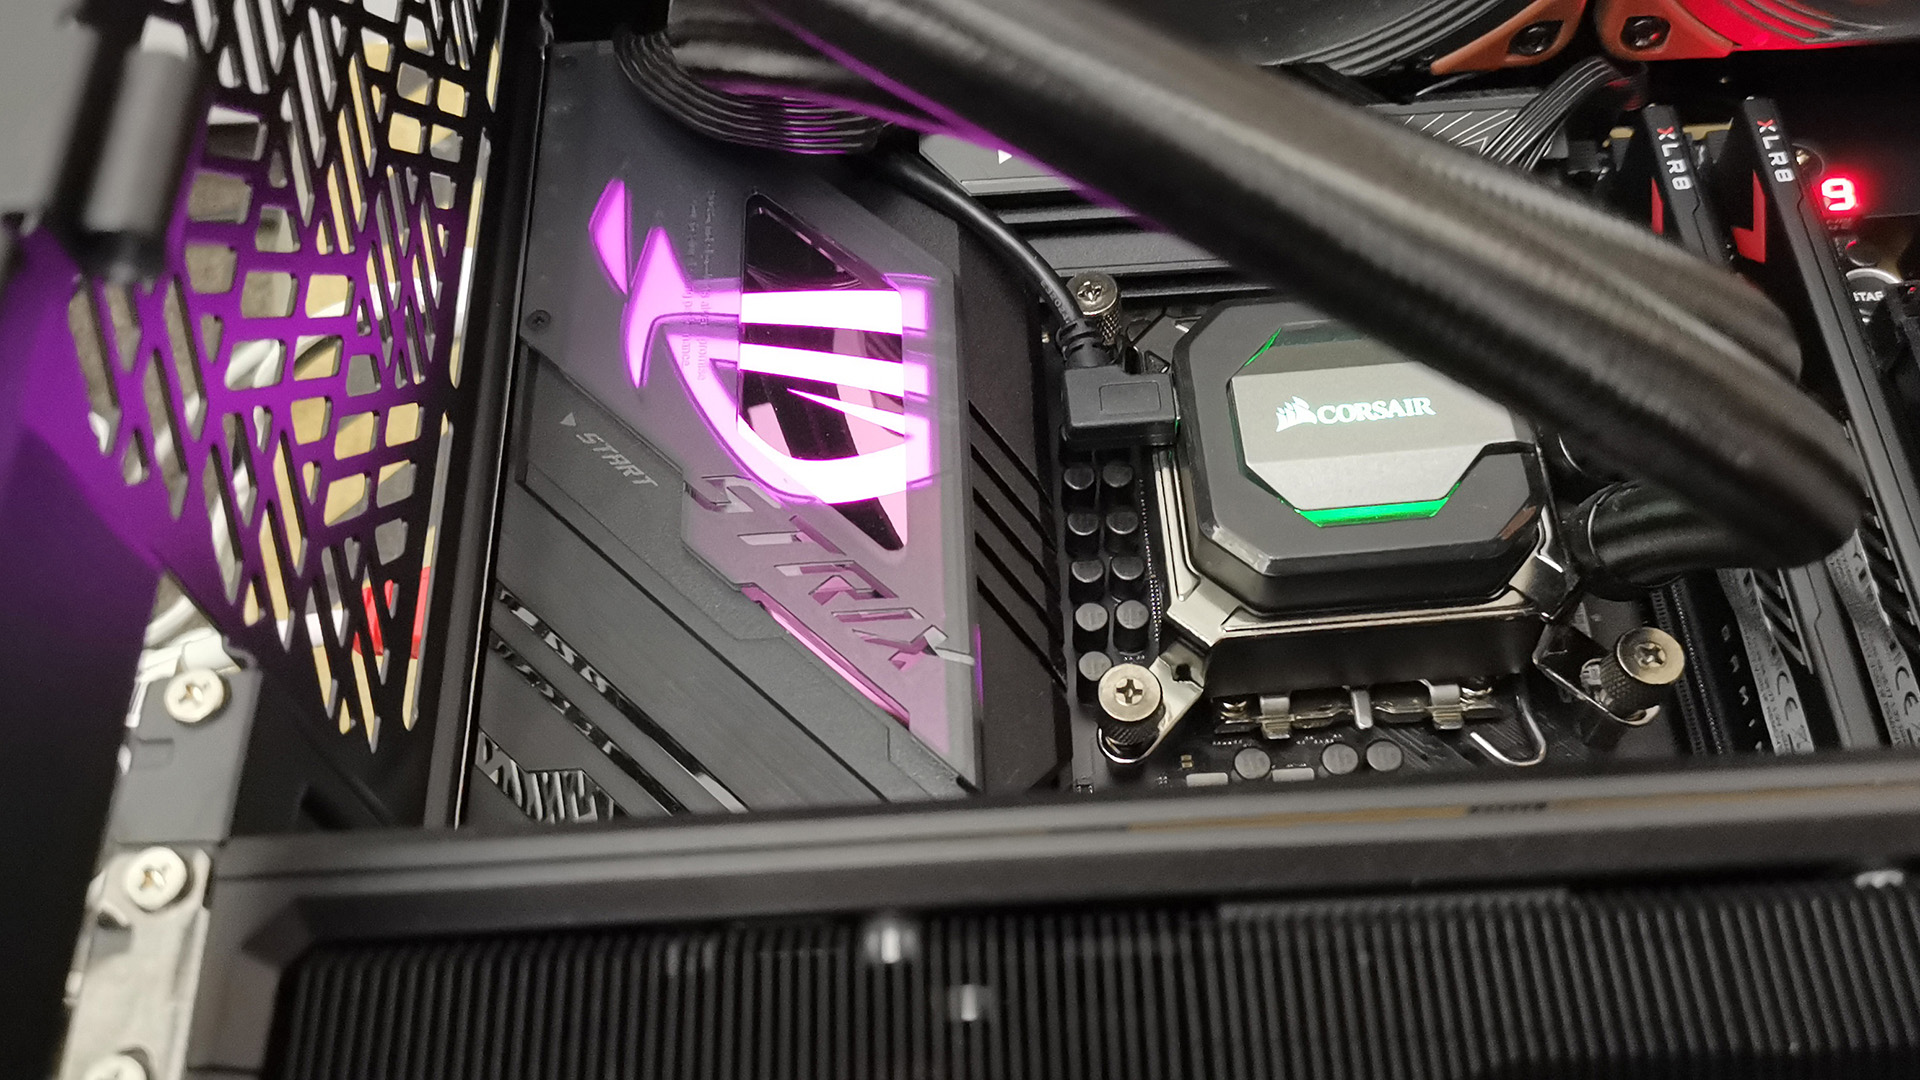
Asus’ ROG, or Republic of Gamers range of devices are aimed more towards enthusiast-level gamers. Instead of the sturdy industrial stylings of Asus’ TUF Gaming range, ROG equipment allows for more tweaking and is a bit showier, with a smattering of RGB thrown in for good measure. Certainly, Z790-E’s black PCB, stylishly integrated heatsinks, and RGB ROG Stix logo amplify the board’s high-end gaming aspirations.
It’s a feature-packed motherboard that should be more than enough for even the most discerning gamer. That doesn’t mean that the board is exclusively for gamers who like to mess about under the hood, as everyone will get something out of the massive connectivity and stability afforded by such a well-built piece of equipment.
Most importantly, the Z790-E is a DDR5 motherboard. Whilst Intel’s Z790 chipset supports DDR4 and DDR5, if you are upgrading from a motherboard with DDR4 memory modules to the Z790-E you are going to need to get some DDR5 RAM. DDR4 memory will not work with this board.
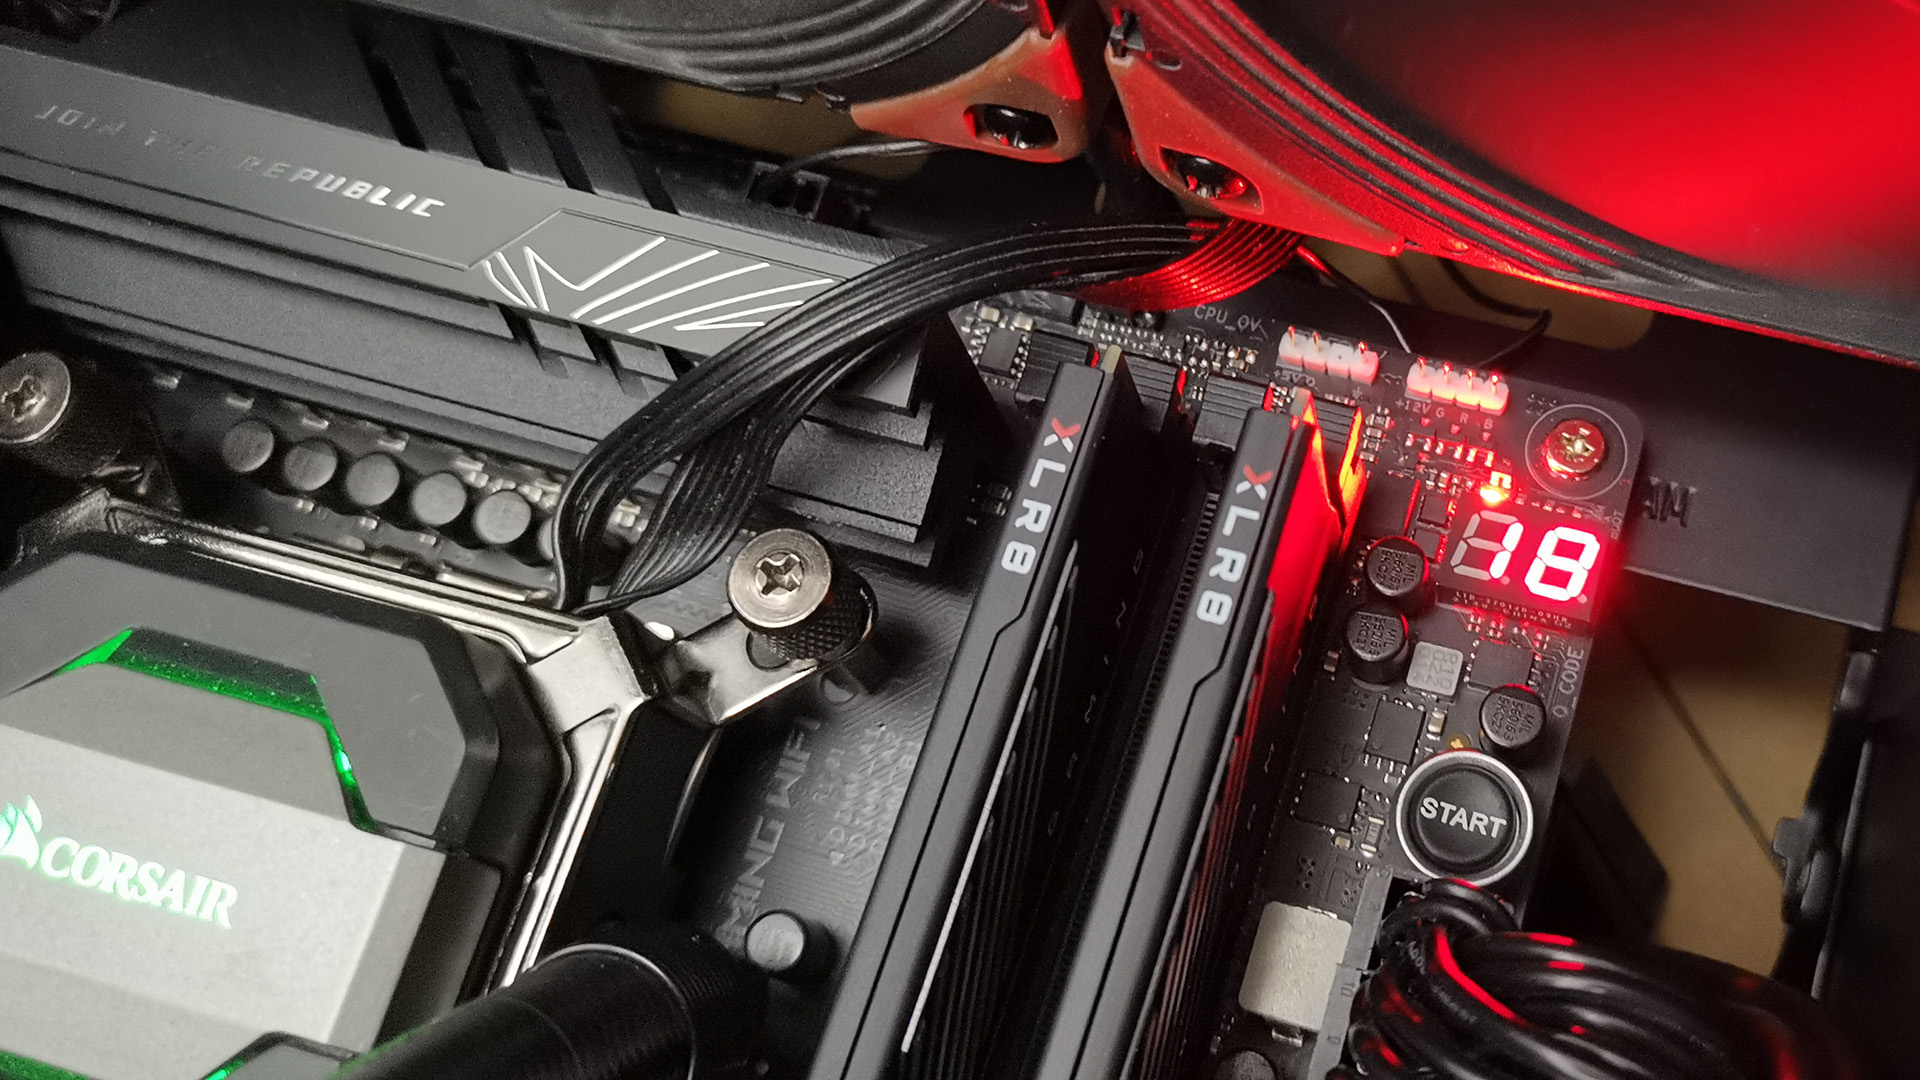
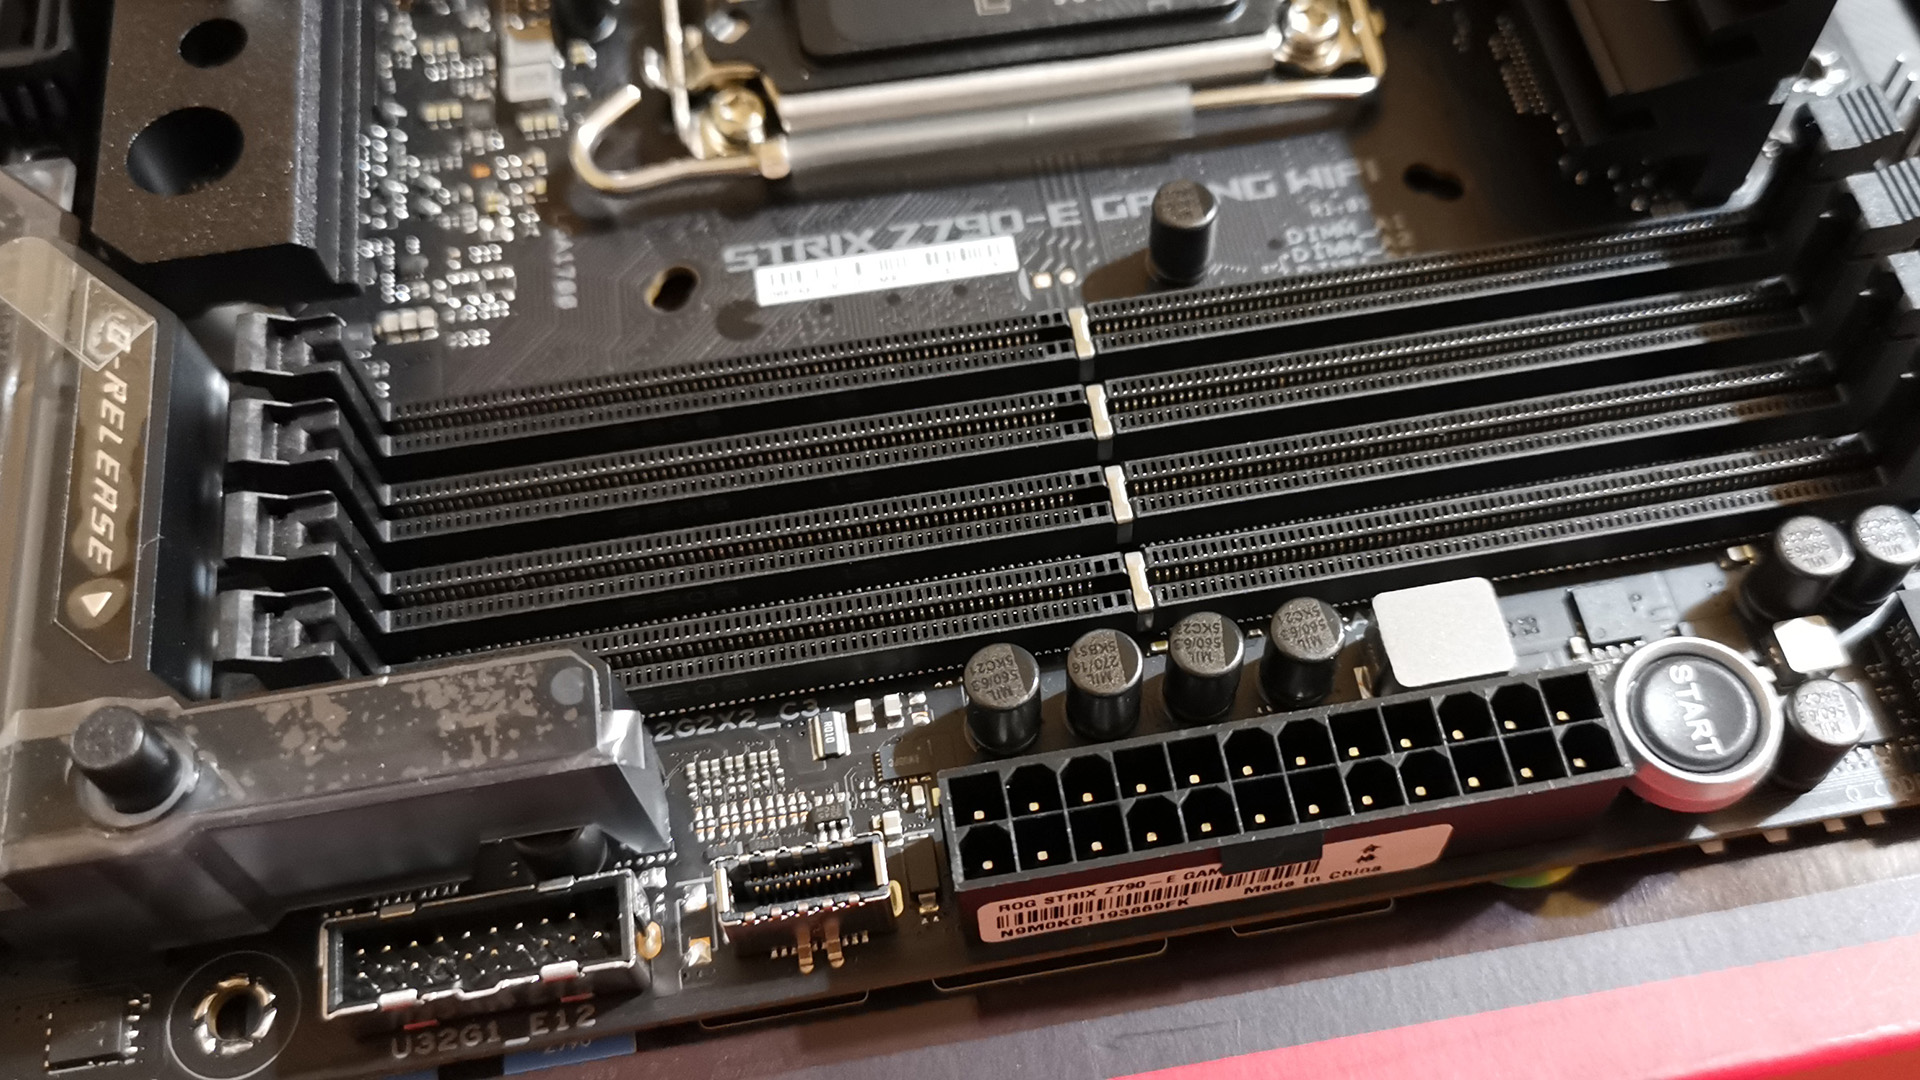
The board supports four DIMMs to a maximum of 128GB running up to DDR5 7200. There is support for Intel XMP overclocking to get the most out of your DDR5 memory modules.
The rear input / output panel has both DisplayPort 1.4 and HMDI 2.1 sockets for the CPU’s integrated graphics. There are twelve USB ports on the panel, which I’ll go into more detail about further down. The WiFi 6E antenna and 2.5Gb RJ45 Ethernet socket are also on the back panel. If you are using the onboard Realtek 7.1 sound chip, you’ll also find the S/PDIF audio optical out, C/Sub, Rear and Line outputs, as well as Line In and Mic In, on the rear panel. The IO panel has easy-to-find switches for clearing the CMOS (if your overclocking goes awry) and flashing back the BIOS, should you have issues during a firmware update.
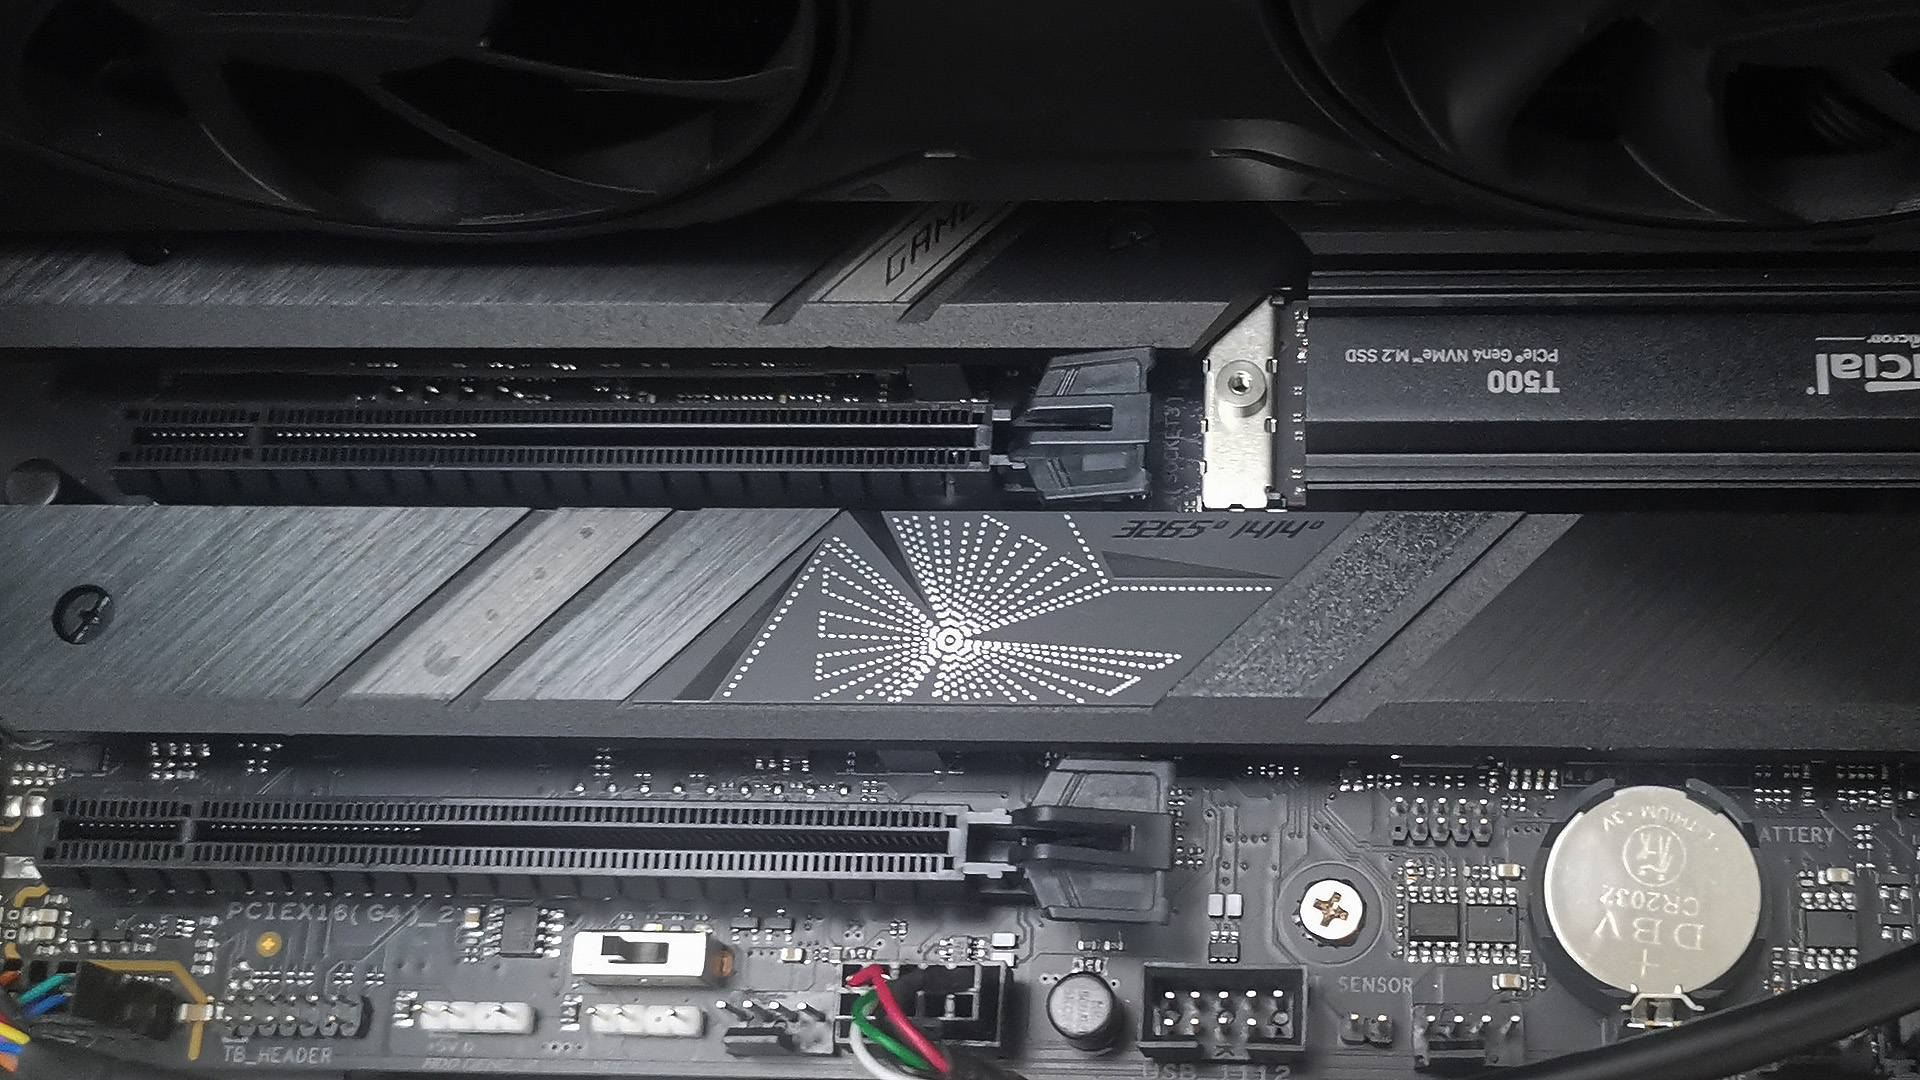
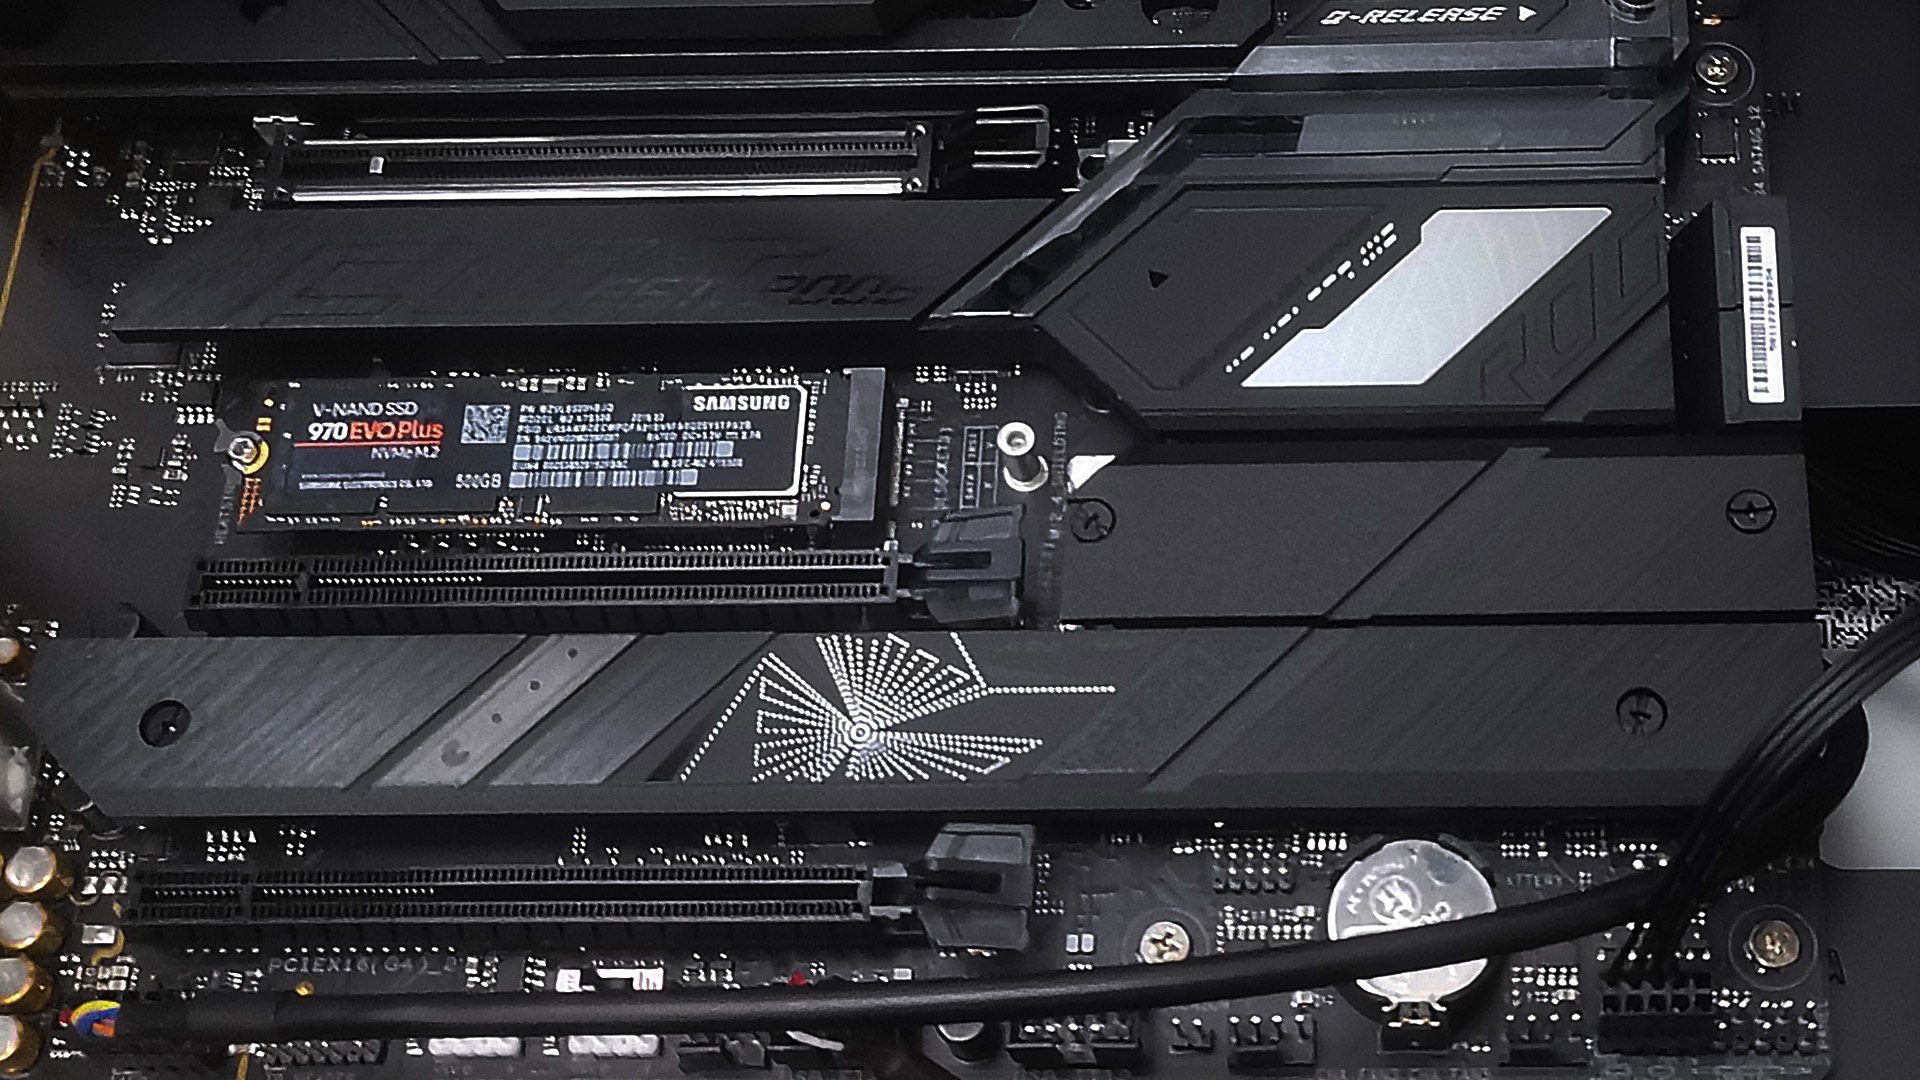
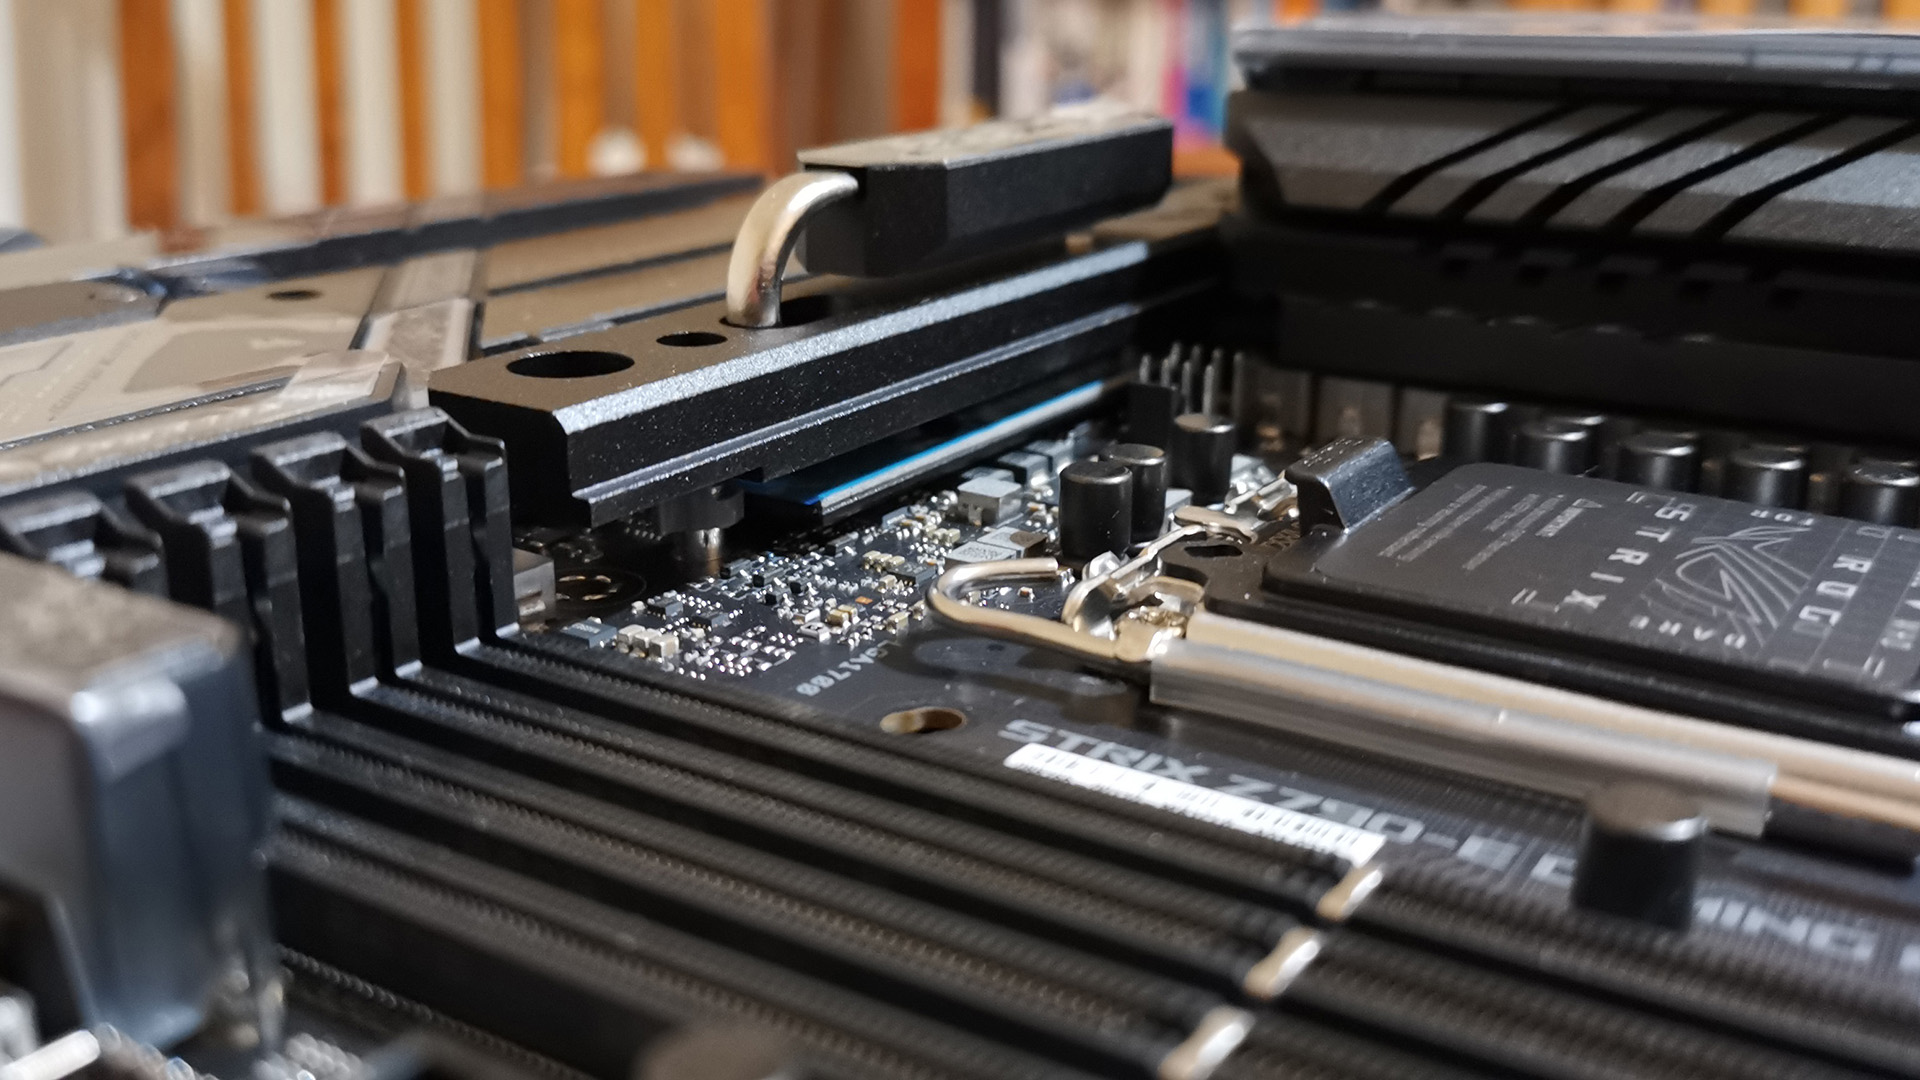
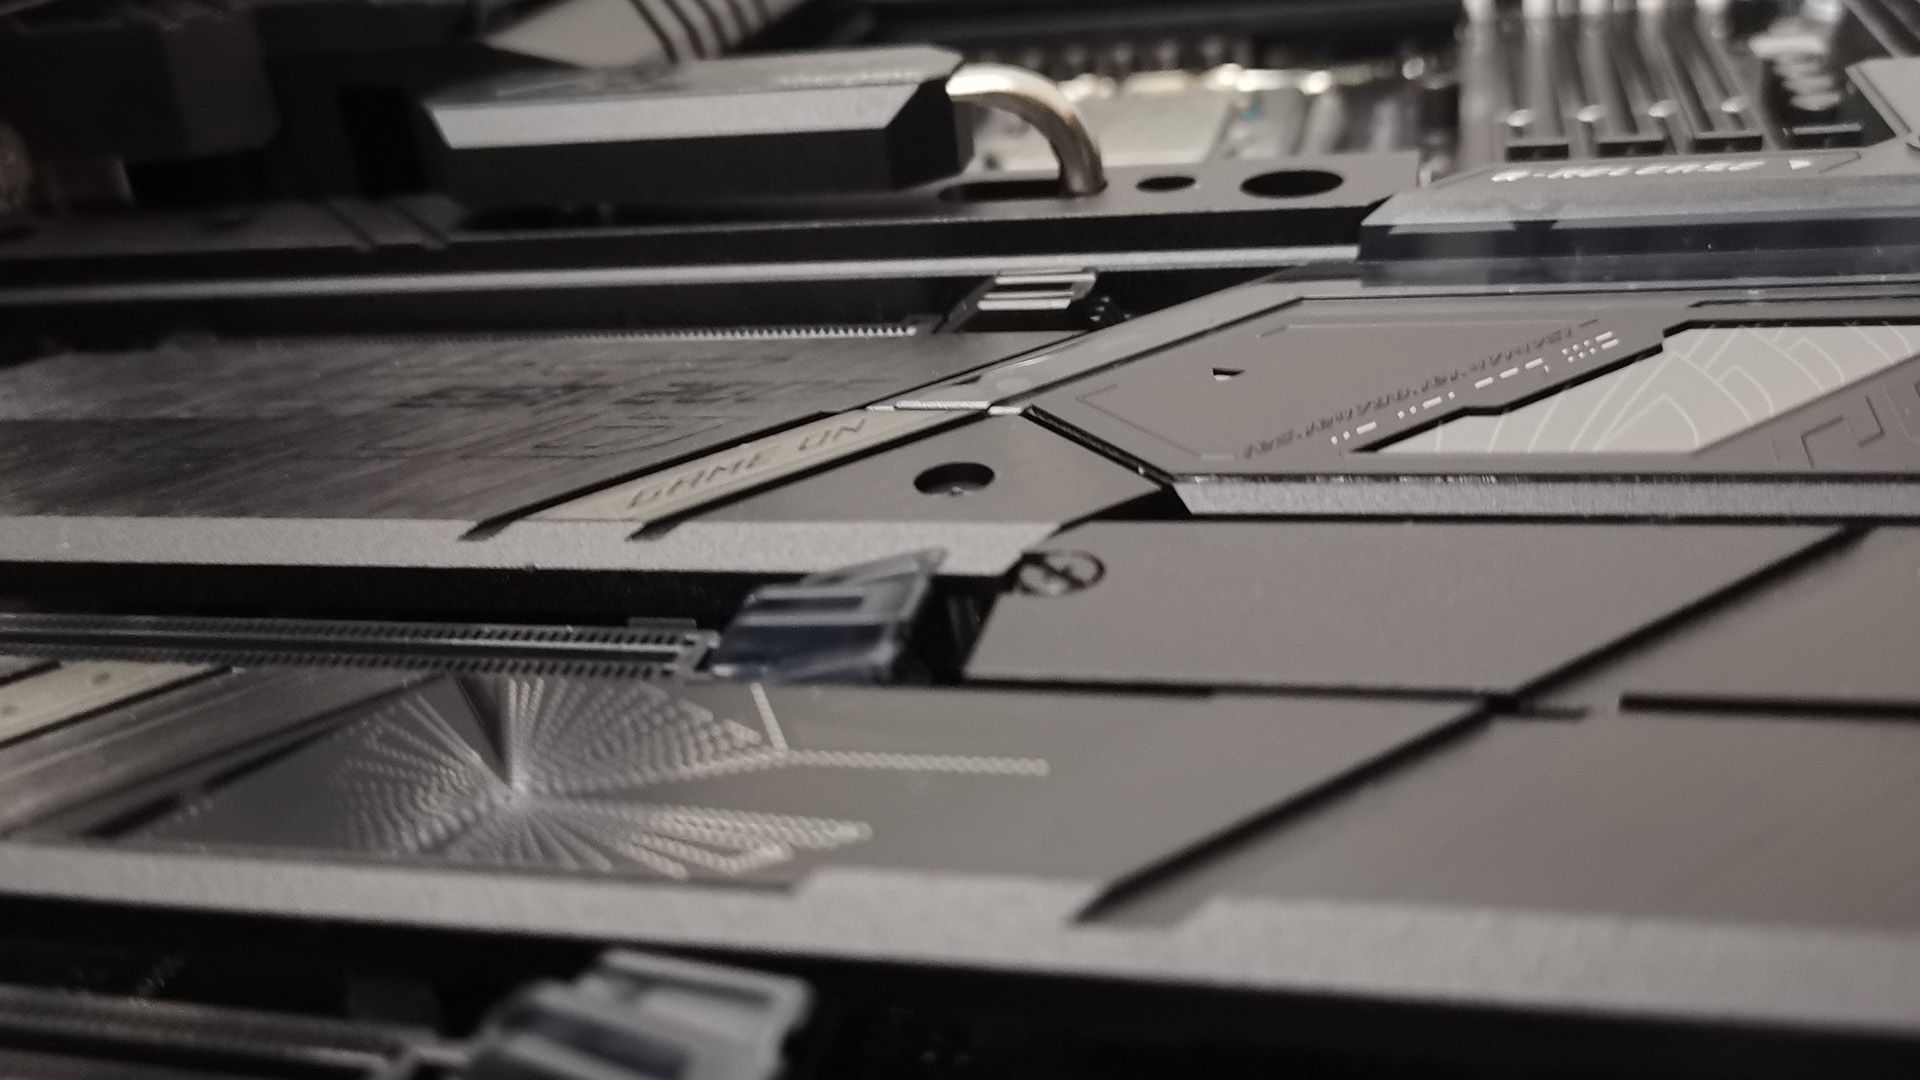
The board gives users plenty of scope for fast data storage. There are slots for up to five M.2 solid-state drives. The PCIe 5.0 x4 M.2 slot has a chunky heatsink (with a heat pipe) and supports 2242, 2260, 2280 and 22110 size modules. The four PCIe 4.0 x4 slots support 2242, 2260 and 2280 size modules with one also supporting M.2 SATA SSDs. If that’s not enough, there are also five SATA 6Gb/s ports if you want to go old school.
The 2.6Gb Ethernet capability is complemented by 2×2 Wi-Fi 6E (802.11 a/b/g/n/ac/ax) supporting 2.4, 5 and 6GHz frequencies. Bluetooth v5.2 caps off the board’s impressive connectivity.
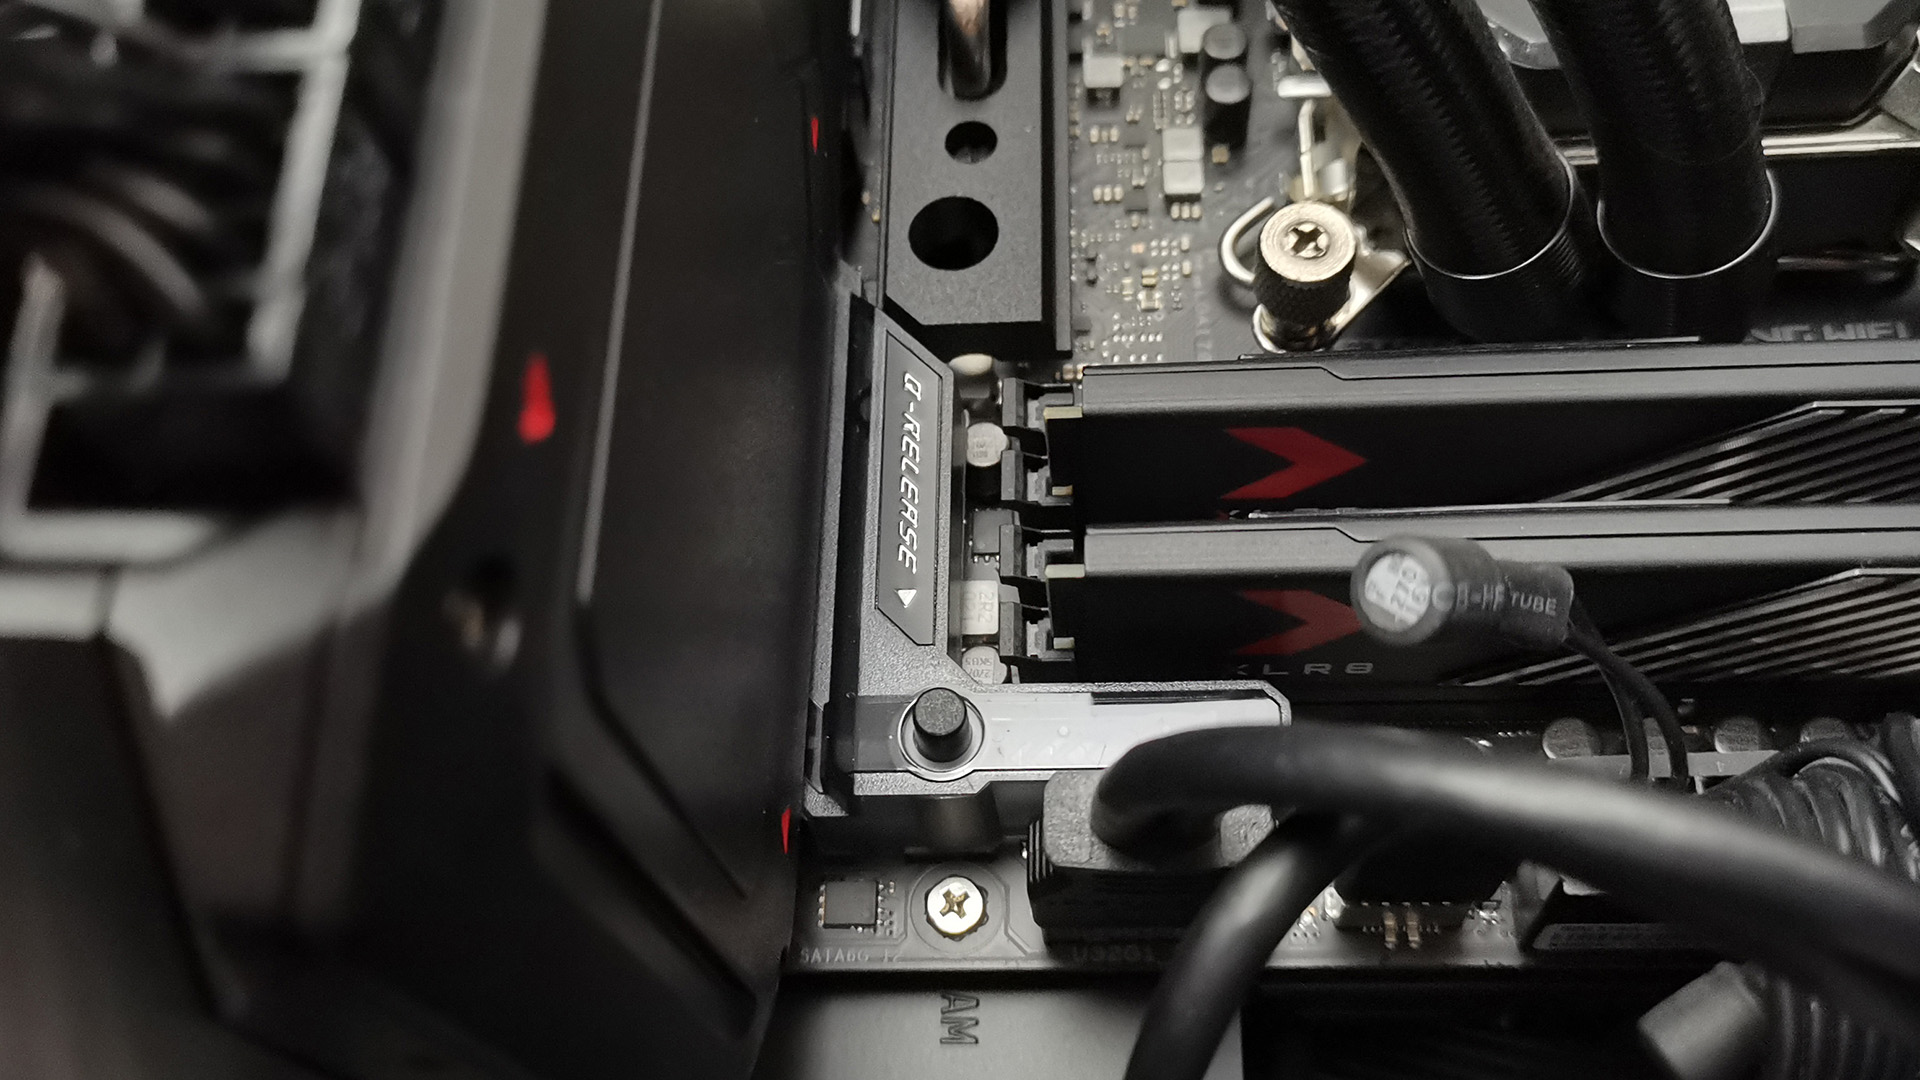
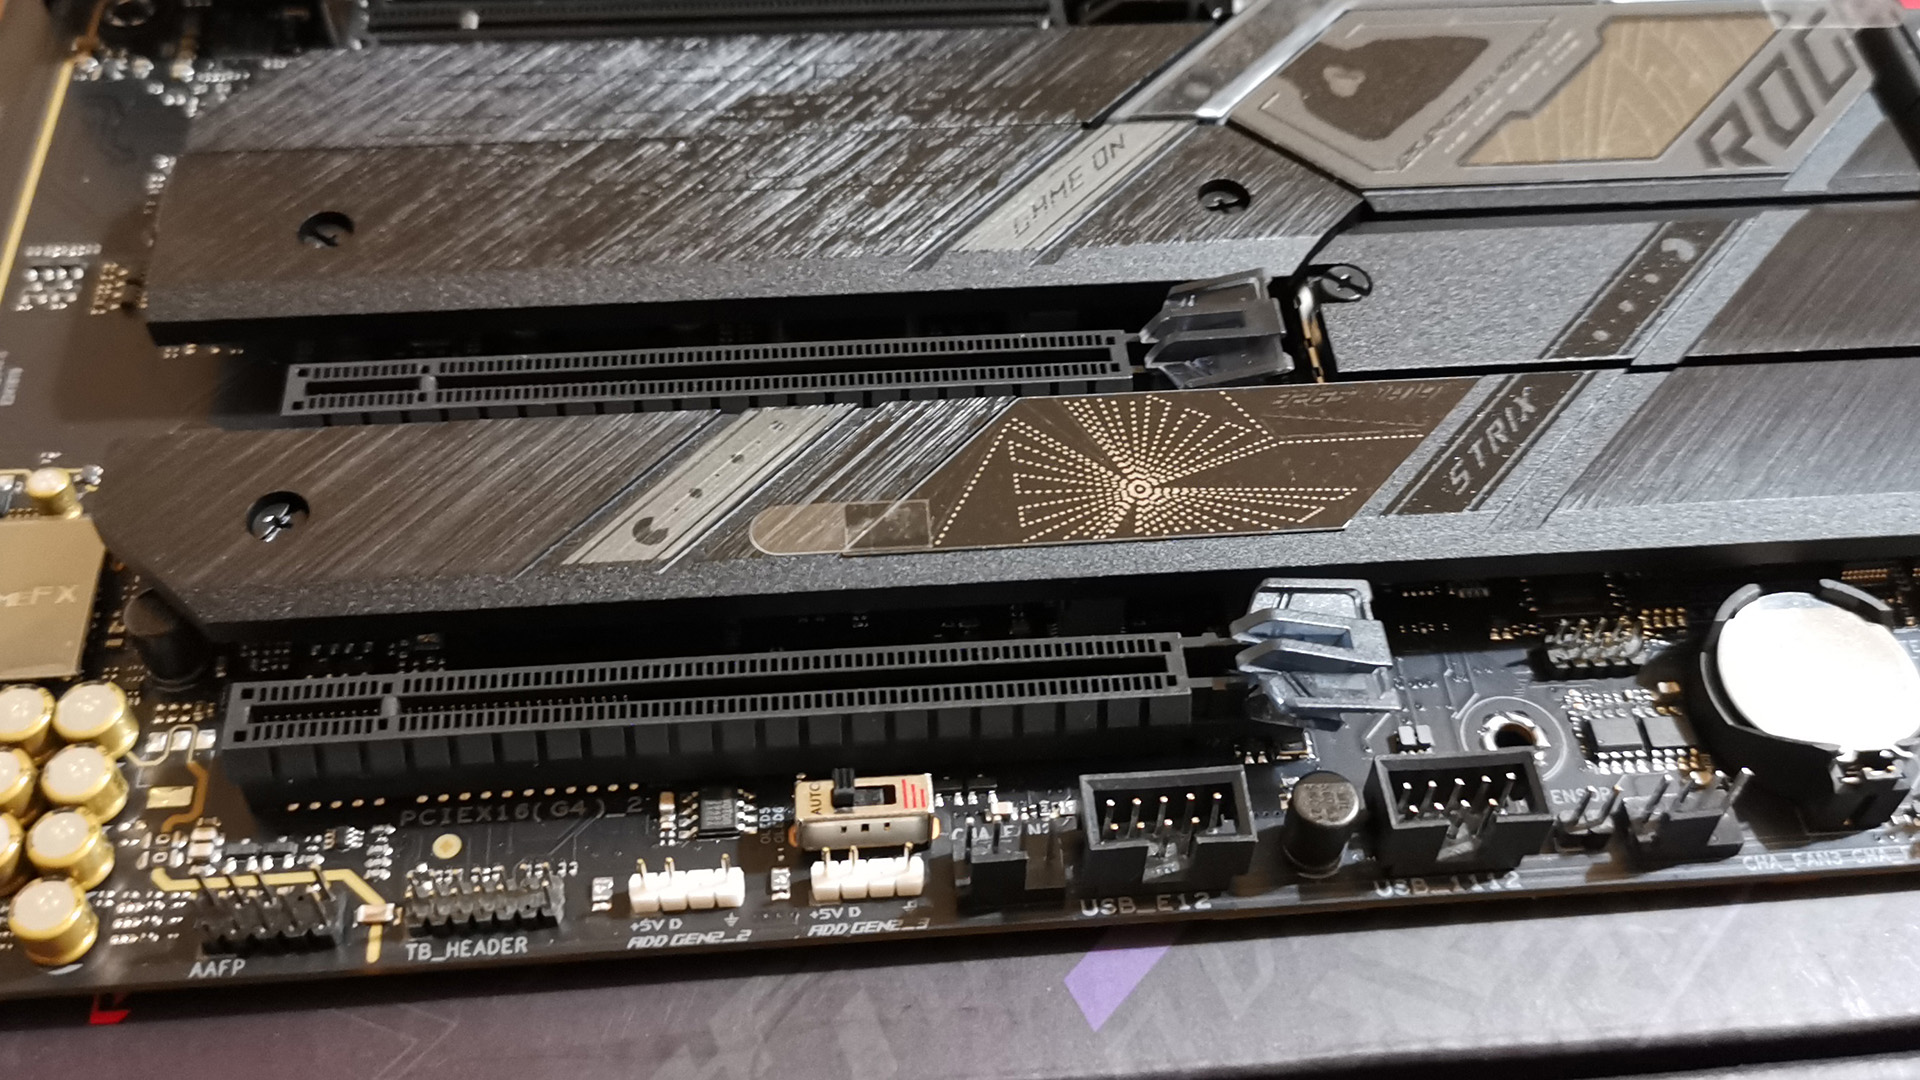
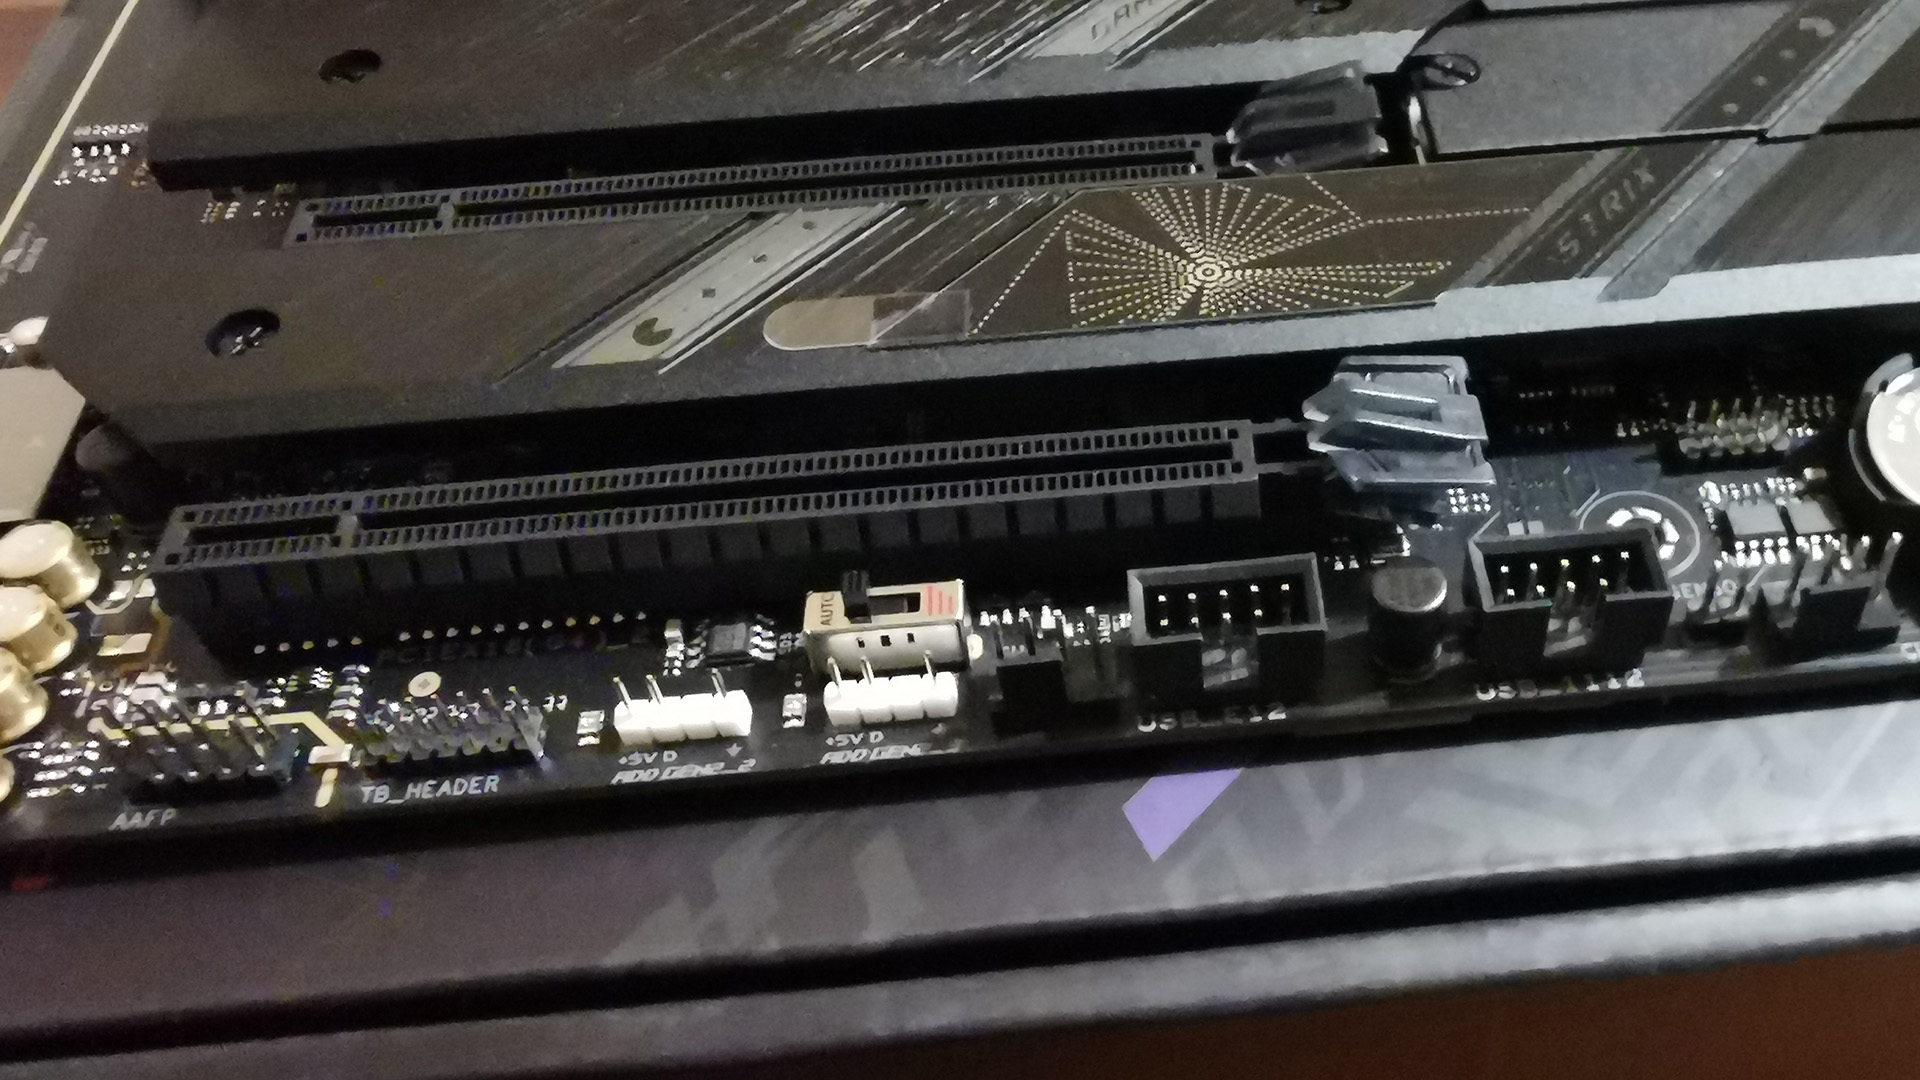
For your GPU there’s a reinforced PCIe 5.0 x16 slot. This also has a Q-Release button to easily unlatch your GPU for removal. Under that, there are two full-sized PCIe 4.0 x16 expansion slots, both of which you can access even with a larger GPU.
The motherboard has a ridiculous amount of USB ports. The rear IO panel has one USB 3.2 Gen 2×2 Type-C port, one USB 3.2 Gen 2 Type-C port, six USB 3.2 Gen 2 USB Type-A ports and four USB 3.2 Gen Type-A ports. There are headers on the board for a further nine USB ports if your case’s front panel supports them. That’s one USB 3.2 Gen 2×2 connector for a USB Type-C with 30W fast-charge, two USB 3.2 Gen 1 headers for four USB 3.2 Gen 1 Type-A ports and two USB 2.0 headers for four more USB 2.0 Type-A ports. That should be enough ports for even the most dedicated fans of gaming peripherals.
At the bottom of the board, there are switches that allow for overvolting the PCU and for switching the PCI3 mode from Gen4 to Gen3. Unless you know what you are doing, I’d leave these well alone.
If RGB is your bag, the Aura RGB header and three addressable RGB headers will allow you to light your machine up like a Christmas tree. Lastly, there is a header for a Thunderbolt IO card if you need one.

There are a few extra quality-of-life things that make building a PC with the motherboard that much easier. I’ve already mentioned the handy Q-Release button for the GPU. The M.2 SDD slots don’t use screws (that are surprisingly easy to drop and get lost in the guts of your machine), instead they use little clips, Q-Latches, making installation of the tiny drives very easy. The Q-LED system helps point you in the right direction if there is an issue with the CPU, RAM, GPU, or boot drive on startup. Further information can be gleaned from the Q-code status code display which can be checked against the table in the manual. If you are setting the board up in a bench situation without the front panel connections, there’s a start button on the board that’ll boot and switch off the machine.
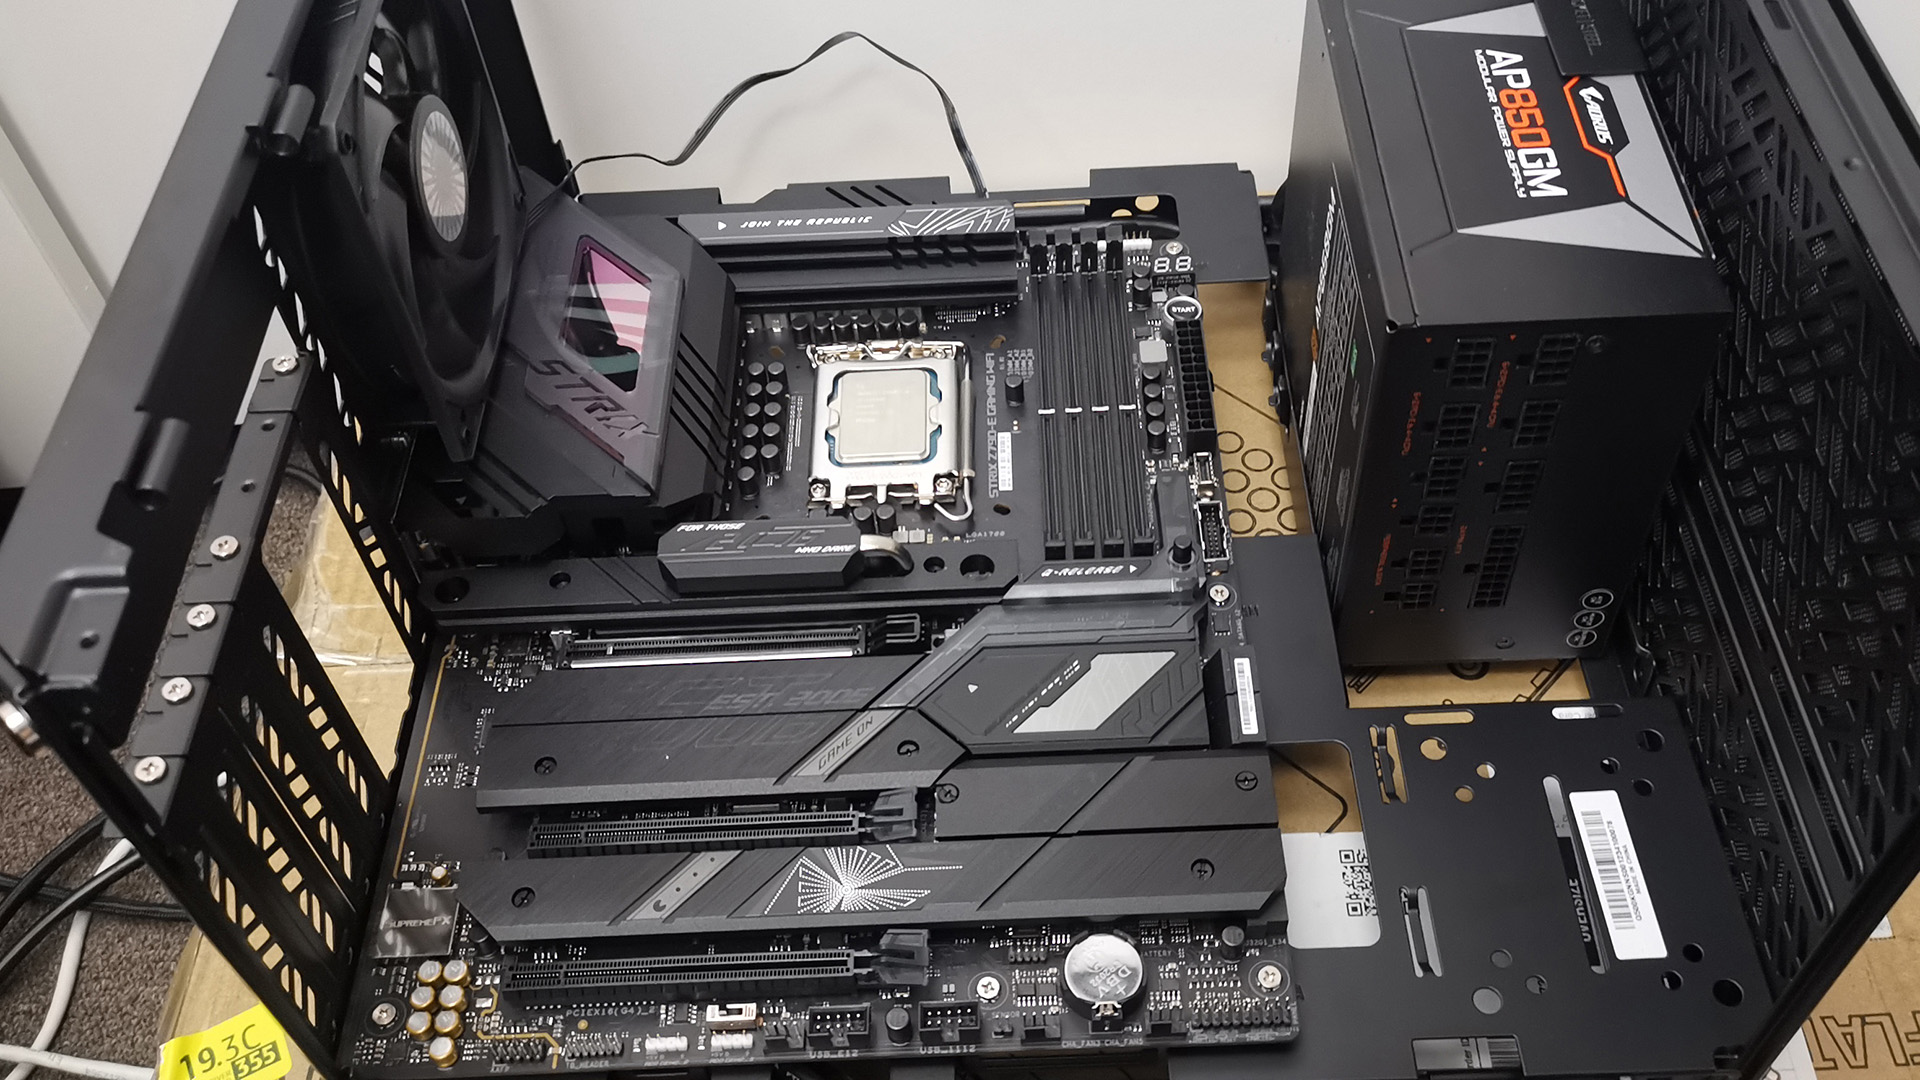
Asus motherboards tend to be a breeze to install and set up. The user guide points you in the right direction. But even physically installing the board in a well-built case should give you no trouble. The fixing holes are all well machined, in the right place, and should mate up with the risers in your ATX case, perfectly. The integrated IO panel fits nicely in the vacant space in the back of the case, with the chunky heatsinks giving you something to hold onto as you ease the board into place.
There are a few things to look out for.
All the M.2 drive slots have heatsinks that blend into the motherboard’s design. If you are using M.2 NVMe drives with integrated heatsinks you will need to remove and set aside the board’s heatsink(s).
Some NVMe drives with factory heatsinks increase the width of the screw-down point making them a tiny bit too thick for the Asus board’s Q-clips. I had this problem fitting an SSD with a heatsink in the PCIe 5.0 slot at the top of the board, but not with those further down. The top M.2 slot being, compatible with up to 22110 size modules, uses a fitting that doesn’t allow for screws as an alternative for regular 2280 M.2 drives.
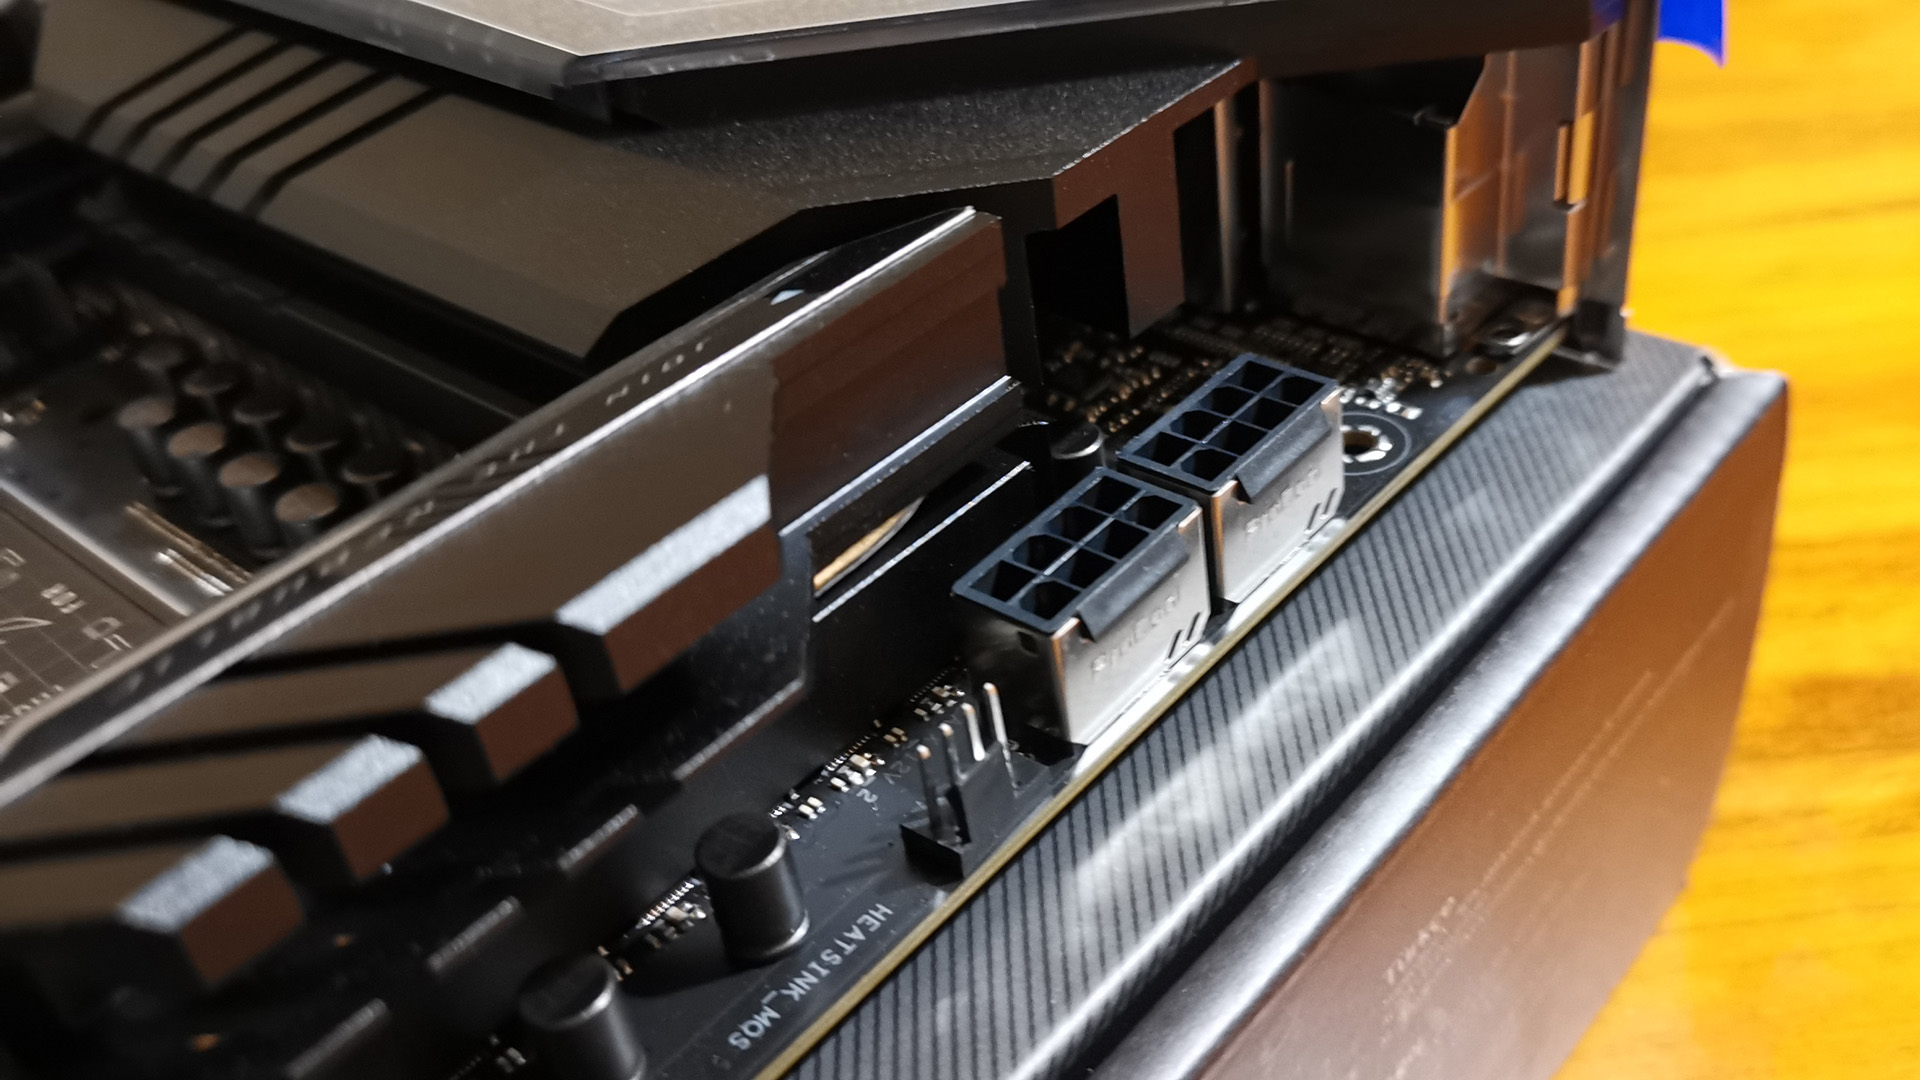
The top of the board has two eight-pin 12v ATX power connectors. If you are using an older (or cheaper) power supply, you may need to buy an adapter for the second connector.
The chunky heatsinks at the top and to the left of the motherboard (as normally installed in an upright ATX case) may get in the way of larger CPU air coolers. I used a Corsair all-in-one water cooler with no issues.
The above are very minor, but worth noting. For most, they won’t present a problem at all.
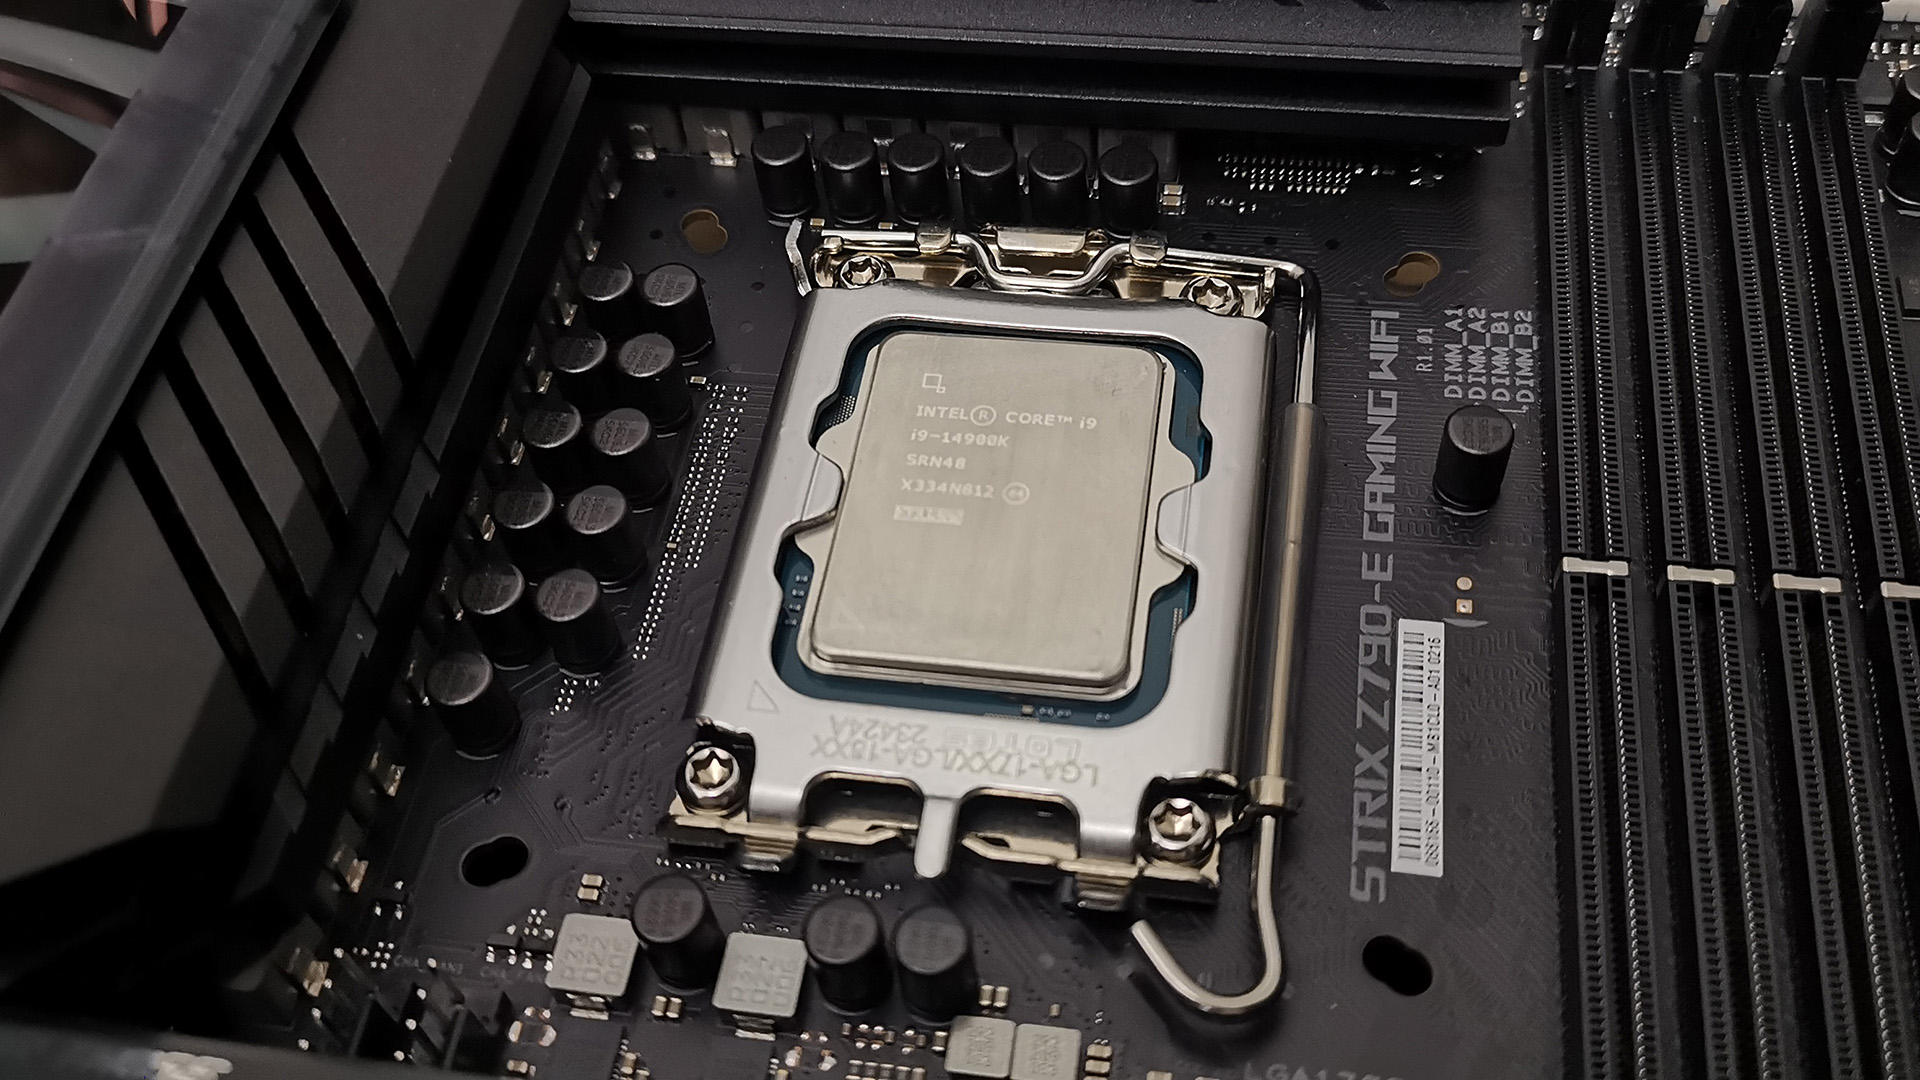
Multi-generational motherboards don’t usually support the latest CPUs out of the box, which can be a pain if you haven’t got an older CPU lying about. To my surprise, the Z790-E had no problem running an Intel Core i9 14900K with the factory-installed UFEI BIOS. The BIOS is the firmware that controls the motherboard hardware and points the computer in the direction of the operating system on boot up.
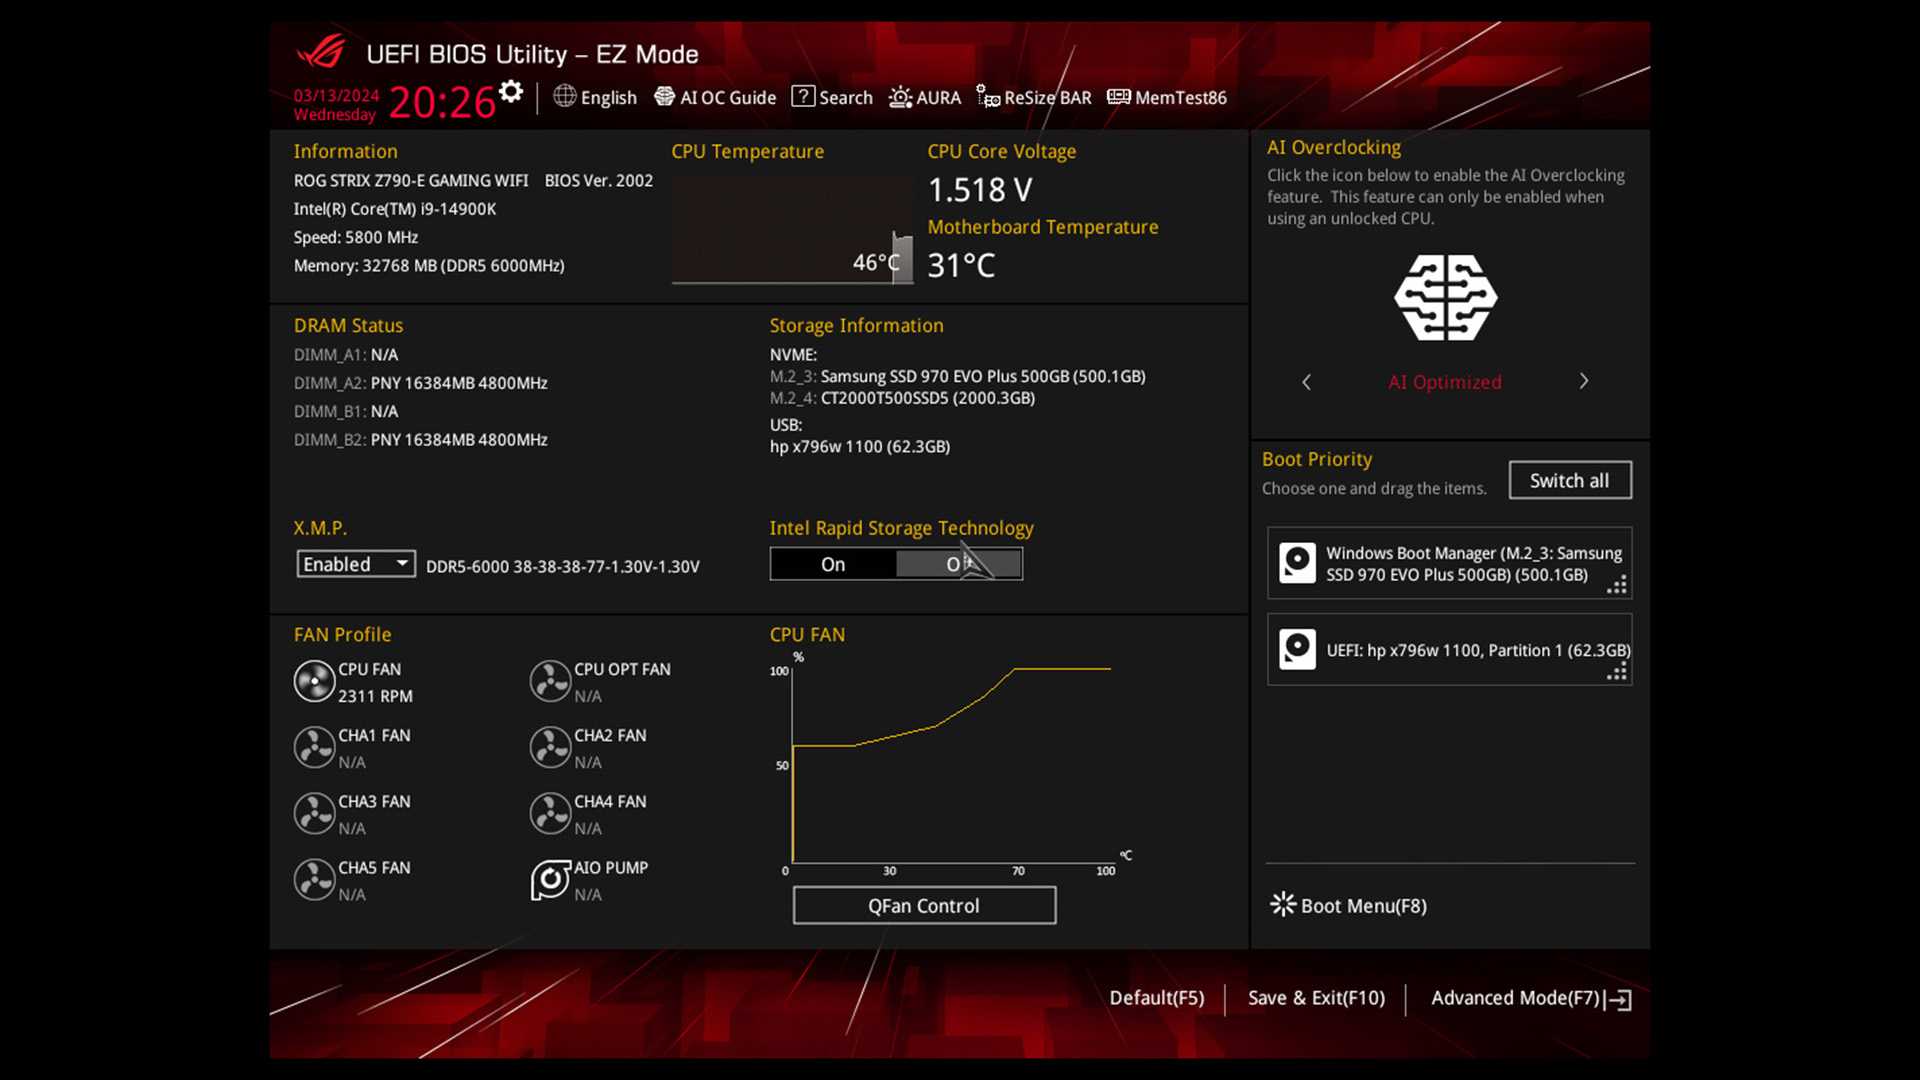
It’s worth dipping into the BIOS with a new motherboard installation to just check all is well. With Asus boards (and pretty much all others as well) you just hit the delete key on start-up. The standardised Asus BIOS interface is exceptionally easy to use, allowing configuration by novices and experts, alike. Here, unless you are wanting to tweak the system, all you need to do is check that the CPU is properly recognised and switch on the Intel XMP for your RAM. This is all on the front page of the EZ Mode menu.
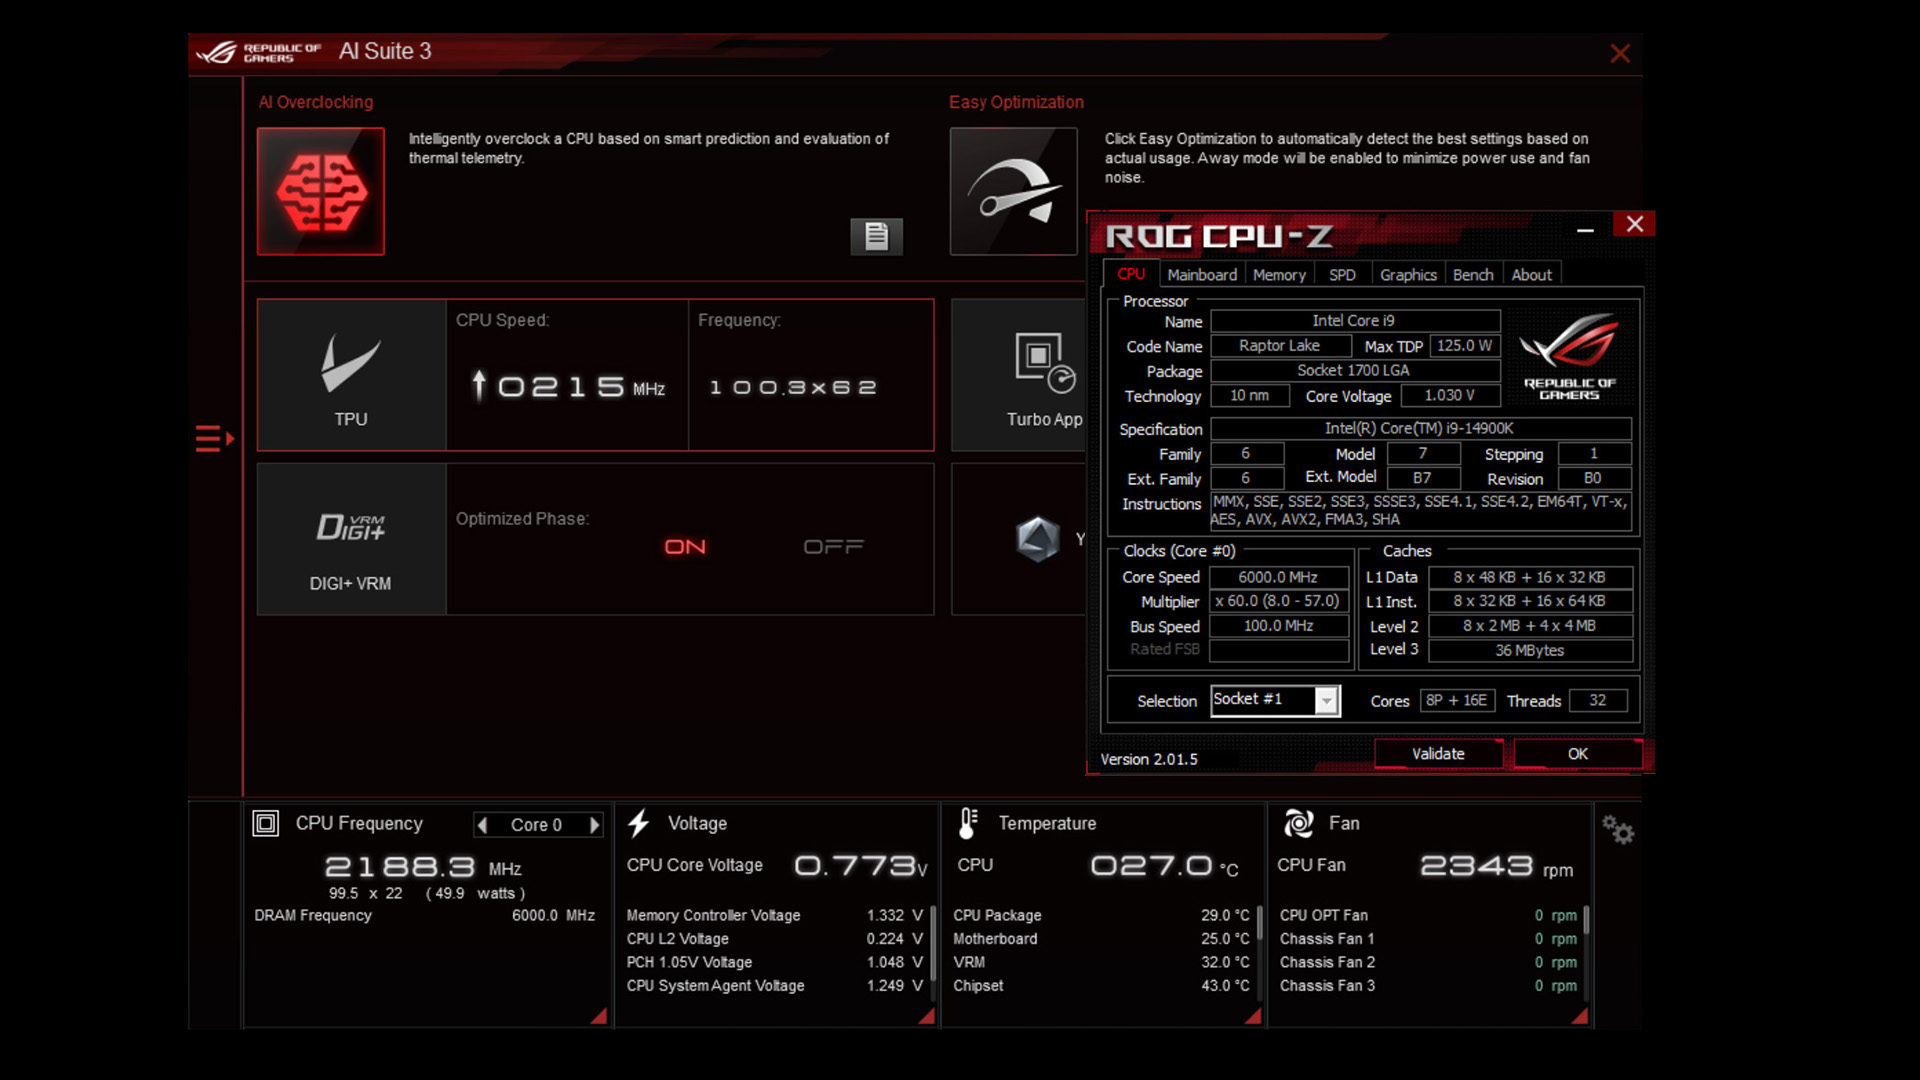
The ROG Strix motherboard has a one-click Asus AI overclocking facility on the EZ Menu screen that allows users to easily get a little bit more out of their machines without having to mess about. The board monitors your system fan operation, CPU frequencies and the resultant heat to boost performance based on the installed processor’s individual characteristics.
In my case, though, selecting the AI optimization option in the BIOS sent things surprisingly awry. Asus’s motherboards tend to be bombproof, but after switching on the AI overclocking, the board wouldn’t even boot, opting for a looping restart that was only cured by switching the whole thing off and pressing the CMOS reset button.
Whilst the Z790 motherboard was happy running with the Raptor Lake Refresh CPU out of the box, it seems overclocking the chip was a bit too much for it. Thankfully, this was, easily remedied.
A simple BIOS update to the latest version sorted out my overclocking woes. I’d never recommend anyone update a BIOS unless there’s a real need to do so. The Strix Z790-E motherboard does feature protection from failed updates, such as a BIOS rollback facility making the process a little less onerous.

My casual overclocking eventually achieved a modest, but stable performance boost of 215Mhz. this was with the CPU fans running at a balanced speed. A little bit more could probably been gained if I wanted the machine to sound like a jet engine. My experience with Intel’s 14th generation chip is that there isn’t much headroom to get a decent, stable, overclock out of them. But still worth a try. Of Intel’s CPUs, you tend to get a better bang for your buck by overclocking the cooler Core i5s than the i9s.
The motherboard ships with a driver and utility disc. As most machines no longer have CD/DVD/Blu-Ray drives, it’s not a lot of use. With a standard Windows installation, you should get enough generic drivers for the motherboard to function. I recommend downloading the latest drivers for your board from the Asus website.
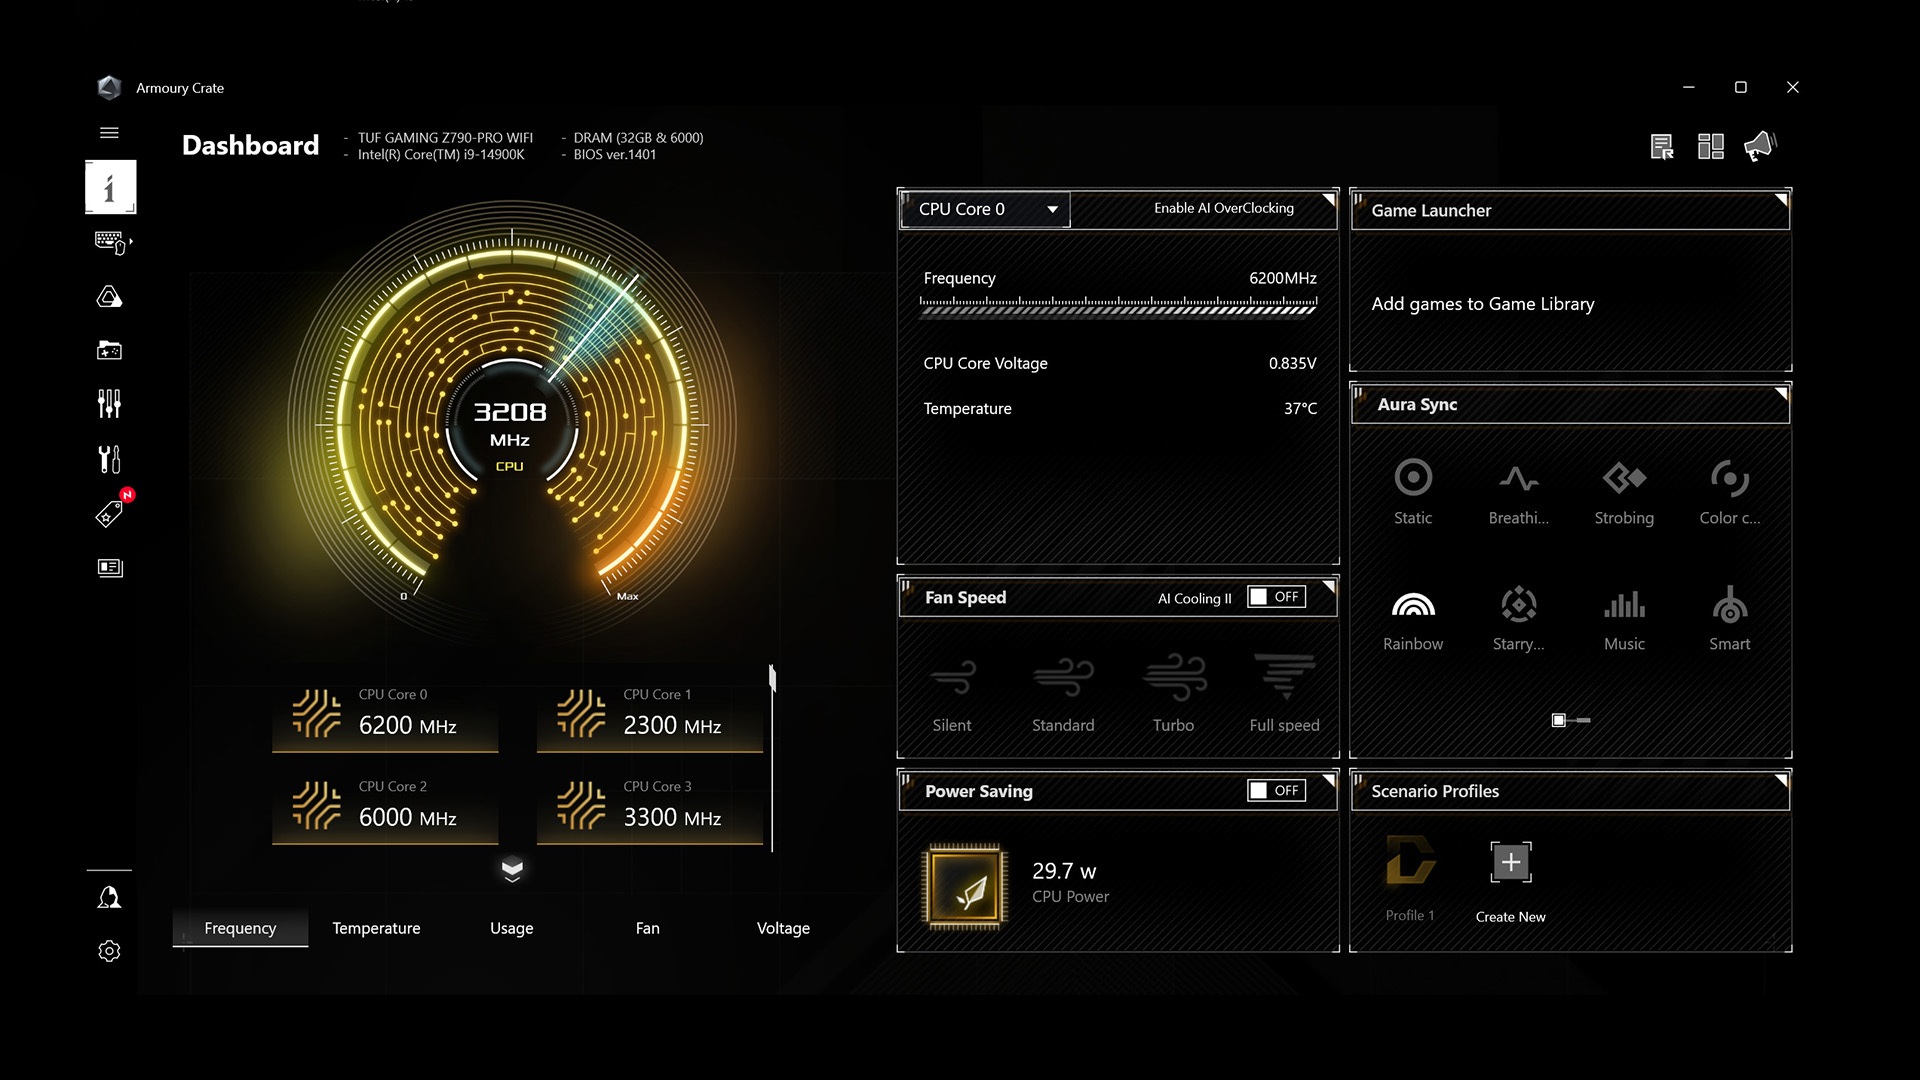
There is an Asus utility, Armory Crate, which sometimes downloads automatically (after a prompt) and can be used to update your system with the latest drivers for your board. It also tends to offer up all kinds of “free” utilities that you don’t necessarily need. I’ve not been a fan of Armory Crate in the past, but I’ve warmed to it recently as it tends to be an intrinsic part of ensuring Asus gaming laptops and devices like the Asus ROG Ally perform efficiently.
Another bit of Asus software that can be controversial, is the Asus AI Suite. This allows users to tweak the system from the operating system rather than in the BIOS. Puritans will condemn overclocking a PC in this way as heresy, and it kind of is. But it’s also a great way to tinker with your machine without really messing things up. Traditionally, AI Suite can be difficult to remove and like Armory Crate past iterations have been known to be more trouble than they are worth. Personally, I think they are both better than they used to be and are worth a go.
The Asus ROG Strix Z790-E Gaming WiFi is a delight to install. Even when things didn’t go to plan, the remedy was easy. The easy-to-use UFEI BIOS menu makes it a great board for anyone wanting to tweak things under the hood, be they newbies or veterans. It’s a robust fully featured gaming motherboard that I’d be very happy running in my own PC.